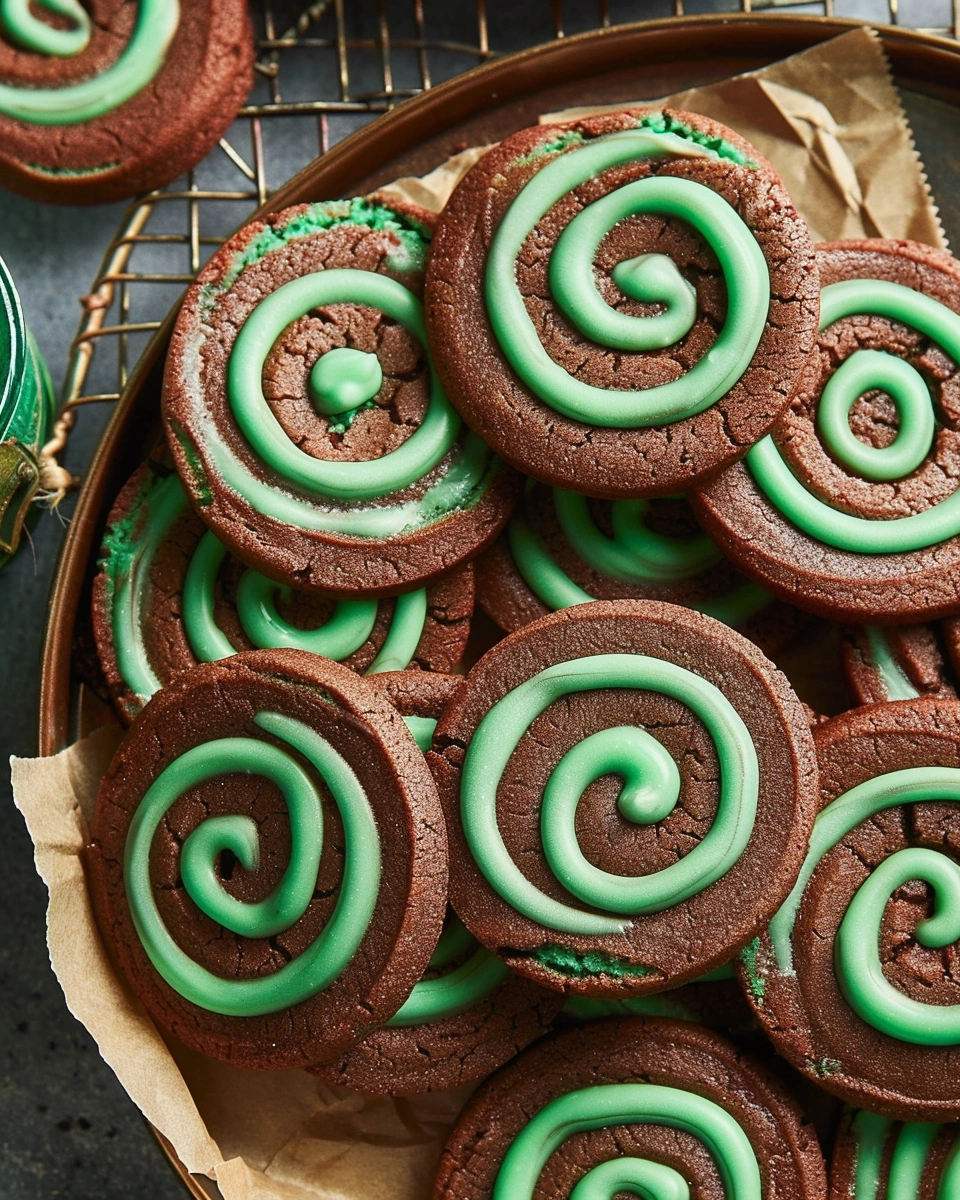
If your pinwheel cookies ever spread too much, lose their swirl, or taste bland, you’re not alone. Getting crisp edges, bold chocolate flavor, and a clear minty spiral can feel tricky—especially around the holidays when you want bakery-worthy results. That’s exactly why these Chocolate Mint Pinwheel Cookies are a favorite in my kitchen. They bake up with sharp, beautiful swirls, rich cocoa flavor, and a cool mint finish that tastes festive without being overpowering.
After years of testing slice-and-bake cookies for my blog (and plenty of freezer-to-oven experiments), I’ve dialed in a method that’s reliable, beginner-friendly, and perfect for make-ahead baking. In this post, you’ll learn the exact steps, chilling tips, flavor variations, and storage tricks to make perfect Chocolate Mint Pinwheel Cookies every time—plus answers to the most common questions.
Why You’ll Love This Recipe
-
Bold flavor contrast: Deep chocolate paired with refreshing mint in every bite
-
Clean, eye-catching swirls: A simple rolling technique creates bakery-style pinwheels
-
Make-ahead friendly: Slice-and-bake dough freezes beautifully
-
Crowd-pleasing: Perfect for cookie swaps, holidays, and gifting
-
Customizable: Easy to adjust sweetness, mint level, or dietary needs
Ingredients & Prep
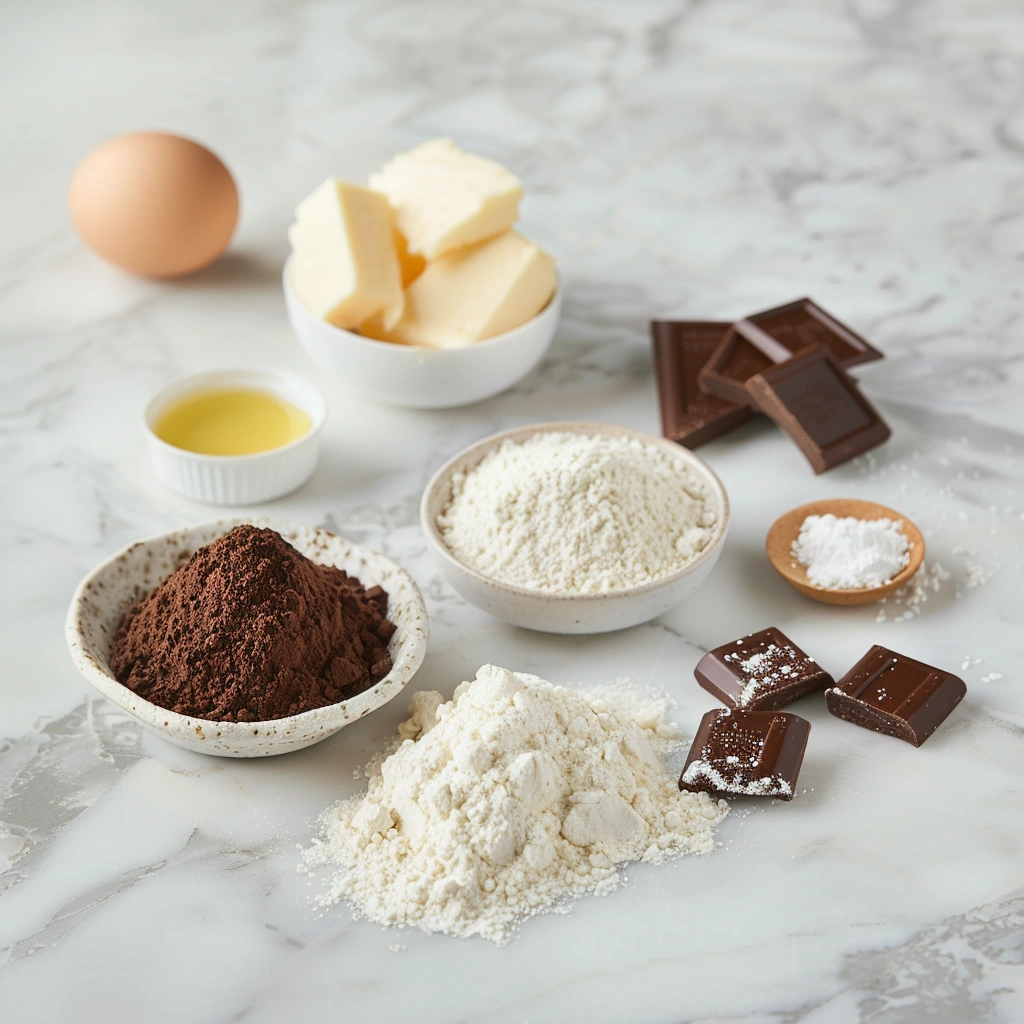
Main Ingredients Prep
-
Unsalted butter (room temperature): Soft but not greasy; press your finger in—if it leaves a slight dent, it’s ready
-
All-purpose flour: Measure correctly by spooning into the cup and leveling
-
Granulated sugar: Keeps the cookies crisp and clean-tasting
-
Large egg: Brings the dough together and adds structure
Seasonings, Sauces, or Flavor Base
-
Unsweetened cocoa powder: Use Dutch-process for deeper chocolate flavor
-
Peppermint extract: Potent—measure carefully
-
Vanilla extract: Rounds out both doughs and enhances sweetness
Pantry Staples
-
Salt: Balances sweetness and sharpens chocolate
-
Baking powder: Just enough lift for a tender bite
Step-by-Step Cooking Instructions
Pre-Cooking Prep
-
Cream butter and sugar until light and fluffy, about 2–3 minutes.
-
Beat in the egg and vanilla until smooth.
-
Divide the dough evenly into two bowls.
-
Mix cocoa powder into one bowl and peppermint extract into the other.
-
Add dry ingredients to each dough and mix just until combined.
Shape each dough into a rectangle, wrap, and chill for 30 minutes. This makes rolling much easier.
Cooking Method
-
Roll each dough between parchment paper into a thin rectangle (about ¼ inch thick).
-
Stack the mint dough on top of the chocolate dough, trimming edges for clean lines.
-
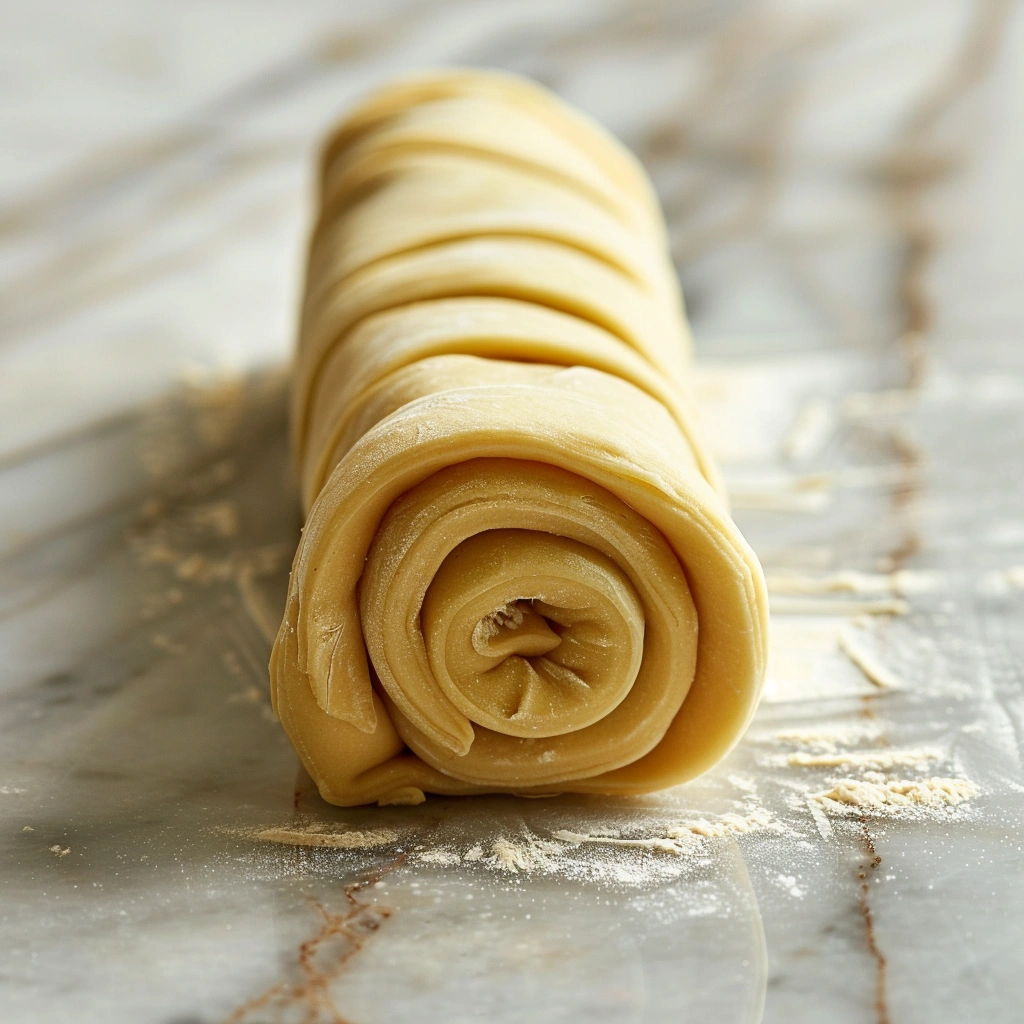
Starting from the long edge, roll tightly into a log.
-
Wrap and chill for at least 2 hours (or freeze 30 minutes).
-
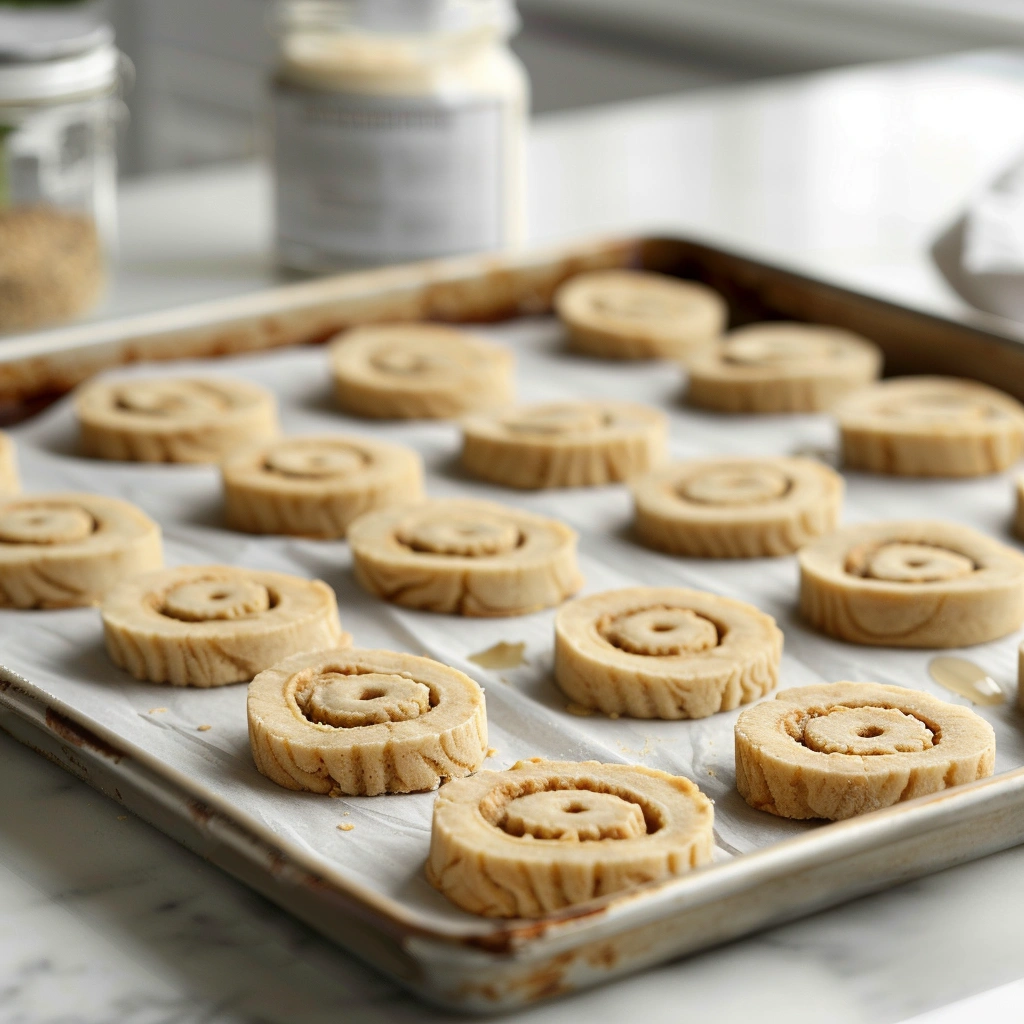
Slice into ¼-inch rounds and place on a lined baking sheet.
-
Bake at 350°F for 10–12 minutes, rotating the pan halfway.
Doneness or Texture Check
The cookies are done when edges look set and the centers no longer appear glossy. Avoid overbaking—these cookies firm up as they cool.
Resting or Final Touches
Cool on the baking sheet for 5 minutes, then transfer to a wire rack. This prevents breakage and keeps the pinwheels crisp.
Pro Tips for Perfect Results
Common Mistakes to Avoid
-
Skipping the chill: Warm dough spreads and blurs the swirl
-
Over-extracting mint: Too much peppermint can taste medicinal
-
Rolling unevenly: Aim for equal thickness so the pinwheel stays centered
Recommended Tools
-
Rolling pin with thickness guides
-
Parchment paper (essential for clean rolling)
-
Sharp chef’s knife or bench scraper
Storage & Reheating Tips
-
Store baked cookies in an airtight container for up to 7 days
-
Freeze unbaked logs for up to 2 months
-
No reheating needed—serve at room temperature for best texture
Flavor Variations
Spicy Version
Add a pinch of cayenne or chili powder to the chocolate dough for a subtle heat that pairs surprisingly well with mint.
Healthy / Special Diet Option
-
Gluten-free: Use a 1:1 gluten-free baking flour
-
Lower sugar: Replace ¼ of the sugar with a granulated sugar alternative designed for baking
Global Flavor Twist
Swap peppermint for orange extract and add orange zest to the chocolate dough for a chocolate-orange pinwheel inspired by European holiday cookies.
Serving Suggestions
-
Pair with hot cocoa, coffee, or peppermint tea
-
Dip half the cookie in melted dark chocolate for gifting
-
Serve alongside vanilla ice cream for an easy dessert plate
FAQs
Can I make this ahead of time?
Yes. The dough logs can be refrigerated for 3 days or frozen for 2 months. Slice and bake straight from the fridge.
How do I fix common mistakes?
If the dough cracks while rolling, let it rest for 5 minutes. If the swirl loosens, gently tighten the log and re-chill before slicing.
Conclusion
These Chocolate Mint Pinwheel Cookies deliver everything you want in a show-stopping cookie: bold flavor, festive flair, and dependable results. Whether you’re baking for the holidays or stocking your freezer for last-minute treats, this recipe earns a permanent spot in your collection.
If you try it, leave a comment or share it—home bakers across the country love this one. And if you’re in the mood for another classic, try pairing these with a batch of chewy chocolate crinkle cookies for the ultimate dessert spread. Happy baking!

Chocolate Mint Pinwheel Cookies
Ingredients
- Base Dough
- 1 cup 226 g unsalted butter, room temperature
- 1 cup 200 g granulated sugar
- 1 large egg room temperature
- 1 teaspoon vanilla extract
- Dry Ingredients
- 2½ cups 300 g all-purpose flour
- ½ teaspoon baking powder
- ½ teaspoon salt
- Flavor Add-Ins
- ¼ cup unsweetened cocoa powder Dutch-process preferred
- ½ teaspoon peppermint extract
Instructions
- Cream the butter and sugar together until light and fluffy, about 2–3 minutes.
- Beat in the egg and vanilla extract until fully incorporated.
- Divide the dough evenly into two bowls.
- Mix the cocoa powder into one bowl and the peppermint extract into the other.
- Divide the dry ingredients evenly between both doughs and mix just until combined.
- Shape each dough into a flat rectangle, wrap tightly, and chill for 30 minutes.
- Roll each dough between parchment paper into rectangles about ¼-inch thick.
- Place the mint dough on top of the chocolate dough, trimming edges as needed.
- Roll tightly from the long edge to form a log.
- Wrap and chill for at least 2 hours (or freeze for 30 minutes).
- Preheat oven to 350°F (175°C).
- Slice the log into ¼-inch rounds and place on a parchment-lined baking sheet.
- Bake for 10–12 minutes, rotating the pan halfway through.
- Cool on the baking sheet for 5 minutes, then transfer to a wire rack to cool completely.
Notes
- Do not skip chilling; cold dough ensures sharp pinwheel definition.
- Peppermint extract is strong—measure carefully to avoid overpowering flavor.
- Cookies firm up as they cool, so avoid overbaking.
- Dough logs can be sliced straight from the fridge for cleaner cuts.