
If you’ve ever grabbed a packaged honey bun from the store, you know how sweet and comforting they can be. But many store-bought versions are overly processed and lack the soft, fresh flavor of homemade pastries. That’s where these Glazed Homemade Honey Buns come in.
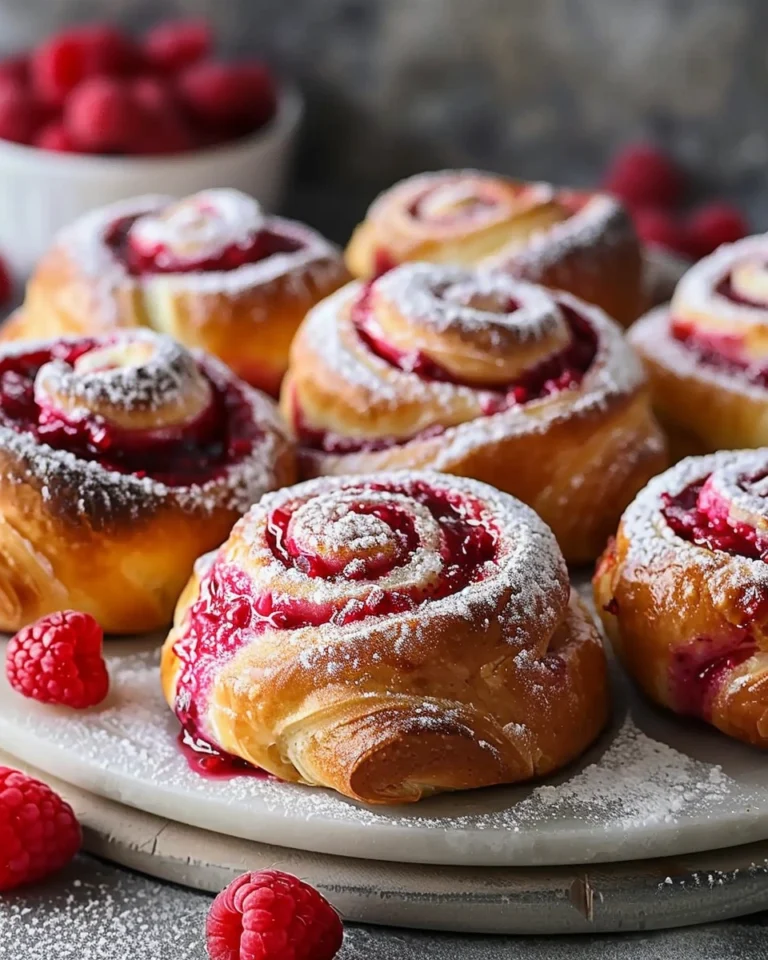
These honey buns are soft, fluffy, and lightly sweet with a swirl of cinnamon sugar inside and a smooth glaze on top. They taste like a mix between a cinnamon roll and a classic donut, but with a warm honey flavor that makes them extra special.
After years of baking sweet breakfast pastries at home, honey buns remain one of my favorite treats to make. They fill the kitchen with an amazing bakery-style aroma and are always a hit with family and friends.
In this guide, you’ll learn how to make the perfect Glazed Homemade Honey Buns, including ingredients, step-by-step instructions, baking tips, flavor variations, storage advice, and answers to common questions.
Why You’ll Love This Recipe
-
Soft and fluffy texture that melts in your mouth
-
Sweet honey flavor that makes these buns unique
-
Homemade glaze for a bakery-style finish
-
Perfect breakfast or snack with coffee or tea
-
Simple ingredients you likely already have
-
Great for sharing with family and friends
These honey buns taste far better than store-bought versions and are surprisingly easy to make.
Ingredients & Prep
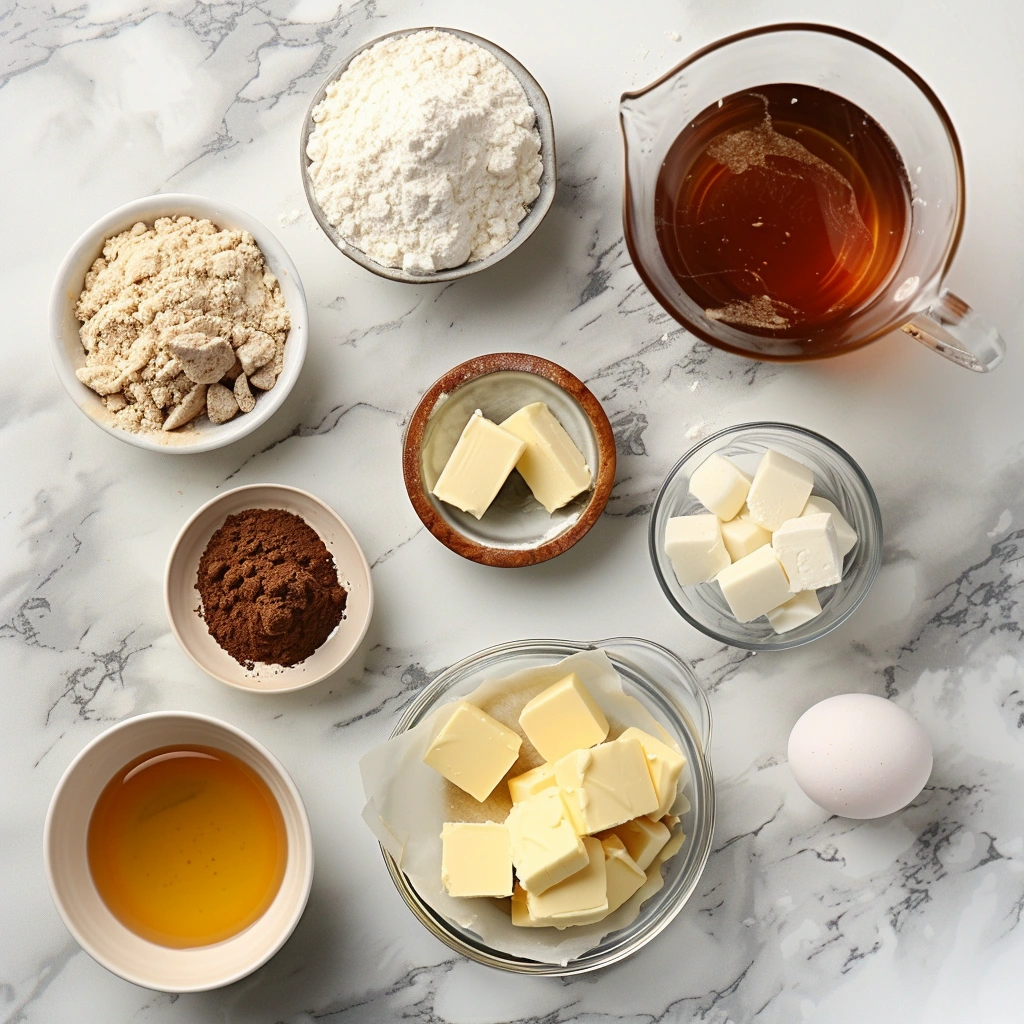
Main Ingredients Prep
To make the best Glazed Homemade Honey Buns, start with a soft yeast dough.
You will need:
-
3 cups all-purpose flour
-
¾ cup warm milk
-
2 tablespoons honey
-
¼ cup granulated sugar
-
2 tablespoons butter, melted
-
1 large egg
-
2 teaspoons active dry yeast
Prep tip
The milk should be warm, not hot—around 105–110°F. This temperature helps activate the yeast without killing it.
Seasonings, Sauces, or Flavor Base
The cinnamon filling gives these honey buns their classic flavor.
-
⅓ cup brown sugar
-
1 teaspoon ground cinnamon
-
2 tablespoons softened butter
-
1 tablespoon honey
This mixture creates the sweet swirl inside each bun.
Pantry Staples
For the glaze, you’ll need:
-
1 cup powdered sugar
-
2 tablespoons milk
-
1 tablespoon honey
-
½ teaspoon vanilla extract
This glaze adds the perfect glossy finish to the Glazed Homemade Honey Buns.
Step-by-Step Cooking Instructions
Pre-Cooking Prep
Before baking, prepare the dough and filling.
-
Warm the milk to about 105–110°F.
-
In a bowl, combine the warm milk, honey, and yeast. Let it sit for 5–10 minutes until foamy.
-
In a large mixing bowl, combine flour, sugar, and a pinch of salt.
This activates the yeast and prepares the base for the dough.
Cooking Method
-
Make the dough
Add the yeast mixture, egg, and melted butter to the dry ingredients. Mix until a soft dough forms.
-
Knead the dough
Knead for about 8–10 minutes until the dough becomes smooth and elastic.
-
First rise
Place the dough in a greased bowl, cover, and let rise for 1 hour or until doubled in size.
-
Prepare the filling
In a small bowl, mix brown sugar, cinnamon, softened butter, and honey.
-
Roll the dough
Roll the dough into a rectangle about ¼ inch thick.
-
Spread the filling
Spread the cinnamon honey mixture evenly across the dough.
-
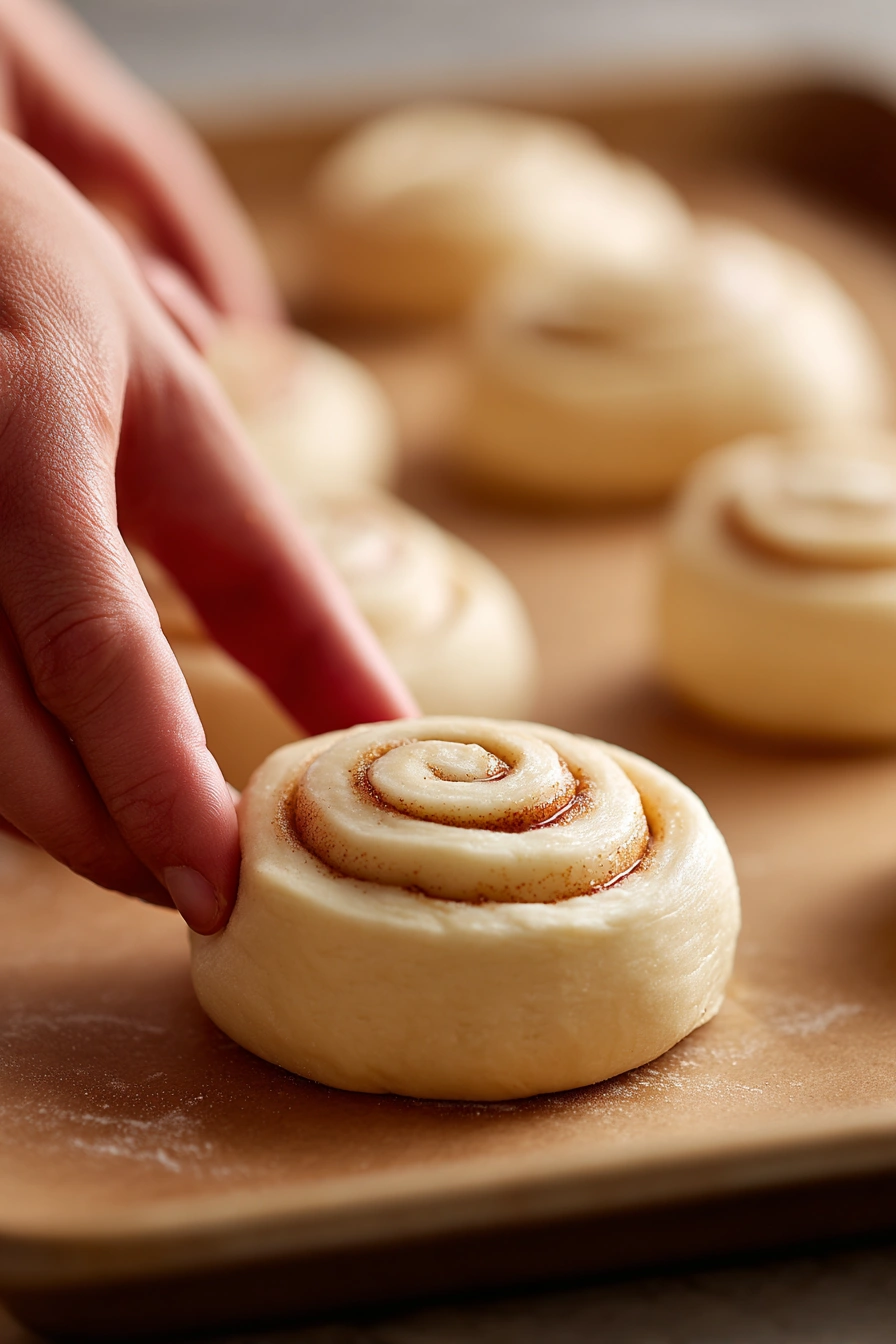
Shape the buns
Roll the dough tightly into a log and slice into 1½ inch pieces.
-
Second rise
Place the buns on a baking sheet and let them rise for 20–30 minutes.
-
Bake
Bake at 350°F (175°C) for 15–18 minutes until golden brown.
Doneness or Texture Check
The honey buns should be lightly golden on top and soft in the center.
If you tap the top gently, it should feel slightly firm but still fluffy.
Resting or Final Touches
Allow the buns to cool for 5–10 minutes.
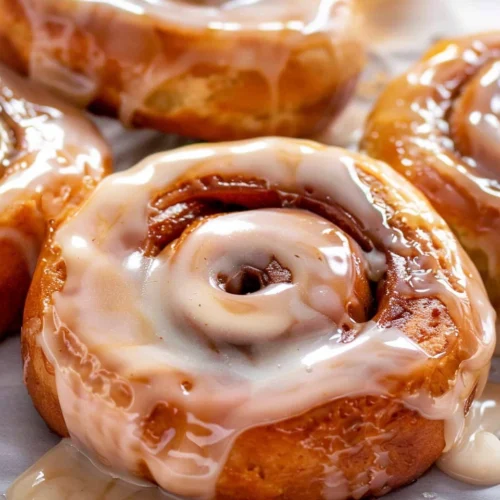
Then drizzle the honey glaze over the warm buns so it melts slightly into the pastry.
This step gives the Glazed Homemade Honey Buns their signature bakery-style finish.
Pro Tips for Perfect Results
Common Mistakes to Avoid
Using milk that’s too hot
High heat can kill the yeast and prevent the dough from rising.
Adding too much flour
Too much flour can make the buns dense instead of soft.
Skipping the second rise
This step helps the buns become fluffy and light.
Recommended Tools
A few helpful tools include:
-
Mixing bowls
-
Rolling pin
-
Baking sheet
-
Pastry brush
-
Dough cutter or sharp knife
These tools make shaping and baking the buns easier.
Storage & Reheating Tips
These Glazed Homemade Honey Buns store well for later.
Room temperature storage
Store in an airtight container for 2 days.
Refrigerator storage
Store up to 5 days.
Freezer storage
Freeze for up to 2 months.
Reheating
Warm in the microwave for 10–15 seconds or in the oven at 300°F for 5 minutes.
Flavor Variations
You can easily customize these honey buns with different flavors.
Spicy Version
Add warm spices to the filling:
-
nutmeg
-
cardamom
-
extra cinnamon
This creates a cozy bakery-style flavor.
Healthy / Special Diet Option
You can adjust the recipe for different needs.
Whole wheat option
Replace half of the flour with whole wheat flour.
Lower sugar version
Reduce the sugar slightly and rely more on honey for sweetness.
Global Flavor Twist
Try international-inspired flavors.
Mediterranean style
Add orange zest and chopped pistachios.
French-inspired version
Add a touch of vanilla bean to the glaze.
Caribbean twist
Use coconut sugar and add a hint of nutmeg.
Serving Suggestions
These Glazed Homemade Honey Buns are perfect for breakfast, brunch, or dessert.
Serve them with:
-
Fresh fruit
-
Greek yogurt
-
Scrambled eggs
-
Smoothies
Drinks that pair well include:
-
Coffee
-
Latte
-
Tea
-
Hot chocolate
You can also serve them warm with extra honey drizzled on top.
FAQs
Can I make this ahead of time?
Yes. You can prepare the dough the night before and let it rise slowly in the refrigerator. The next day, shape and bake the Glazed Homemade Honey Buns fresh.
How do I fix common mistakes?
Buns too dense
The dough may not have risen long enough.
Buns too dry
They may have baked too long. Reduce the baking time slightly next time.
Glaze too thick
Add a small amount of milk until it reaches a smooth, pourable consistency.
Conclusion
These Glazed Homemade Honey Buns are soft, sweet, and packed with warm honey and cinnamon flavor. They’re perfect for weekend baking, special breakfasts, or whenever you want a comforting homemade treat.
Once you try these fresh from the oven, you may never want store-bought honey buns again. They’re fluffy, flavorful, and surprisingly easy to make.
If you enjoyed this recipe, you might also love baking classic cinnamon rolls, homemade glazed donuts, or soft brioche breakfast rolls for another delicious bakery-style treat at home.
Glazed Homemade Honey Buns
Ingredients
- Dough
- 3 cups all-purpose flour
- ¾ cup warm milk 105–110°F
- 2 tablespoons honey
- ¼ cup granulated sugar
- 2 tablespoons butter melted
- 1 large egg
- 2 teaspoons active dry yeast
- ¼ teaspoon salt
- Cinnamon Honey Filling
- ⅓ cup brown sugar
- 1 teaspoon ground cinnamon
- 2 tablespoons softened butter
- 1 tablespoon honey
- Honey Glaze
- 1 cup powdered sugar
- 2 tablespoons milk
- 1 tablespoon honey
- ½ teaspoon vanilla extract
Instructions
- Warm the milk to about 105–110°F. In a small bowl, mix the warm milk, honey, and yeast. Let it sit for 5–10 minutes until foamy.
- In a large mixing bowl, combine flour, sugar, and salt.
- Add the yeast mixture, egg, and melted butter to the dry ingredients. Mix until a soft dough forms.
- Knead the dough for 8–10 minutes until smooth and elastic.
- Place the dough in a greased bowl, cover, and let it rise for 1 hour or until doubled in size.
- In a small bowl, mix brown sugar, cinnamon, softened butter, and honey to make the filling.
- Roll the dough into a rectangle about ¼ inch thick.
- Spread the cinnamon honey filling evenly over the dough.
- Roll the dough tightly into a log and slice into 1½-inch pieces.
- Place the buns on a baking sheet and allow them to rise again for 20–30 minutes.
- Bake at 350°F (175°C) for 15–18 minutes until lightly golden.
- While the buns cool slightly, whisk together powdered sugar, milk, honey, and vanilla extract to make the glaze.
- Drizzle the glaze over the warm honey buns before serving.
Notes
- Make sure the milk is warm but not hot to properly activate the yeast.
- Avoid adding too much flour, which can make the buns dense instead of soft.
- Let the buns cool slightly before glazing so the glaze melts perfectly over the top.
- These buns taste best warm but store well for later.