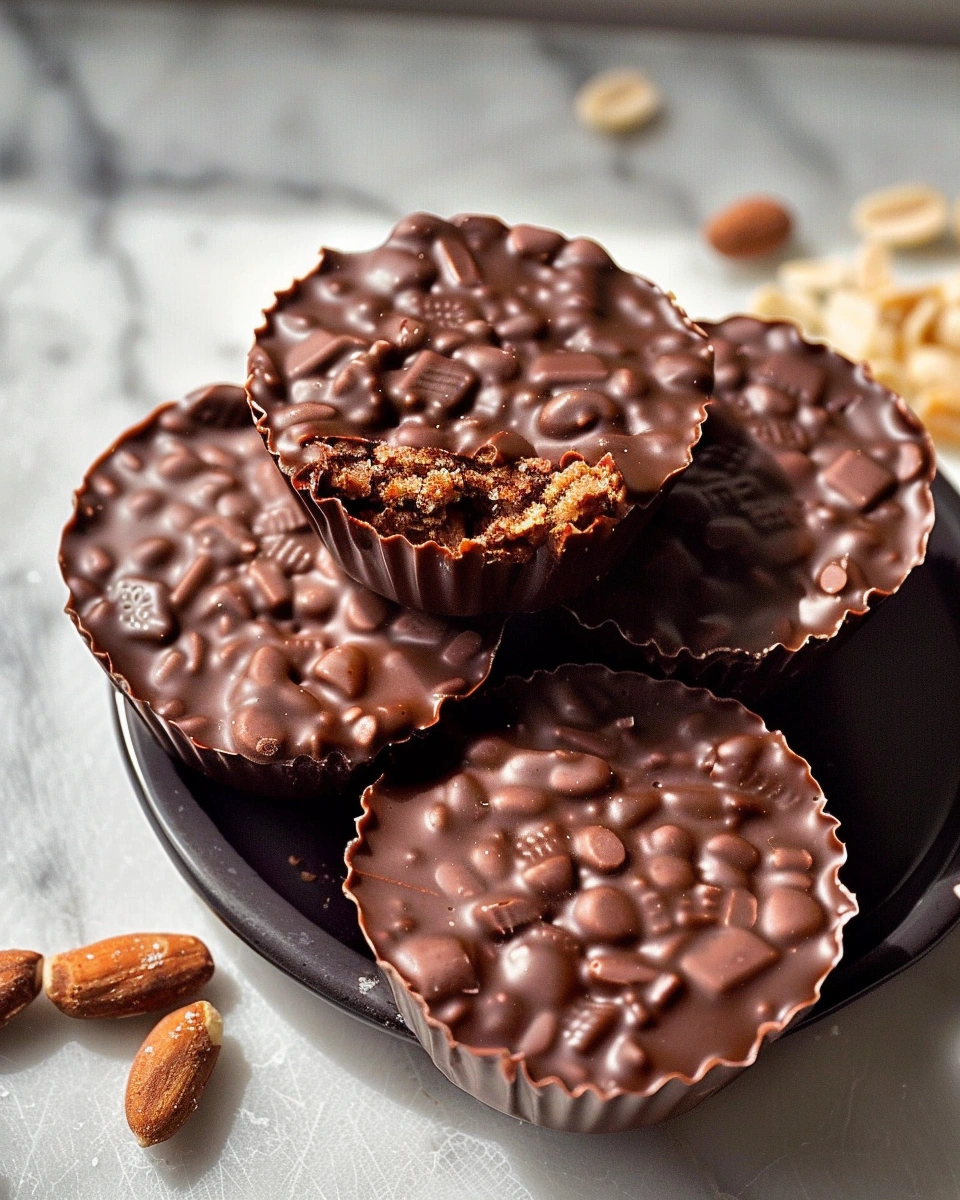
If you’re looking for a dessert that’s ridiculously easy, incredibly satisfying, and guaranteed to impress, chocolate peanut butter crunch cups might just become your new go-to. They hit that perfect balance of creamy, crunchy, sweet, and salty—without requiring complicated baking skills or hours in the kitchen.
Whether you want a quick snack, a party dessert, or something to satisfy late-night cravings, this recipe delivers big flavor with minimal effort. Let’s dive into everything you need to know to make these irresistible treats at home.
Why Chocolate Peanut Butter Crunch Cups Are So Popular
There’s a reason people can’t stop making these. You get the classic combination of chocolate and peanut butter—but with a crunchy twist that takes it to the next level.
Here’s why you’ll love them:
- No baking required – perfect for beginners
- Minimal ingredients – most are pantry staples
- Customizable – easy to tweak flavors and textures
- Quick prep time – ready in under 30 minutes (plus chilling)
- Kid-friendly and adult-approved
If you’ve ever loved peanut butter cups from the store, this homemade version will completely win you over.
Ingredients You’ll Need
To make chocolate peanut butter crunch cups, you only need a handful of simple ingredients:
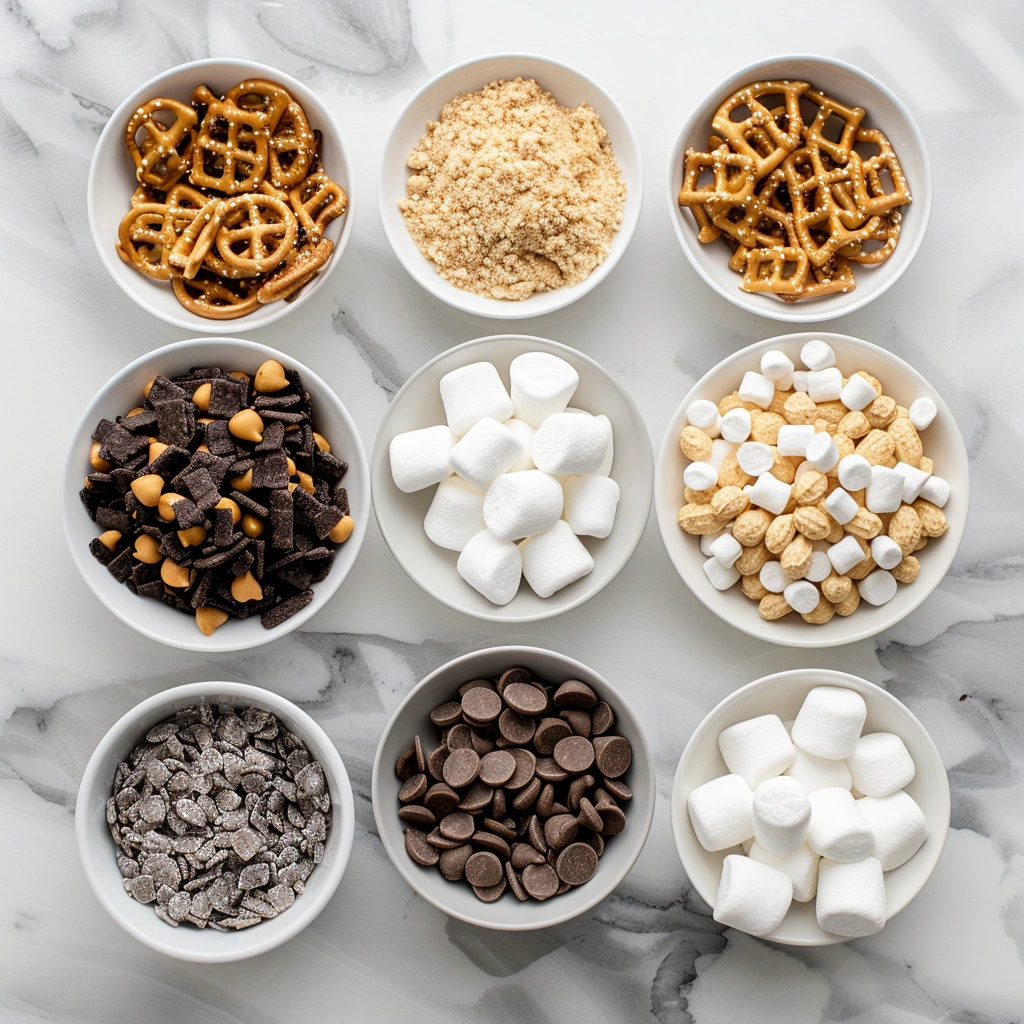
For the chocolate layers:
- 2 cups chocolate chips (milk or dark)
- 1 tablespoon coconut oil (optional, for smoother melting)
For the peanut butter crunch filling:
- 1 cup creamy peanut butter
- 2 tablespoons powdered sugar (optional for sweetness)
- 1 ½ cups crispy rice cereal (like Rice Krispies)
- 1 teaspoon vanilla extract
Optional add-ins:
- Crushed pretzels (for extra crunch + salt)
- Chopped peanuts
- Sea salt flakes
- Mini marshmallows
How to Make Chocolate Peanut Butter Crunch Cups
You don’t need fancy tools—just a muffin tin and some liners.
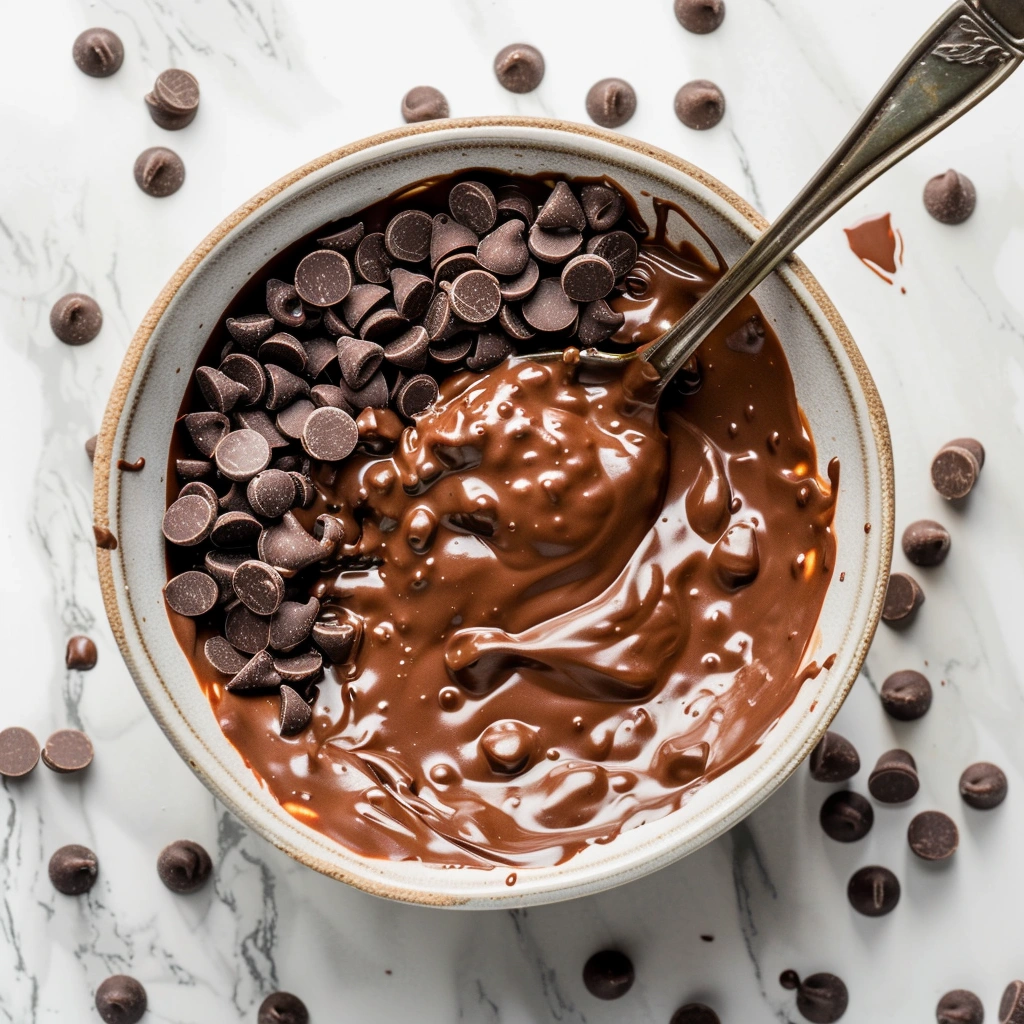
Step 1: Melt the Chocolate
Melt your chocolate chips in the microwave in 20–30 second intervals, stirring in between. Add coconut oil if you want a smoother texture.
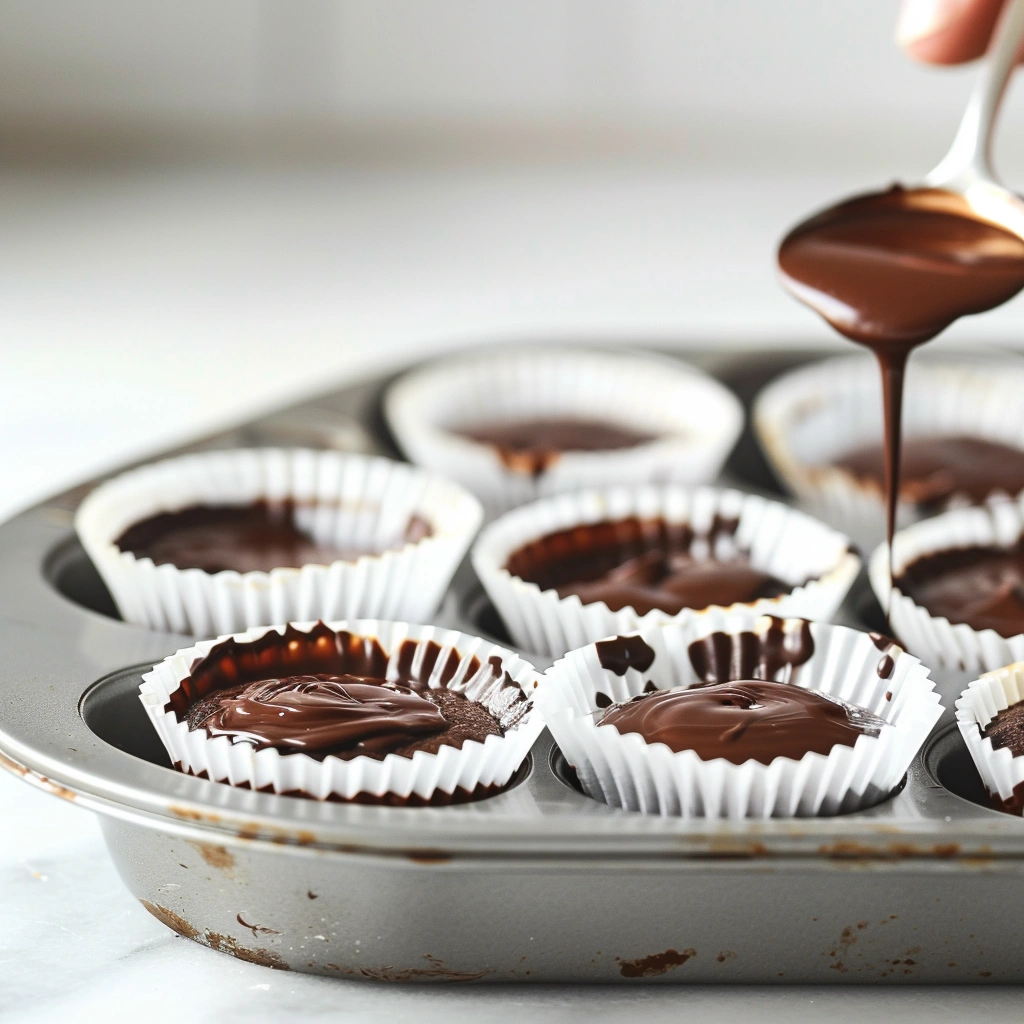
Step 2: Create the Base Layer
- Line a muffin tin with paper liners
- Add about 1 tablespoon of melted chocolate into each cup
- Spread it evenly across the bottom
Place the tray in the fridge for 10 minutes to set.
Step 3: Make the Crunch Filling
In a bowl, mix:
- Peanut butter
- Powdered sugar
- Vanilla extract
Then fold in the crispy rice cereal until fully coated.
Step 4: Add the Crunch Layer
Scoop the peanut butter mixture onto the hardened chocolate base. Gently press it down so it forms an even layer.
Step 5: Top with More Chocolate
Pour another layer of melted chocolate over the top, covering the filling completely.
Step 6: Chill and Set
Refrigerate for at least 30–60 minutes until fully set.
Once firm, peel off the liners—and they’re ready to eat.
Tips for Perfect Crunch Cups Every Time
Making chocolate peanut butter crunch cups is easy, but these tips will take yours from good to amazing:
Use high-quality chocolate
Better chocolate = better flavor. It makes a noticeable difference.
Don’t skip the chill time
Let each layer set properly so your cups don’t fall apart.
Adjust sweetness to taste
If your peanut butter is already sweet, you can skip the powdered sugar.
Keep the crunch intact
Add cereal last and mix gently so it stays crispy.
Add a finishing touch
Sprinkle sea salt on top before chilling for a gourmet feel.
Easy Variations You Can Try
Once you’ve mastered the basic recipe, you can switch things up in fun ways:
1. White Chocolate Version
Swap milk/dark chocolate for white chocolate for a sweeter twist.
2. Extra Crunch Delight
Mix in:
- Crushed pretzels
- Roasted peanuts
This adds both texture and a salty kick.
3. Healthier Option
- Use natural peanut butter
- Choose dark chocolate (70%+)
- Skip added sugar
4. Vegan Version
- Use dairy-free chocolate chips
- Ensure cereal is vegan-friendly
5. Protein Boost
Add a scoop of protein powder to the peanut butter mix for a snack that fuels you.
How to Store Your Chocolate Peanut Butter Crunch Cups
Proper storage keeps them tasting fresh and delicious.
- Fridge: Store in an airtight container for up to 1 week
- Freezer: Keeps well for up to 2 months
- Room temperature: Fine for a few hours, but may soften
If you like a firmer texture, eat them straight from the fridge. Prefer softer? Let them sit out for 5 minutes.
When to Serve These Delicious Treats
Chocolate peanut butter crunch cups are incredibly versatile. You can serve them:
- As a quick snack
- At birthday parties
- During holidays
- As a homemade gift
- After dinner as a light dessert
They’re also perfect when you need something impressive but don’t have time for complicated baking.
Common Mistakes to Avoid
Even simple recipes can go wrong if you’re not careful.
Here’s what to watch out for:
- Overheating chocolate → leads to clumping or burning
- Too much cereal → filling becomes dry and crumbly
- Skipping liners → cups stick to the pan
- Uneven layers → messy final look
Keep things balanced and simple, and you’ll nail it every time.
FAQ: Chocolate Peanut Butter Crunch Cups
1. Can you make chocolate peanut butter crunch cups without peanut butter?
Yes! You can substitute almond butter, cashew butter, or sunflower seed butter for a nut-free option.
2. Why are my crunch cups falling apart?
This usually happens if the chocolate layers are too thin or not fully set before adding the filling.
3. Can I make these ahead of time?
Absolutely. They store very well in the fridge or freezer, making them perfect for prepping in advance.
4. What cereal works best?
Crispy rice cereal is the most popular choice, but you can also try cornflakes or crushed graham crackers.
5. Are chocolate peanut butter crunch cups gluten-free?
They can be—just make sure your cereal and chocolate are labeled gluten-free.
6. Can I use chunky peanut butter?
Yes! It adds even more texture and crunch.
Final Thoughts: Time to Make Your Own
Chocolate peanut butter crunch cups are one of those recipes you’ll come back to again and again. They’re simple, flexible, and always a crowd-pleaser. Plus, once you realize how easy they are, store-bought versions just won’t compare.
Now it’s your turn—grab your ingredients, follow the steps, and make a batch today. You might want to double it… because they disappear fast.
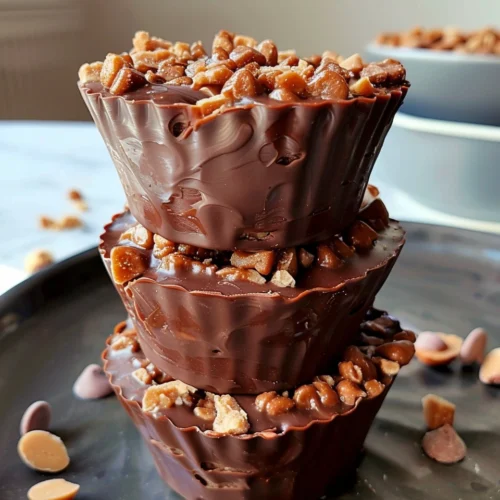
Chocolate Peanut Butter Crunch Cups
Ingredients
- For the chocolate layers:
- 2 cups chocolate chips milk or dark
- 1 tablespoon coconut oil optional
- For the peanut butter crunch filling:
- 1 cup creamy peanut butter
- 2 tablespoons powdered sugar optional
- 1 ½ cups crispy rice cereal
- 1 teaspoon vanilla extract
- Optional add-ins:
- Crushed pretzels
- Chopped peanuts
- Sea salt flakes
- Mini marshmallows
Instructions
- Melt chocolate chips in the microwave in 20–30 second intervals, stirring between each round. Add coconut oil if desired.
- Line a muffin tin with paper liners and add about 1 tablespoon of melted chocolate into each cup. Spread evenly.
- Refrigerate for 10 minutes until the base sets.
- In a bowl, mix peanut butter, powdered sugar, and vanilla extract.
- Fold in crispy rice cereal gently until coated.
- Scoop the peanut butter mixture onto the chocolate base and press evenly.
- Pour remaining melted chocolate over the top to fully cover the filling.
- Refrigerate for 30–60 minutes until fully set.
- Remove liners and serve.
Notes
- Use high-quality chocolate for better flavor.
- Let each layer set properly before adding the next.
- Adjust sweetness depending on your peanut butter.
- Mix cereal gently to maintain crunch.
- Add sea salt on top for a sweet-salty finish.