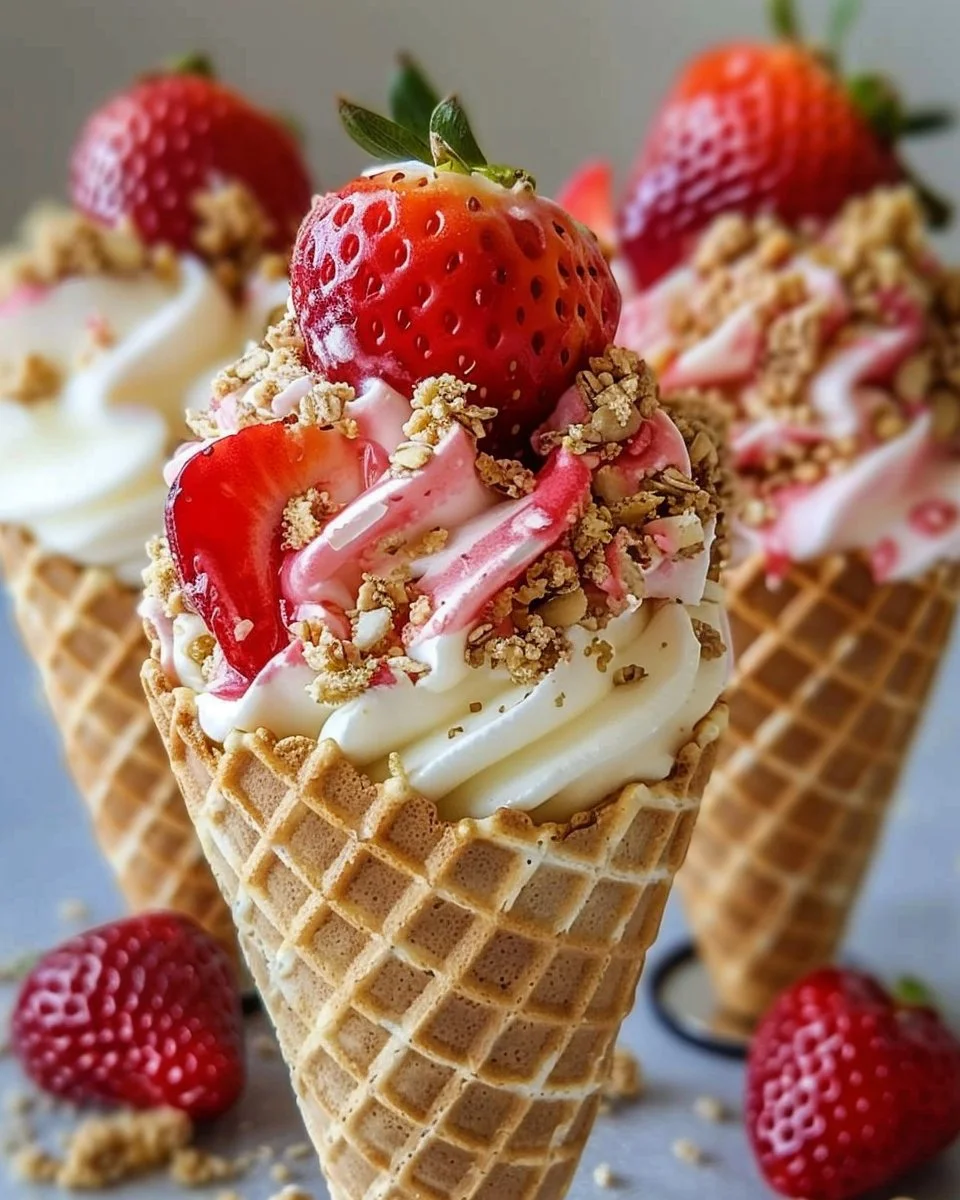
The Delight of Strawberry Crunch Cheesecake Cones
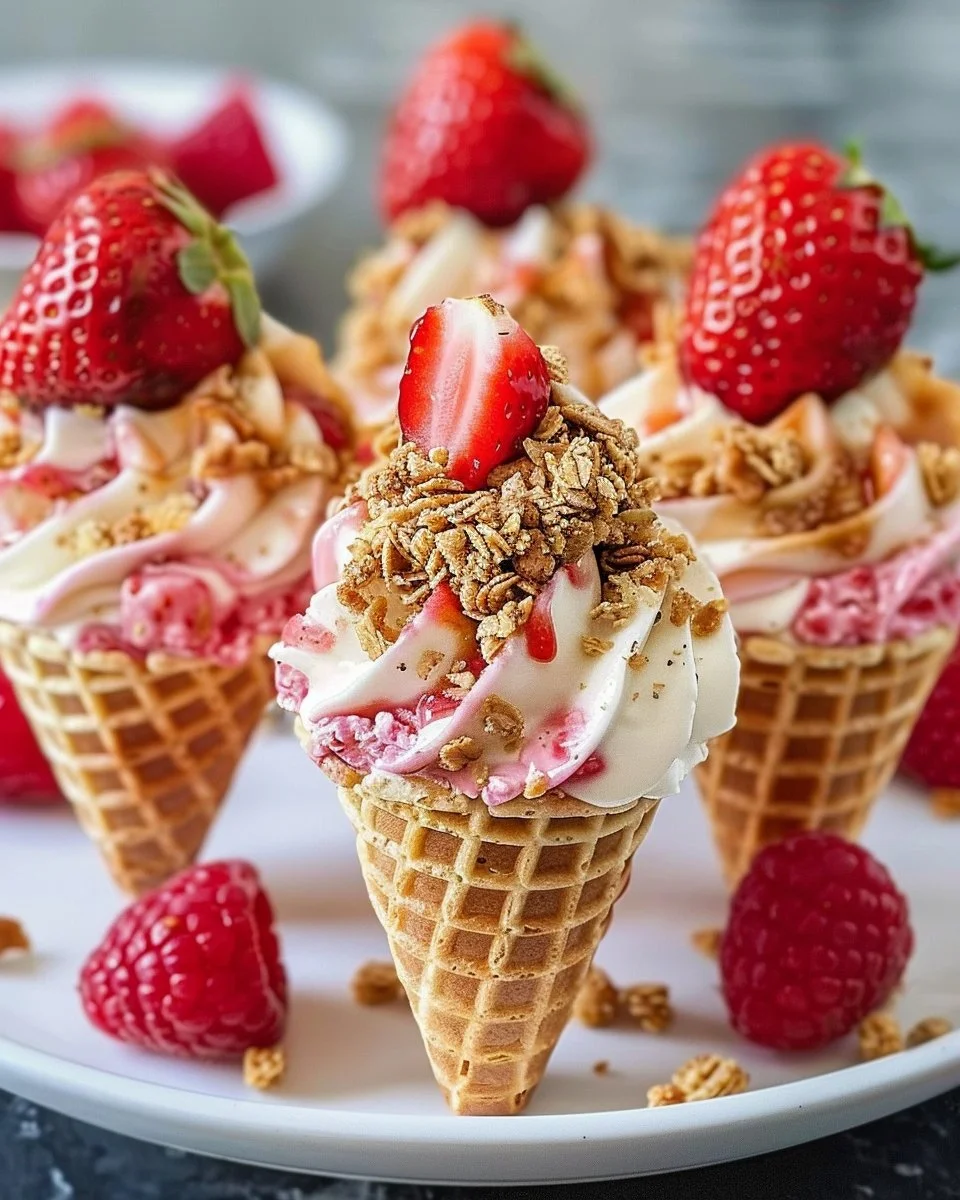
When the temperatures rise and cravings for something sweet awaken, nothing hits the spot quite like a Strawberry Crunch Cheesecake Cone. Imagine a crispy waffle cone filled to the brim with a luscious and creamy cheesecake mixture adorned with vibrant strawberry chunks and a delightful crunch. It’s not just a dessert; it’s an experience. This delicious treat transforms a classic favorite into a fun and portable snack ideal for picnics, parties, or even a cozy night in. So, why settle for plain cheesecake when you can create a more exciting variation that looks just as good as it tastes?
Why Strawberry Crunch Cheesecake Cones Are the Perfect Treat
In a world where desserts often feel heavy and overwhelming, Strawberry Crunch Cheesecake Cones bring joy without the dreaded sugar overload. They are light, fruity, and bursting with flavors that remind you of warm summer days and good times with loved ones. Here’s why these cones matter:
- Visual Appeal: The vibrant red strawberries against the creamy cheesecake and the crunchy topping make this dessert a stunner.
- Personalized Portions: Each cone can be a personal masterpiece, allowing for creativity in presentation and flavor.
- Easy Preparation: With simple ingredients and steps, you can whip these up in no time, making them a great option for spontaneous gatherings.

Get Ready to Indulge: What You’ll Need
Before diving into the making process, let’s gather our ingredients for these delightful Strawberry Crunch Cheesecake Cones:
- 1 cup fresh strawberries, hulled and diced
- 1/4 cup granulated sugar
- 1 tablespoon lemon juice
- 8 ounces cream cheese, softened
- 1/2 cup powdered sugar
- 1 teaspoon vanilla extract
- 1 cup heavy whipping cream
- 1/2 cup crushed vanilla wafer cookies
- 1/2 cup crushed freeze-dried strawberries
- 6 waffle cones
Make sure you have these on hand to streamline your preparation!
Crafting Your Dessert: Step-by-Step Guide
Creating these cones is easier than you might think! Follow these simple steps to assemble a dessert that’ll wow your family and friends.
- Prepare the Strawberries: In a bowl, mix the diced strawberries with the granulated sugar and lemon juice. Allow this mixture to sit for about 10 minutes to macerate. This will enhance the sweetness of the strawberries and create a delicious syrup.
- Make the Cheesecake Mixture: In another bowl, beat the softened cream cheese until smooth. Gradually add the powdered sugar and vanilla extract, mixing until light and fluffy.
- Whip the Cream: In a separate large bowl, whip the heavy cream until stiff peaks form. This will provide a fluffy texture to your cheesecake filling.
- Combine: Gently fold the whipped cream into the cream cheese mixture. Then, carefully stir in the macerated strawberries along with their syrup. Keep folding until everything is well combined.
- Build the Base: In a bowl, mix the crushed vanilla wafer cookies with half of the crushed freeze-dried strawberries. This will serve as the crunch layer in your cones.
- Fill the Cones: Start by layering some of the cookie mixture at the bottom of each waffle cone. Follow this by spooning in your creamy cheesecake mixture, letting it mound slightly above the rim.
- Top with Crunch: Finally, sprinkle the remaining crushed freeze-dried strawberries on top for a beautiful finishing touch.
- Chill: Place the completed cones in the fridge for at least 30 minutes before serving. This will help the mixture set a bit more and ensure a creamy treat.
Expert Tips for Perfect Strawberry Crunch Cheesecake Cones
To elevate your dessert game, consider these pro tips:
- Don’t Rush the Chilling: Allowing the cones to cool helps the cheesecake filling firm up, making for a better eating experience.
- Mix up the Flavors: Feel free to experiment with other fruits like blueberries or raspberries, or perhaps add a splash of almond extract for a twist.
- Presentation is Key: Dust your cones with powdered sugar or drizzle chocolate syrup over them for an extra touch of elegance.
Troubleshooting Common Pitfalls
While making dessert can be a joy, sometimes things don’t go as planned. Here are a few common issues and their fixes:
- Too Watery Filling: If your cheesecake mixture is too loose, try adding more powdered sugar to thicken it. Ensure your cream cheese is properly softened for better mixing.
- Waffle Cones Crumbling: Keep your cones stored upright in the fridge, or fill them as close to serving time as possible to maintain their crunch.
Storage Tips for Leftovers
If you happen to have any leftover cheesecake filling (which is unlikely!), you can store it in an airtight container in the refrigerator for up to 2 days. Unfortunately, filled cones won’t store well, as the waffle cones lose their texture after a few hours. To keep everything fresh, fill your cones only as you’re ready to serve!
Serving Suggestions
These Strawberry Crunch Cheesecake Cones are perfect for various occasions:
- Summer Picnics: Pack them along with refreshing drinks for a delightful picnic treat.
- Kids’ Birthday Parties: Kids will love the fun of holding their own cones!
- Movie Nights: Pair them with a chilled drink and you’ve got the perfect family dessert.
FAQs About Strawberry Crunch Cheesecake Cones
1. Can I make Strawberry Crunch Cheesecake Cones in advance?
Yes, you can prepare the cheesecake mixture and assemble the cones the day of serving for the best texture.
2. What can I substitute for strawberries?
You can use other berries, like raspberries or blueberries, depending on your preference.
3. How should I store leftover Strawberry Crunch Cheesecake Cones?
It’s best to store the cheesecake filling in the fridge and fill the cones as needed for optimal freshness.
4. Are Strawberry Crunch Cheesecake Cones gluten-free?
They can be made gluten-free by using gluten-free waffle cones and checking the labels on your other ingredients.
Conclusion: Enjoy Your Sweet Creation
Strawberry Crunch Cheesecake Cones deliver the perfect blend of flavor, texture, and visual appeal, making them a go-to dessert for any occasion. From their vibrant strawberry goodness to the creamy cheesecake filling, every bite is a reminder of sun-kissed days and joyful moments. So, why not treat yourself and your loved ones to this delectable delight? Embrace your inner pastry chef, gather your ingredients, and let the memories (and flavors) unfold!

Strawberry Crunch Cheesecake Cones
Ingredients
For the Cheesecake Filling
- 8 ounces cream cheese, softened
- 1/2 cup powdered sugar
- 1 teaspoon vanilla extract
- 1 cup heavy whipping cream whipped to stiff peaks
- 1 cup fresh strawberries, hulled and diced macerated with sugar and lemon juice
- 1/4 cup granulated sugar for macerating strawberries
- 1 tablespoon lemon juice for macerating strawberries
For the Crunch Layer
- 1/2 cup crushed vanilla wafer cookies
- 1/2 cup crushed freeze-dried strawberries divided
For Assembly
- 6 pieces waffle cones
Instructions
Preparation
- In a bowl, mix the diced strawberries with the granulated sugar and lemon juice. Allow to sit for about 10 minutes.
- In another bowl, beat the softened cream cheese until smooth, then gradually add the powdered sugar and vanilla extract, mixing until light and fluffy.
- In a separate bowl, whip the heavy cream until stiff peaks form.
- Gently fold the whipped cream into the cream cheese mixture. Stir in the macerated strawberries along with their syrup.
- In a bowl, mix the crushed vanilla wafer cookies with half of the crushed freeze-dried strawberries.
Assembly
- Layer some of the cookie mixture at the bottom of each waffle cone.
- Spoon in the cheesecake mixture, letting it mound slightly above the rim.
- Sprinkle the remaining crushed freeze-dried strawberries on top.
- Chill the completed cones in the fridge for at least 30 minutes before serving.