Kimchi Can Home: Easy Beginner Guide
Have you ever tasted kimchi and wondered how this vibrant, tangy dish finds its way into nearly every Korean meal? The DIY tradition of kimchi-making isn’t just a cultural norm; it’s a rite of passage for many households. But fear not! You don’t need to be an expert or have a well-stocked kitchen to get started. In this guide, we’ll unravel the mysteries of kimchi, making it accessible for beginners ready to bring this umami-packed delight into their homes. Let’s dive into the world of kimchi and explore how you can craft this beloved staple right in your own kitchen!
Why You Should Try Making Kimchi at Home
Beyond its bold flavor, kimchi holds a special place in the hearts of many due to its health benefits and versatility. The fermentation process enriches kimchi with probiotics, which are beneficial for gut health. Making kimchi at home allows you to customize flavors and ingredients according to your palate while enjoying the satisfaction of crafting something delicious.
Imagine the endless possibilities: a spicy side dish, a unique addition to sandwiches, or even a key ingredient in comforting stews. The beauty of homemade kimchi is that you control everything, from the spice levels to additional flavor boosters like garlic or ginger. Plus, the scent of fermenting vegetables filling your kitchen is a sensory delight all on its own!

Essential Ingredients for Your Kimchi Journey
Getting started with kimchi requires just a handful of ingredients and some basic kitchen tools. Here’s what you’ll need:
- Napa Cabbage: The star of the show.
- Korean Red Pepper Flakes (Gochugaru): For that signature heat and color.
- Garlic: Freshly minced for depth of flavor.
- Ginger: Adds a hint of aromatic flair.
- Fish Sauce or Soy Sauce: For umami richness (use soy sauce for a vegetarian option).
- Chives or Green Onions: For added freshness.
- Salt: Essential for drawing out moisture from vegetables.
Tools:
- A large mixing bowl
- A sharp knife
- A cutting board
- A glass jar or fermentation container with an airtight lid
Step-by-Step Guide to Making Kimchi
Now that we have our ingredients lined up, let’s roll up our sleeves and get to work. Here’s a simple step-by-step guide to creating your very own kimchi:
- Prepare the Ingredients:
- Cut the napa cabbage into quarters and then into bite-sized pieces. Rinse well in cold water.
- Sprinkle salt evenly over the cabbage and let it sit for about two hours, turning occasionally to ensure even salting.
- Make the Paste:
- In a small bowl, combine gochugaru with minced garlic, minced ginger, fish sauce, and a splash of water to create a paste. Adjust the number of chili flakes based on your heat preference.
- Mix in the Vegetables:
- After the cabbage has softened, rinse away excess salt and drain thoroughly.
- In a large mixing bowl, combine the cabbage, chives, and the chili paste. Use your hands (gloves recommended) to mix everything thoroughly, ensuring every piece is coated with the paste.
- Pack the Jar:
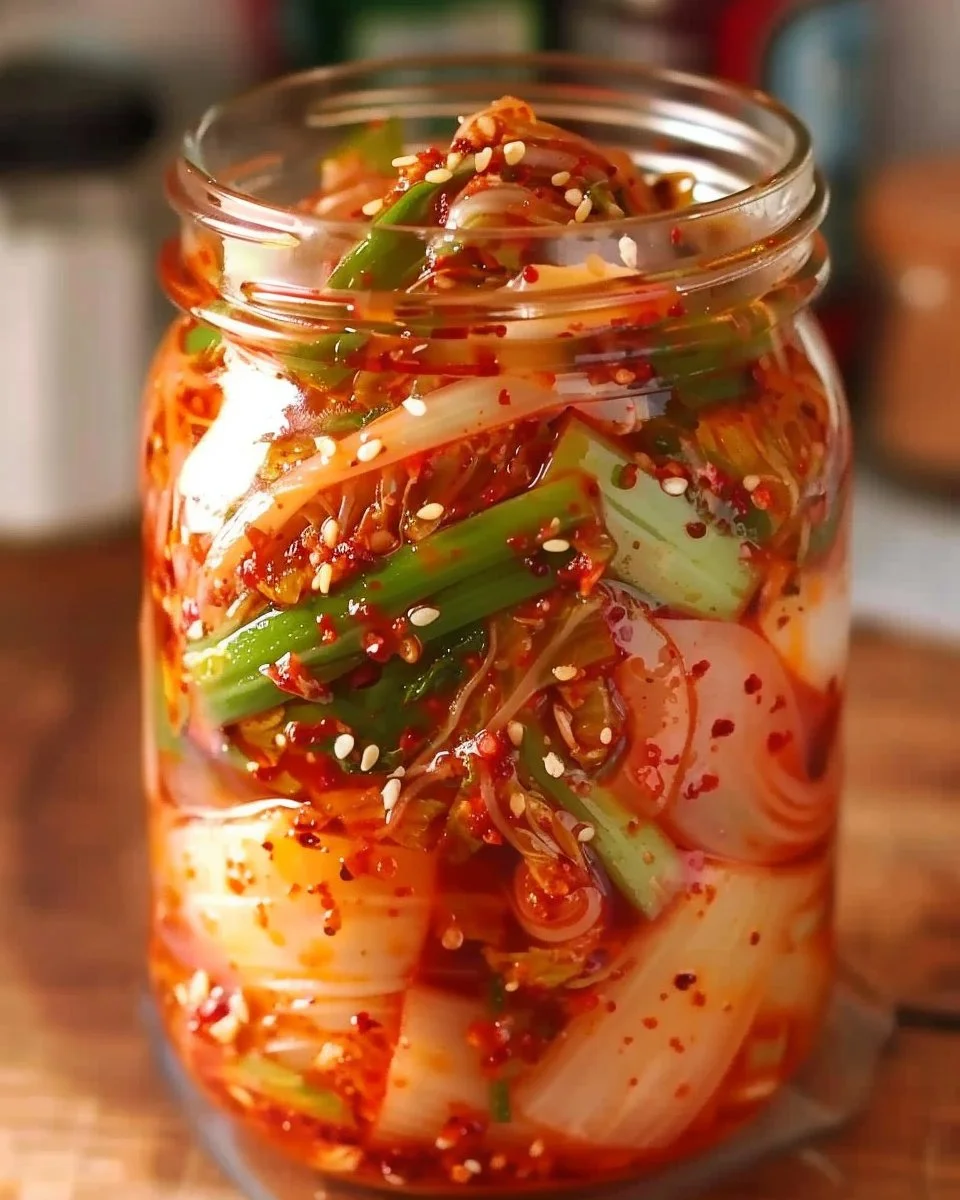
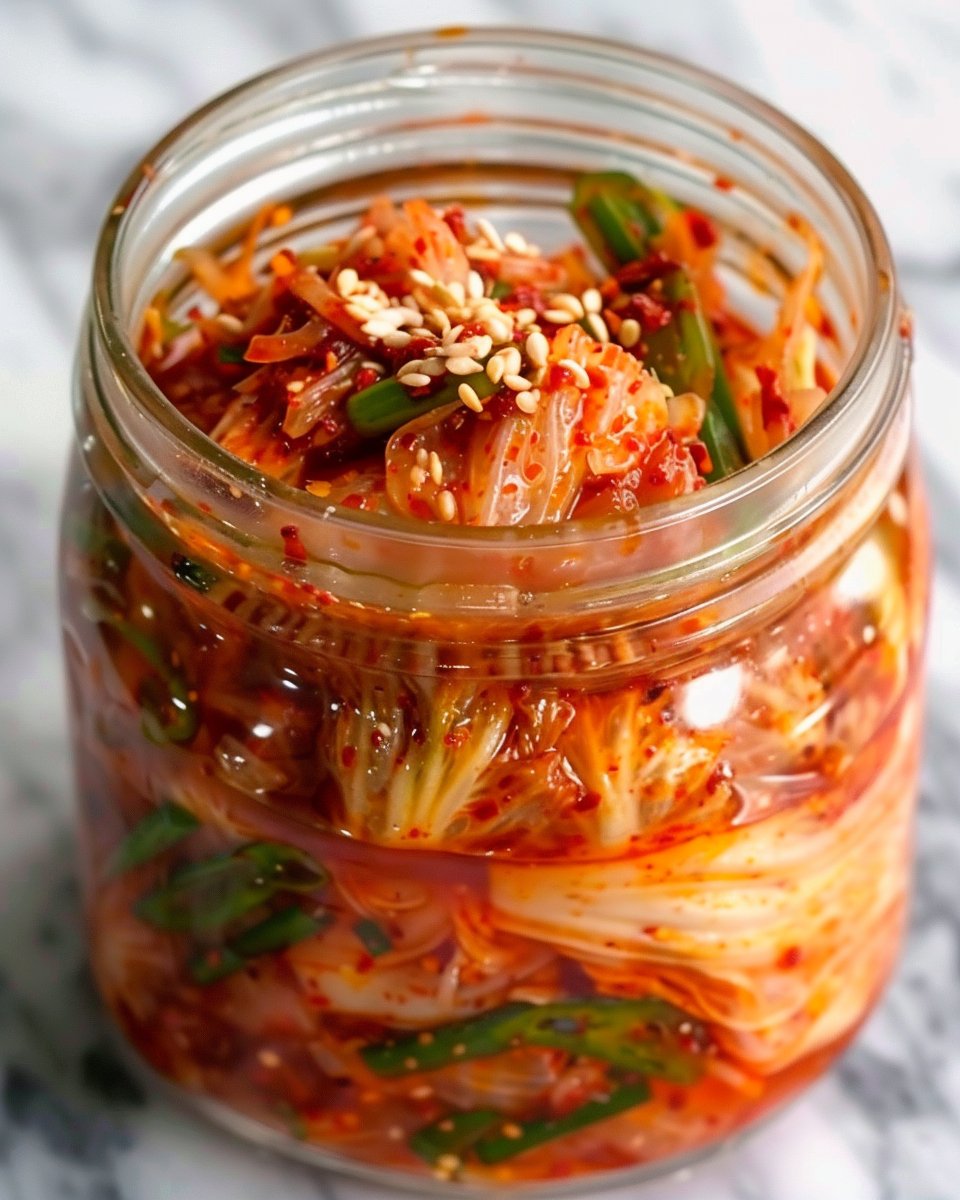
- Transfer the mixture into a glass jar, pushing down firmly to eliminate air bubbles. Leave about an inch at the top to allow for fermentation.
- Ferment:
- Seal the jar tightly and leave it at room temperature for about one to two days. You can taste test it daily. When it reaches your desired tanginess, transfer it to the fridge.
Tips from the Pros for Perfect Kimchi Every Time
- Choose the Right Cabbage: Fresh and firm napa cabbage is key for texture and flavor.
- Experiment with Ingredients: Feel free to incorporate other vegetables like radishes or carrots for added crunch and flavor variations.
- Monitor the Fermentation: The fermentation process can vary depending on your kitchen environment. Warmer rooms will ferment faster, so adapt accordingly.
- Use Airtight Containers: This helps prevent any unwanted odors in your fridge and preserves the flavor of your kimchi.
Common Mistakes to Avoid
- Using Too Much Salt: While salt is crucial for fermentation, too much can result in overly salty kimchi.
- Neglecting Cleanliness: Ensure that all utensils and containers are clean to prevent contamination.
- Rushing the Fermentation: Allowing your kimchi to ferment adequately yields the best flavors, so patience is key.
Serving Ideas: How to Enjoy Your Kimchi
The first taste of your homemade kimchi is bound to get you hooked. Here are some creative ways to use it:
- As a Side Dish: Serve it alongside steamed rice or grilled meats for a traditional experience.
- In Tacos: Add kimchi to tacos for a spicy, unique twist.
- In Pancakes: Mix kimchi into batter for savory pancakes.
- In Stir-Fries: Toss it in a quick stir-fry for an umami explosion.
Store and Maintain Your Kimchi
Once your kimchi is ready and fermented, it will last in your fridge for several weeks! Just make sure to keep it in an airtight jar to preserve its flavor and crunch. Over time, kimchi will continue to ferment and become more sour—some people love it that way!
From Kitchen to Table: Real-World Insights
The beauty of kimchi is its adaptability to personal tastes and dietary preferences. Many families have their own secret recipes passed down through generations. Don’t hesitate to experiment! Use seasonal vegetables, adjust spice levels, or try your hand at variations like cauliflower kimchi or kimchi made with kale. The world is your oyster—or rather, your napa cabbage!
Frequently Asked Questions
1. What is kimchi, and why should I eat it?
Kimchi is a traditional Korean dish made from fermented vegetables, primarily napa cabbage, known for its bold flavor and numerous health benefits.
2. Can I make vegan kimchi?
Yes! Simply omit fish sauce and incorporate soy sauce or a vegan alternative instead.
3. How long does kimchi keep in the fridge?
Properly stored in an airtight container, kimchi can last for several weeks, becoming tangier over time.
4. Is making kimchi at home difficult?
Not at all! With just a few simple steps and ingredients, even a novice can successfully make delicious kimchi.
5. Can I add other vegetables to my kimchi?
Absolutely! Feel free to personalize your kimchi with additional ingredients like radishes, cucumbers, and green onions.
Wrap-up: Your Kimchi Adventure Awaits!
Making kimchi at home doesn’t just give you a delicious dish; it opens a doorway to an entire world of flavors and experiences. From the initial crunch of the fresh cabbage to the multifaceted flavors that develop through fermentation, the journey of kimchi is as fulfilling as the end result. So gather your ingredients, unleash your creativity, and enjoy the satisfying process of crafting this vibrant and cherished staple. Happy kimchi-making!

Homemade Kimchi
Ingredients
Main Ingredients
- 1 head Napa Cabbage The star of the show.
- 1/2 cup Korean Red Pepper Flakes (Gochugaru) For that signature heat and color.
- 5 cloves Garlic, minced Freshly minced for depth of flavor.
- 1 tbsp Ginger, minced Adds a hint of aromatic flair.
- 1/4 cup Fish Sauce or Soy Sauce For umami richness (use soy sauce for vegetarian option).
- 1 bunch Chives or Green Onions For added freshness.
- 1 tbsp Salt Essential for drawing out moisture from vegetables.
Instructions
Preparation
- Cut the napa cabbage into quarters and then into bite-sized pieces. Rinse well in cold water.
- Sprinkle salt evenly over the cabbage and let it sit for about two hours, turning occasionally to ensure even salting.
Making the Paste
- In a small bowl, combine gochugaru with minced garlic, minced ginger, fish sauce, and a splash of water to create a paste. Adjust the number of chili flakes based on your heat preference.
Mixing in the Vegetables
- After the cabbage has softened, rinse away excess salt and drain thoroughly.
- In a large mixing bowl, combine the cabbage, chives, and the chili paste. Use your hands (gloves recommended) to mix everything thoroughly, ensuring every piece is coated with the paste.
Packing the Jar
- Transfer the mixture into a glass jar, pushing down firmly to eliminate air bubbles. Leave about an inch at the top to allow for fermentation.
Fermentation
- Seal the jar tightly and leave it at room temperature for about one to two days. You can taste test it daily. When it reaches your desired tanginess, transfer it to the fridge.