
If you’ve ever baked sugar cookies only to end up with flat, spread-out cookies that lose their shape, you’re not alone. That’s a common frustration, especially when you want something that looks just as good as it tastes. These Classic Sugar Cookie Cups solve that problem in the best way possible.
Instead of worrying about perfect cutouts, you bake the dough right into a muffin pan, creating soft, buttery cookie cups with a tender center and lightly crisp edges. They’re adorable, easy, and perfect for filling with frosting, chocolate, fruit, or even cheesecake filling.
As a longtime home baker and recipe blogger, I’ve tested sugar cookie dough more times than I can count. This version is dependable, simple, and made with everyday ingredients. In this post, I’ll walk you through the ingredients, step-by-step instructions, pro tips, fun variations, and answers to common questions so your Classic Sugar Cookie Cups turn out perfect every time.
Why You’ll Love This Recipe
-
Amazing flavor: Buttery, sweet, and perfectly balanced without being overly sugary
-
Easy to make: No rolling pins, no cookie cutters, no chilling required
-
Super versatile: Fill them with frosting, pudding, ganache, or fruit for any occasion
Ingredients & Prep
These Classic Sugar Cookie Cups use simple pantry staples, which makes them great for last-minute baking.
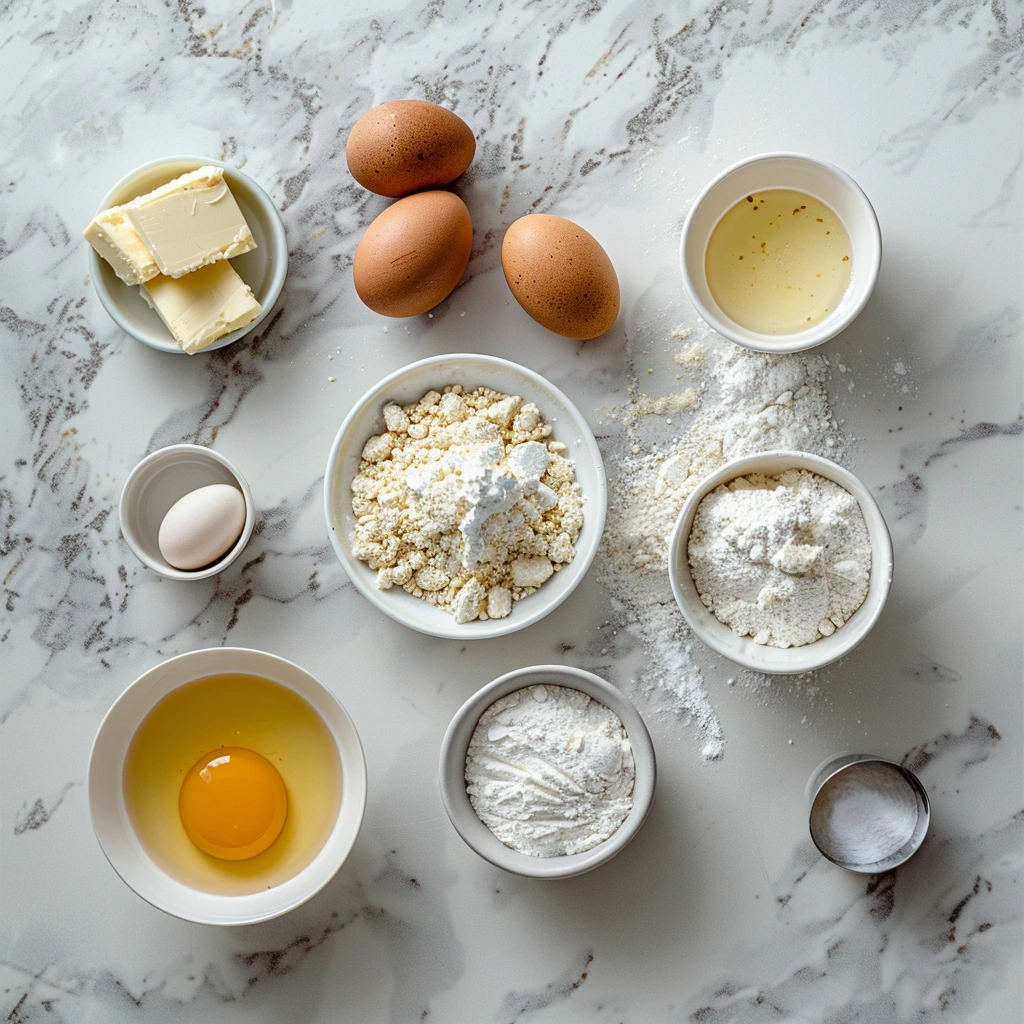
Main Ingredients Prep
-
Unsalted butter: Softened to room temperature for easy mixing
-
Granulated sugar: Provides sweetness and classic sugar cookie texture
-
Large eggs: Room temperature helps the dough mix smoothly
Seasonings, Sauces, or Flavor Base
-
Vanilla extract: Adds warm, classic flavor
-
Optional almond extract: Just a touch adds bakery-style depth
Pantry Staples
-
All-purpose flour: Spoon and level for accurate measuring
-
Baking powder: Gives the cookie cups a slight lift
-
Salt: Balances the sweetness
Before you start, lightly grease a standard muffin pan and preheat your oven so everything is ready to go.
Step-by-Step Cooking Instructions
Pre-Cooking Prep
Start by preheating your oven to 350°F. Generously grease a 12-cup muffin pan or use nonstick spray. Set it aside.
In a large mixing bowl, cream together the softened butter and sugar until light and fluffy. This step is important—it helps create soft, tender cookie cups.
Beat in the eggs one at a time, then mix in the vanilla extract (and almond extract if using).
In a separate bowl, whisk together the flour, baking powder, and salt. Slowly add the dry ingredients to the wet ingredients, mixing just until combined. The dough will be soft but not sticky.
Cooking Method (Times & Temps)
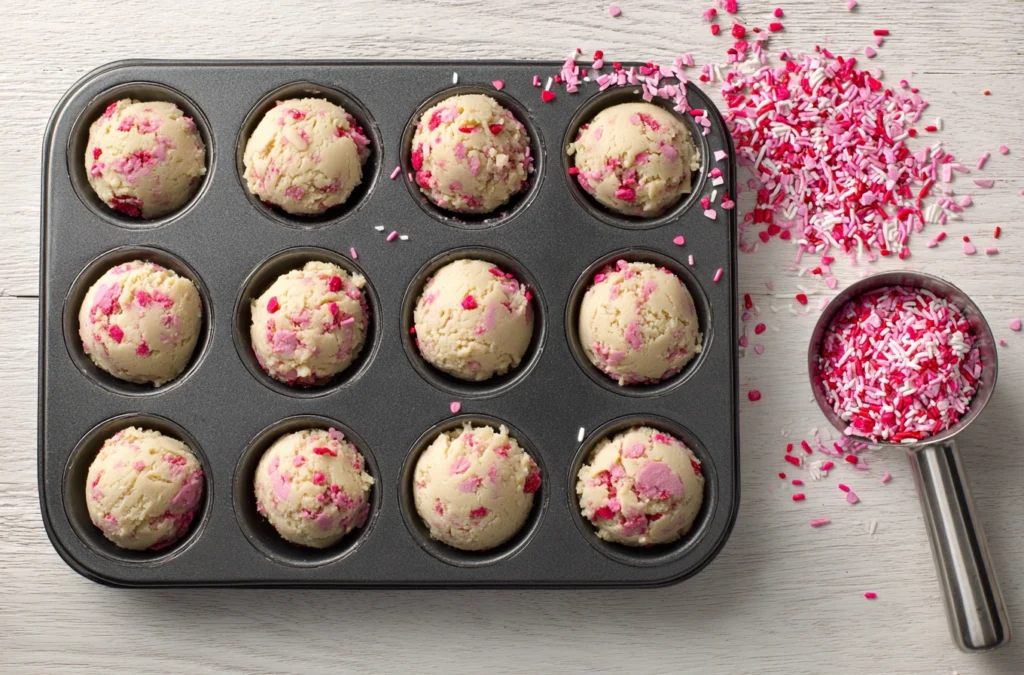
Divide the dough evenly among the muffin cups, filling each about halfway. Roll the dough lightly into balls if you prefer a smooth look, or simply scoop it in.
Bake at 350°F for 12–15 minutes, or until the edges are lightly golden and the centers are just set.
Doneness or Texture Check
The cookie cups should look puffed and pale golden around the edges. They will still be soft in the center, which is exactly what you want. Overbaking will make them dry.
Resting or Final Touches
As soon as you remove the pan from the oven, use the back of a teaspoon or a small tart press to gently press down the center of each cookie to form a cup shape.
Let the cookie cups cool in the pan for about 10 minutes, then carefully transfer them to a wire rack to cool completely before filling.
Pro Tips for Perfect Results
Common Mistakes to Avoid
-
Overmixing the dough: This can make the cookie cups dense
-
Overbaking: Pull them out when the edges are just golden
-
Skipping the center press: You must press while they’re warm
Recommended Tools
-
Standard muffin pan
-
Electric mixer or stand mixer
-
Cookie scoop for even portions
-
Teaspoon or tart shaper for pressing centers
Storage & Reheating Tips
-
Store unfilled cookie cups in an airtight container at room temperature for up to 3 days
-
Freeze baked, unfilled cookie cups for up to 2 months
-
Fill just before serving for the best texture
Flavor Variations
One of the best things about Classic Sugar Cookie Cups is how easy they are to customize.
Spicy Version
Add a pinch of cinnamon or nutmeg to the dough for a warm, spiced twist that’s perfect for fall and winter.
Healthy / Special Diet Option
-
Gluten-free: Use a 1:1 gluten-free baking flour
-
Reduced sugar: Swap half the sugar with a granulated sugar substitute designed for baking
Global Flavor Twist
-
Lemon sugar cookie cups: Add lemon zest and a splash of lemon juice
-
Mexican-inspired: Add cinnamon and fill with dulce de leche
-
Italian-style: Add almond extract and fill with mascarpone cream
Serving Suggestions
These Classic Sugar Cookie Cups shine on their own, but fillings take them to the next level.
Filling ideas:
-
Vanilla or chocolate buttercream
-
Cream cheese frosting
-
Chocolate ganache
-
Lemon curd
-
Fresh berries with whipped cream
Perfect for:
-
Birthday parties
-
Baby showers
-
Holiday dessert trays
-
Bake sales
Serve with cold milk, hot coffee, or a cup of tea for a cozy treat.
FAQs
Can I make this ahead of time?
Yes. You can bake the cookie cups up to two days in advance. Store them unfilled in an airtight container and add fillings right before serving.
How do I fix common mistakes?
-
Too hard: They were likely overbaked—reduce baking time next batch
-
Cups lost shape: Press the centers again while they’re still warm
-
Sticking to the pan: Grease the pan more generously or use nonstick spray
Conclusion
These Classic Sugar Cookie Cups are proof that simple recipes can still feel special. They’re easy enough for beginner bakers, fun for kids to help with, and impressive enough for parties and holidays.
If you try this recipe, you’ll quickly see why it’s a favorite in my kitchen. Don’t forget to save it, share it, and leave a comment once you’ve made it. And if you love sweet, bite-sized desserts, you’ll definitely want to check out my chocolate brownie bites recipe next—it’s another reader favorite you won’t want to miss. Happy baking!

Classic Sugar Cookie Cups
Ingredients
- Main Ingredients
- 1 cup unsalted butter softened
- 1 cup granulated sugar
- 2 large eggs room temperature
- Flavoring
- 2 teaspoons vanilla extract
- ¼ teaspoon almond extract optional
- Dry Ingredients
- 2¾ cups all-purpose flour spooned and leveled
- 1 teaspoon baking powder
- ½ teaspoon salt
Instructions
- Preheat oven to 350°F (175°C). Generously grease a standard 12-cup muffin pan and set aside.
- In a large bowl, cream together the softened butter and sugar until light and fluffy.
- Beat in eggs one at a time, then mix in vanilla extract and almond extract if using.
- In a separate bowl, whisk together flour, baking powder, and salt.
- Gradually add dry ingredients to the wet mixture, mixing just until combined. Do not overmix.
- Divide dough evenly among muffin cups, filling each about halfway.
- Bake for 12–15 minutes, until edges are lightly golden and centers are just set.
- Remove from oven and immediately press the center of each cookie using the back of a teaspoon or tart press.
- Cool in pan for 10 minutes, then transfer to a wire rack to cool completely before filling.
Notes
- Pressing the centers while the cookies are warm is essential for forming the cup shape.
- Do not overbake—soft centers are key to tender cookie cups.
- Fill just before serving for best texture.