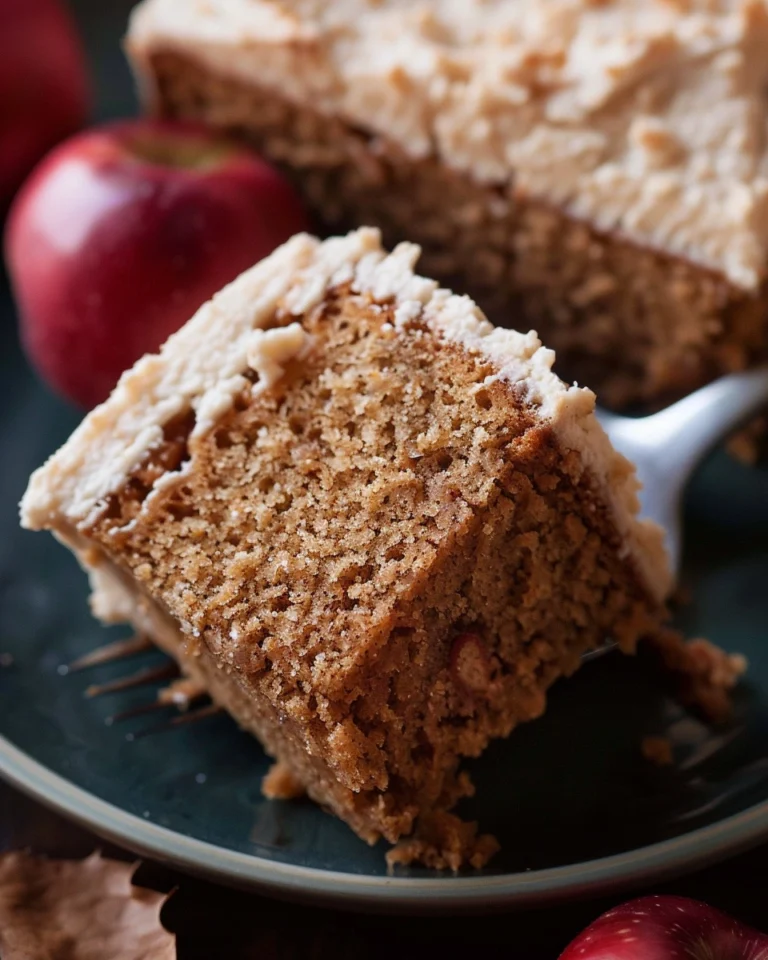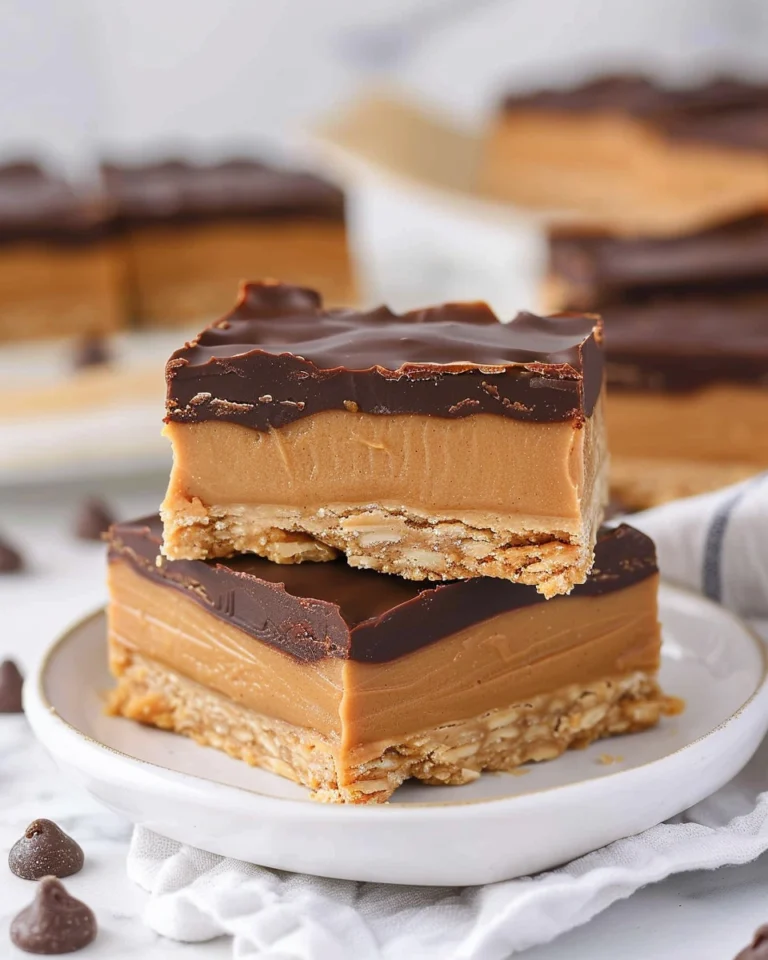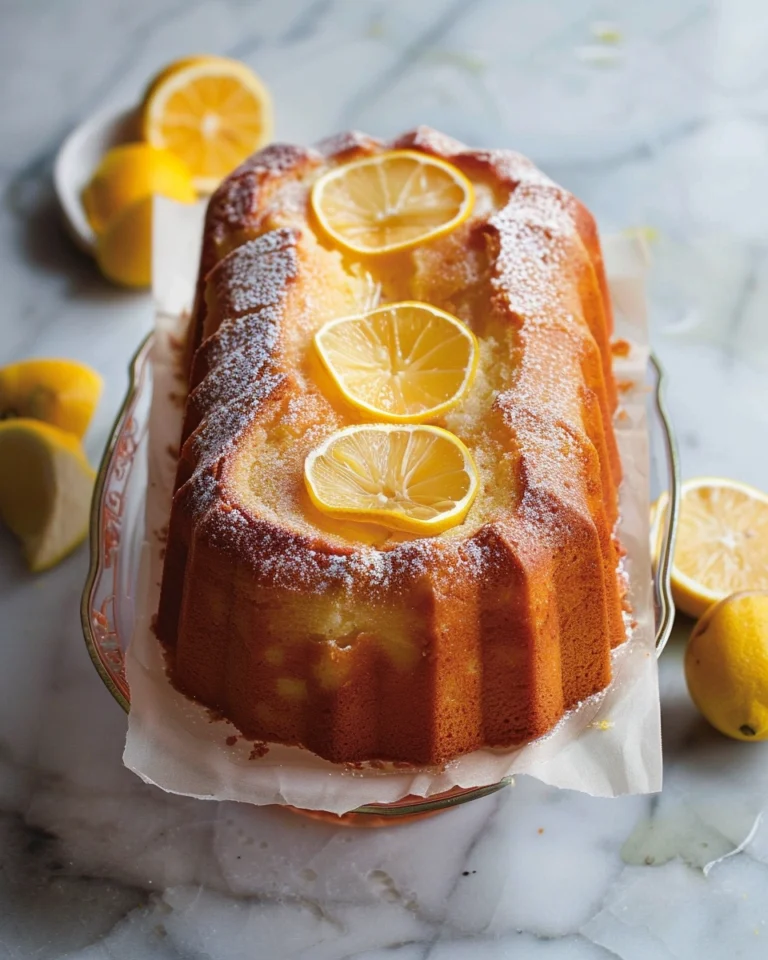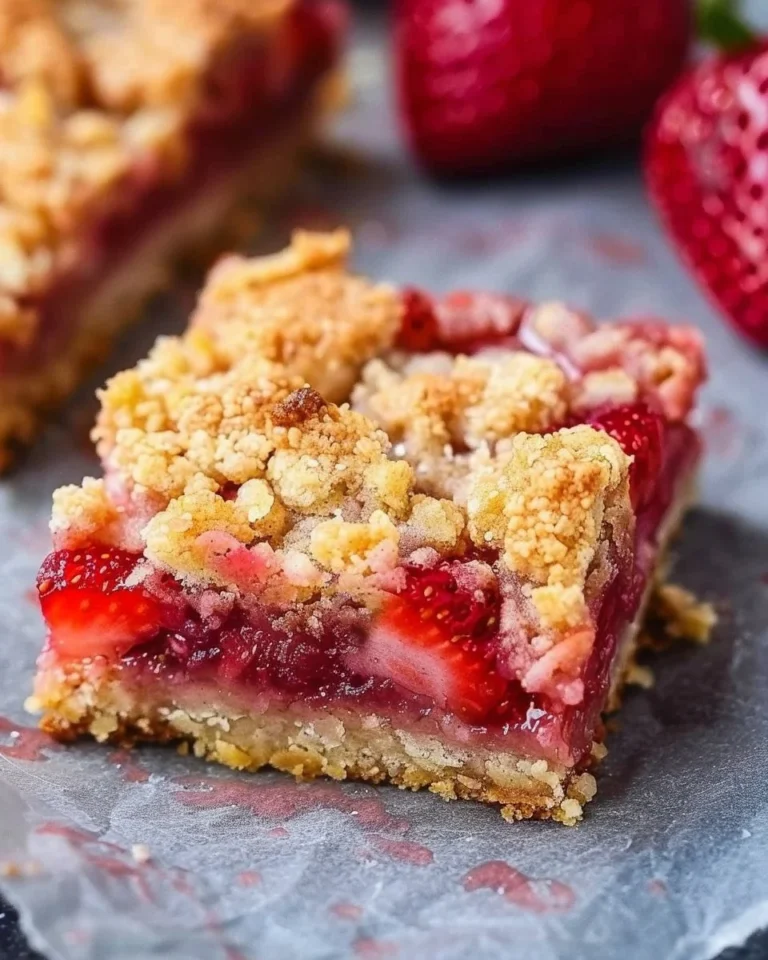
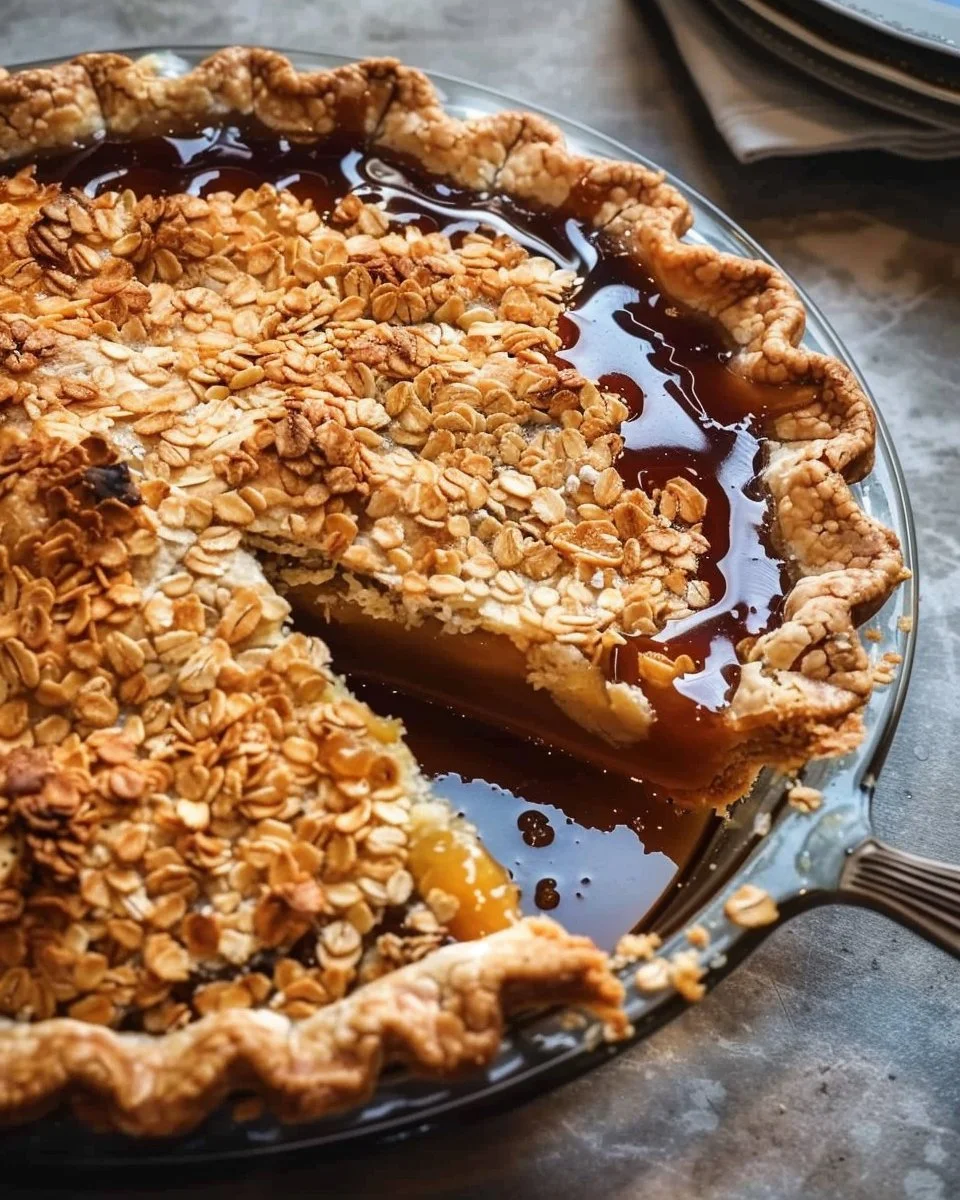
Imagine a delightful dessert that serenades your senses with its subtle crunch, rich notes of honey, and a delightful flirtation of flaky oats. Picture this: a Crispy Burnt Honey Pie with Flaky Oat Crust, elegantly presented fresh from the oven. It’s not just a dish; it’s an experience that resonates with warmth and nostalgia, perfect for gatherings or a simple indulgence at home. If you’re about to embark on your baking adventure, prepare to infuse some magic into your kitchen with this exquisite pie recipe.
Why You’ll Love This Dish
Have you ever craved a dessert that is just the right balance of sweet and savory? The Crispy Burnt Honey Pie captures this craving perfectly, offering flavors that elevate your taste buds. The contrast between the nutty oat crust and the silky burnt honey filling creates a taste sensation you won’t forget. Plus, the process of making this pie is deeply satisfying, turning raw ingredients into a beautiful dessert.
Let’s dive into why this pie is not just another dessert but a star of the table.
The Allure of Burnt Honey
Why burnt honey, you ask? The caramelization process transforms regular honey into something extraordinary. It’s depth of flavor adds a toasty, almost caramel-like sweetness that enchants every bite. When paired with a flaky oat crust, it becomes a delightful dish that feels rustic yet elegant.
Ingredients You’ll Need
Before you roll up your sleeves, gather these ingredients that will bring the magic of Crispy Burnt Honey Pie to life:
- 1 ½ cups rolled oats
- ½ cup all-purpose flour
- ½ cup brown sugar
- ½ cup unsalted butter, melted
- ½ teaspoon salt
- 1 cup honey
- ½ cup heavy cream
- 2 large eggs
- 1 teaspoon vanilla extract
Creating Your Pie: A Step-by-Step Journey
Ready to take the plunge? Let’s create this cracker of a pie step by step.
- Preheat the Oven: Start by preheating your oven to 350°F (175°C). This ensures that the pie will bake evenly.
- Make the Crust: In a large mixing bowl, combine the rolled oats, flour, brown sugar, melted butter, and salt. Mix until everything is well incorporated and resembles wet sand. Press this mixture into the bottom and up the sides of a 9-inch pie dish. Bake for 15-20 minutes or until golden and fragrant.
- Prepare the Burnt Honey: While the crust is baking, in a saucepan over medium heat, combine the honey and stir constantly, watching closely as it begins to turn a deep amber color (about 5-7 minutes). Remove from heat and let it cool slightly.
- Mix the Filling: In a mixing bowl, whisk together the heavy cream, eggs, and vanilla extract. Gradually stir in the burnt honey until it’s fully combined.
- Assemble and Bake: Once your crust is ready, pour the burnt honey mixture into the pre-baked crust. Bake the pie for an additional 25-30 minutes, or until the center is set and slightly jiggles.
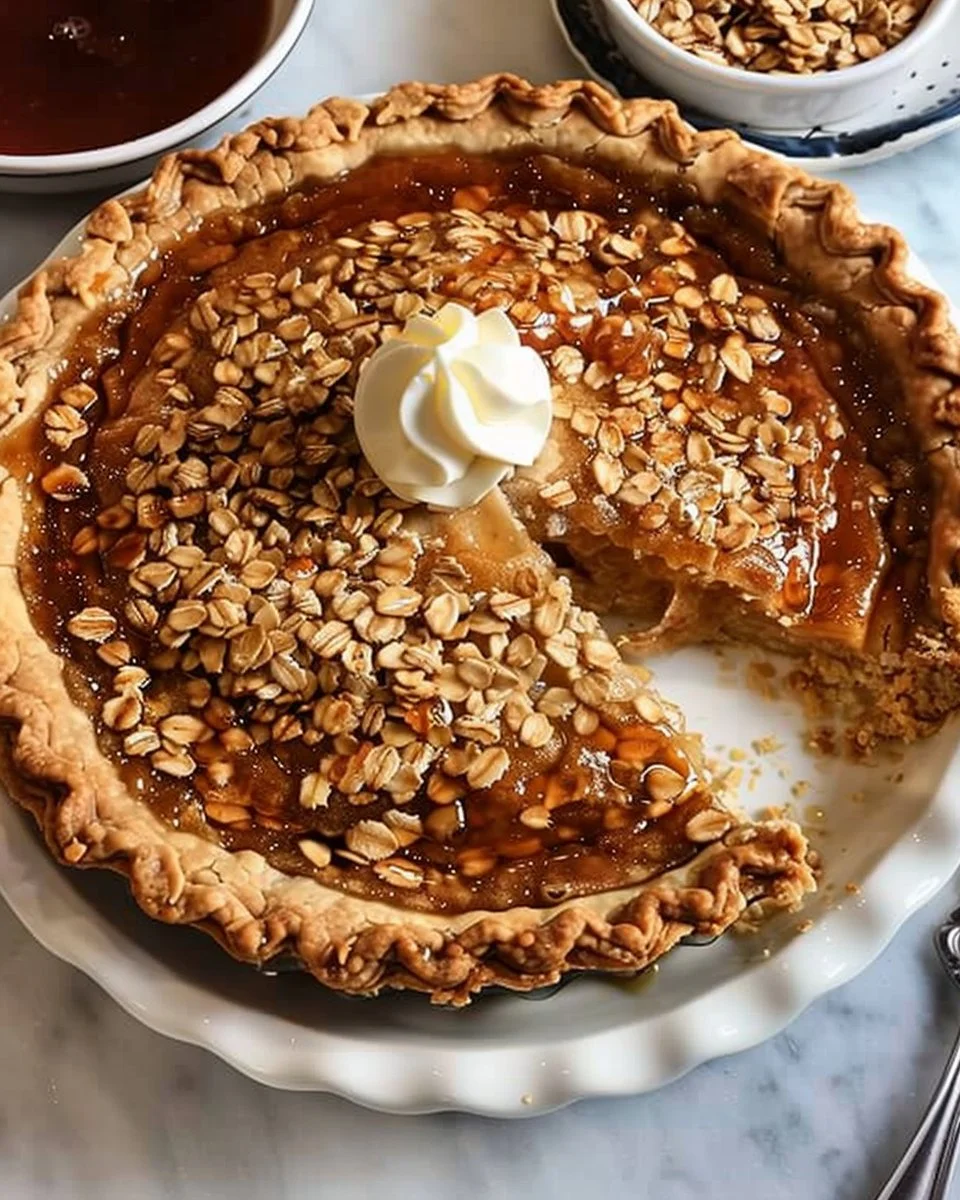
- Cool and Serve: Allow the pie to cool at room temperature for at least an hour before slicing. This helps set the filling beautifully.
Mastering Your Baking Skills
While the steps might seem straightforward, a few pro tips can elevate your pie even further:
- Use Quality Honey: The flavor of your pie will largely reflect the quality of the honey. Dive into a local market or artisan shop and find a blend that excites your palate.
- Chill the Crust: If your kitchen is warm, consider chilling the crust in the fridge for 30 minutes before baking. This helps maintain that desired flakiness.
- Don’t Rush the Burnt Honey: The secret to a perfect burnt honey is patience. Stir and watch closely to prevent it from going too far, as burnt sugar can quickly veer into bitterness.
Delectable Variations to Try
Once you’ve mastered the classic recipe, you might like to experiment with a few variations:
- Nutty Additions: Fold in some chopped nuts like pecans or walnuts into the crust for extra crunch and nutty notes.
- Fruit Fusion: Top your pie with fresh berries or fig preserves after baking to add another layer of freshness and flavor.
- Spice It Up: Add a pinch of cinnamon or nutmeg into the filling for a warm, spiced undertone that complements the sweetness.
Troubleshooting Common Challenges
Even the best bakers encounter hiccups in the kitchen. Here are some solutions for common mistakes:
- Soggy Crust: If your crust is too soft, make sure you’re not underbaking it. It needs to be golden brown before adding the filling.
- Curdled Filling: This can happen if the honey is too hot when added to the cream and eggs. Always let your honey cool slightly before combining.
The Perfect Accompaniments
Wondering how to elevate your pie experience? Here are some serving ideas:
- Pair with Ice Cream: A scoop of vanilla or caramel ice cream provides a creamy contrast to the crispy texture of the pie.
- Drizzle with Cream: A light drizzle of heavy cream or a dollop of whipped cream can enhance the richness.
- Serve with Coffee: Enjoying a slice with a robust cup of coffee adds an aromatic balance to the sweetness of the pie.
Storing Your Culinary Creation
If you find yourself with leftovers (though that’s rare), here’s how to store your Crispy Burnt Honey Pie:
- In the Refrigerator: Keep the pie covered with plastic wrap in the fridge for up to 3 days. Allow it to come to room temperature before serving.
- Freezing: While not ideal for this type of pie, you can freeze slices individually. Wrap each slice tightly in plastic wrap, then place them in an airtight container. Enjoy them within a month for the best flavor.
Frequently Asked Questions
What is a Crispy Burnt Honey Pie with Flaky Oat Crust?
A Crispy Burnt Honey Pie with Flaky Oat Crust is a dessert featuring a crunchy oat base filled with rich, caramelized honey, creating a delightful balance of textures and flavors.
How do I ensure my pie crust is flaky?
To achieve a flaky crust, use cold butter, avoid over-mixing, and chill the crust before baking.
Can I make this pie in advance?
Yes! You can bake the pie a day before serving. Just ensure it’s properly stored to maintain its texture.
What other toppings can I use on my burnt honey pie?
Consider fresh berries, a sprinkle of sea salt, or a drizzle of chocolate for added flavor and aesthetic appeal.
Can I substitute ingredients for a healthier version?
Absolutely! You can use oat flour instead of all-purpose flour and substitute honey with maple syrup for a different flavor profile.
In Conclusion
Baking a Crispy Burnt Honey Pie with Flaky Oat Crust offers not only a treat for your taste buds but also a rewarding experience in the kitchen. This pie, with its harmonious balance of flavor and texture, promises to leave you and your loved ones enchanted. Whether you’re serving it at a dinner party or enjoying a slice on a quiet evening at home, you’ll find that it’s more than just dessert; it’s a moment worth savoring. So put on your apron, gather those ingredients, and enjoy the magic that unfolds as you create this remarkable pie!
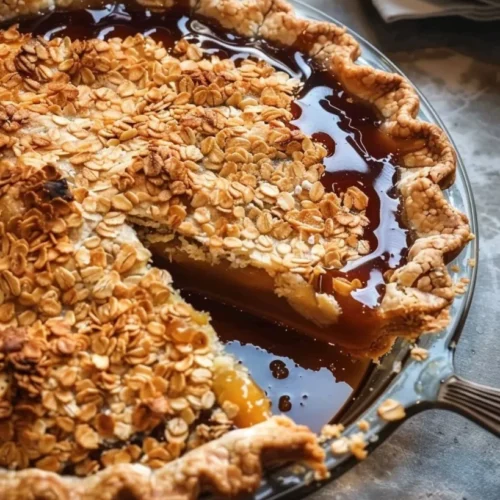
Crispy Burnt Honey Pie with Flaky Oat Crust
Ingredients
For the Oat Crust
- 1.5 cups rolled oats
- 0.5 cup all-purpose flour
- 0.5 cup brown sugar
- 0.5 cup unsalted butter, melted
- 0.5 teaspoon salt
For the Filling
- 1 cup honey
- 0.5 cup heavy cream
- 2 large eggs
- 1 teaspoon vanilla extract
Instructions
Preparation
- Preheat your oven to 350°F (175°C).
- In a large mixing bowl, combine the rolled oats, flour, brown sugar, melted butter, and salt. Mix until well incorporated and resembles wet sand.
- Press this mixture into the bottom and up the sides of a 9-inch pie dish. Bake for 15-20 minutes or until golden and fragrant.
Making the Filling
- In a saucepan over medium heat, combine the honey and stir constantly while it begins to turn a deep amber color (about 5-7 minutes). Remove from heat and let cool slightly.
- In a mixing bowl, whisk together the heavy cream, eggs, and vanilla extract. Gradually stir in the burnt honey until fully combined.
Assembling the Pie
- Pour the burnt honey mixture into the pre-baked crust.
- Bake the pie for an additional 25-30 minutes, or until the center is set but slightly jiggles.
- Allow the pie to cool at room temperature for at least an hour before slicing.