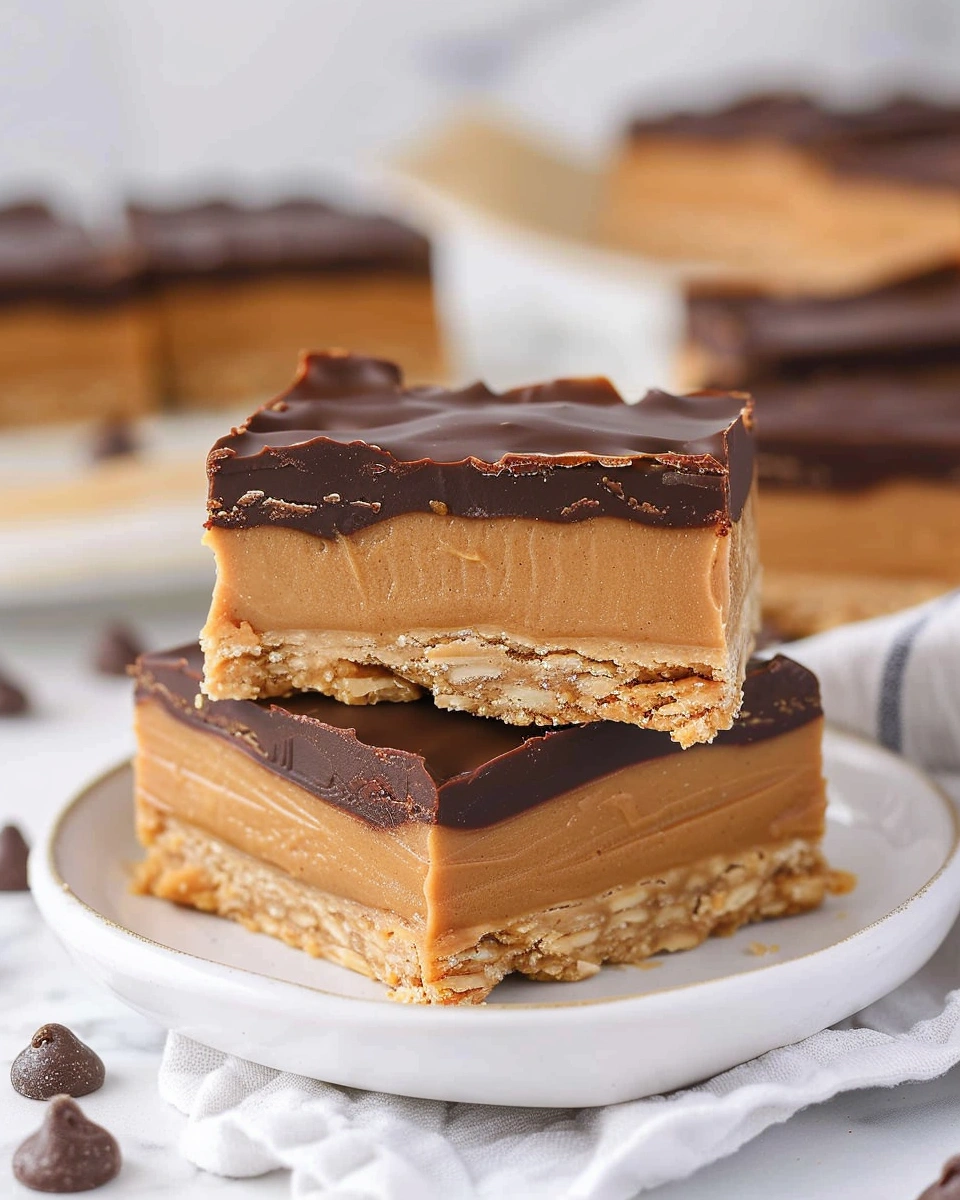
If you’re craving a rich, chocolatey dessert but don’t want to turn on the oven, no-bake peanut butter buckeye bars are exactly what you need. They deliver that classic peanut butter and chocolate combo you love—without the hassle of baking.
These bars are inspired by the famous buckeye candies, but instead of rolling individual balls, you press everything into layers and slice into squares. The result? A quick, foolproof dessert that tastes like you spent hours in the kitchen.
Let’s break down how you can make these irresistible no-bake peanut butter buckeye bars step by step.
Why You’ll Love No-Bake Peanut Butter Buckeye Bars
There’s a lot to love about this recipe, especially if you want something easy and crowd-pleasing.
- No oven required—perfect for hot days
- Ready in under an hour (including chilling time)
- Minimal ingredients and simple steps
- Rich, creamy, and perfectly sweet
- Great for parties, holidays, or snacks
If you enjoy desserts that are both low-effort and high-reward, this one will quickly become a go-to.
What Are Buckeye Bars?
Buckeye bars are inspired by traditional buckeye candies, named after the nut of the Ohio buckeye tree. The candy version features peanut butter balls partially dipped in chocolate.
In bar form, you get the same flavors in an easier format:
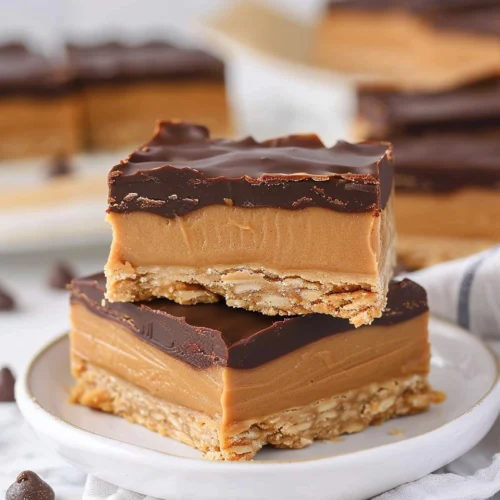
- A thick, creamy peanut butter base
- A smooth chocolate topping
- Clean, sliceable layers
No rolling, no dipping—just mix, press, chill, and enjoy.
Ingredients You’ll Need
You only need a handful of pantry staples to make these no-bake peanut butter buckeye bars.
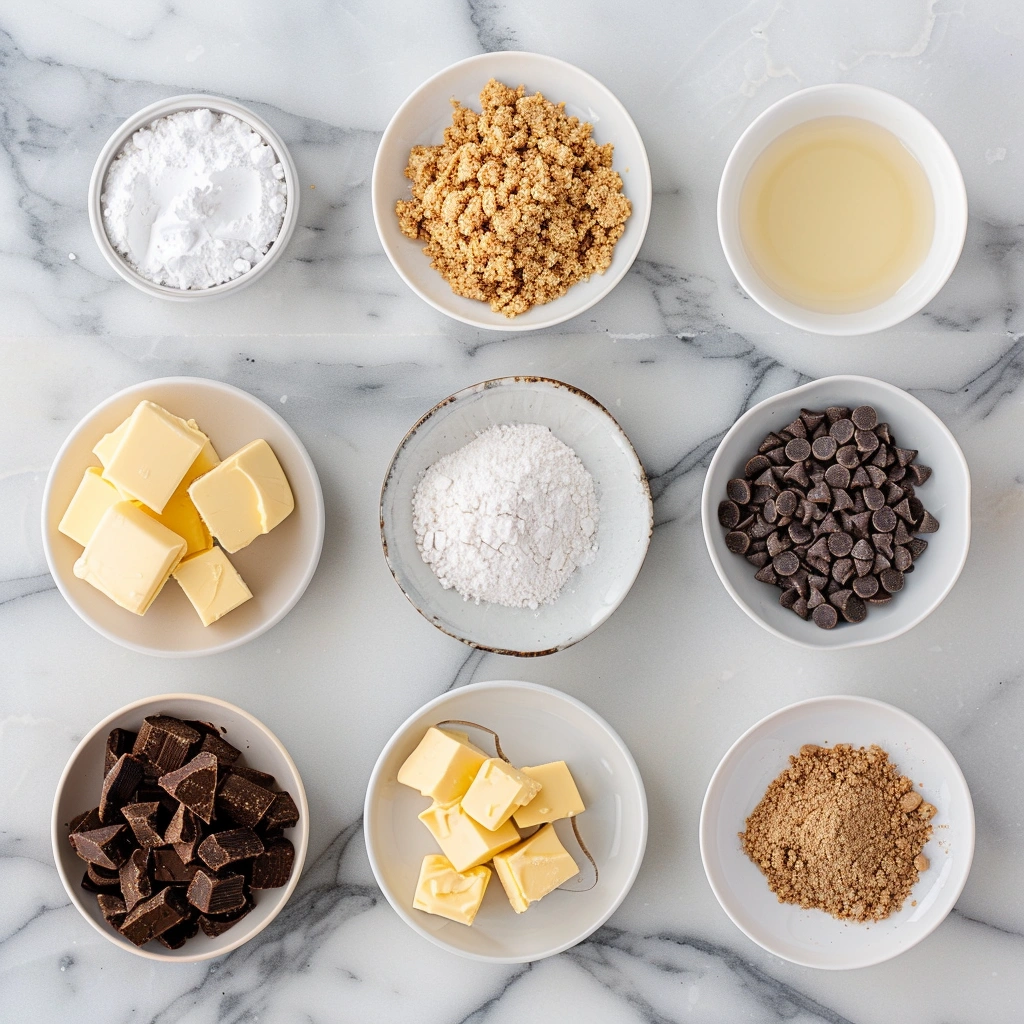
For the Peanut Butter Layer
- 1 cup butter, melted
- 2 cups graham cracker crumbs
- 2 cups powdered sugar
- 1½ cups peanut butter (creamy works best)
- 1 teaspoon vanilla extract
For the Chocolate Topping
- 1½ cups chocolate chips
- 2 tablespoons peanut butter (or butter for a softer topping)
These simple ingredients come together to create a rich and balanced dessert.
How to Make No-Bake Peanut Butter Buckeye Bars
You don’t need any special tools—just a mixing bowl, a spatula, and a pan.
1. Prepare Your Pan
Line a 9×13-inch pan with parchment paper. This makes it easy to lift and slice the bars later.
2. Make the Peanut Butter Base
In a large bowl, mix together:
- Melted butter
- Graham cracker crumbs
- Powdered sugar
- Peanut butter
- Vanilla extract
Stir until everything is fully combined and thick.
3. Press Into the Pan
Transfer the mixture into your prepared pan and press it down evenly. Use the back of a spoon or your hands to smooth the surface.
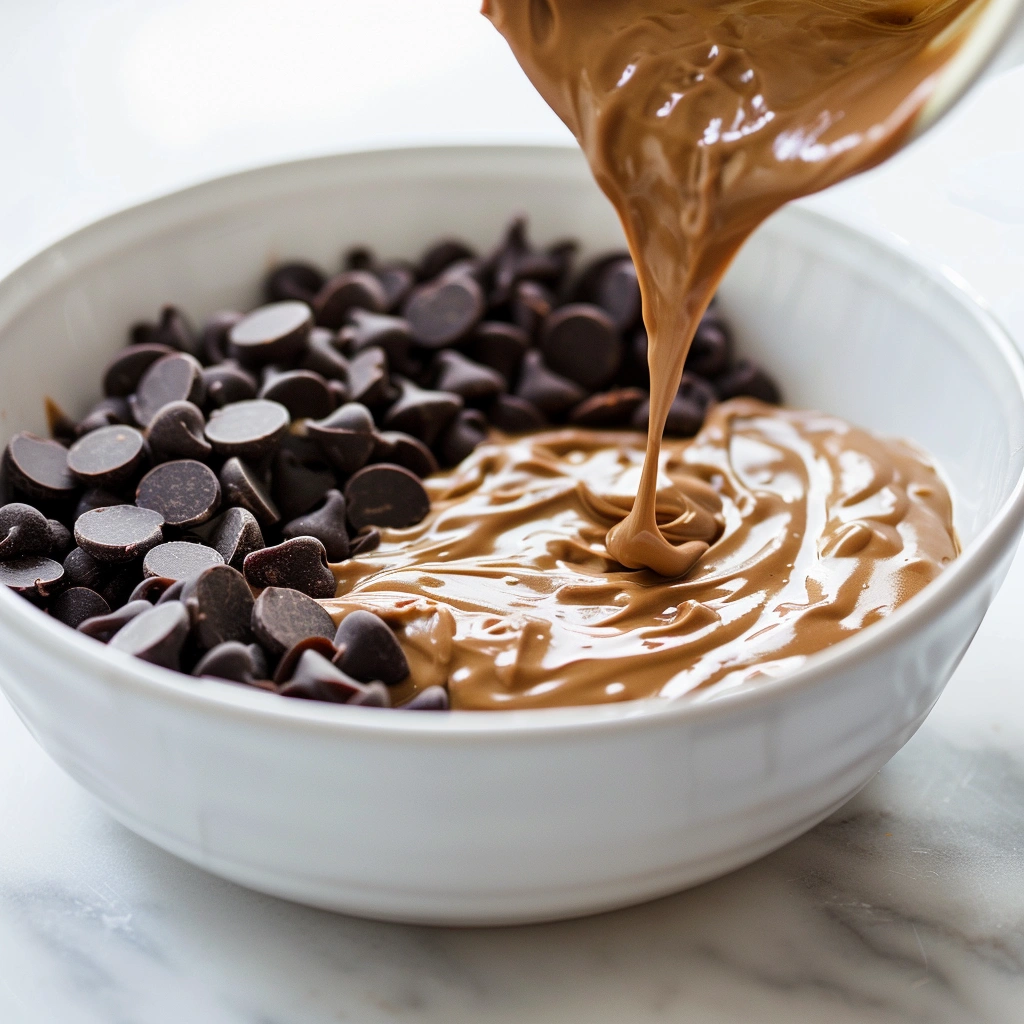
4. Melt the Chocolate
In a microwave-safe bowl, melt the chocolate chips with the peanut butter in 20–30 second intervals, stirring between each until smooth.
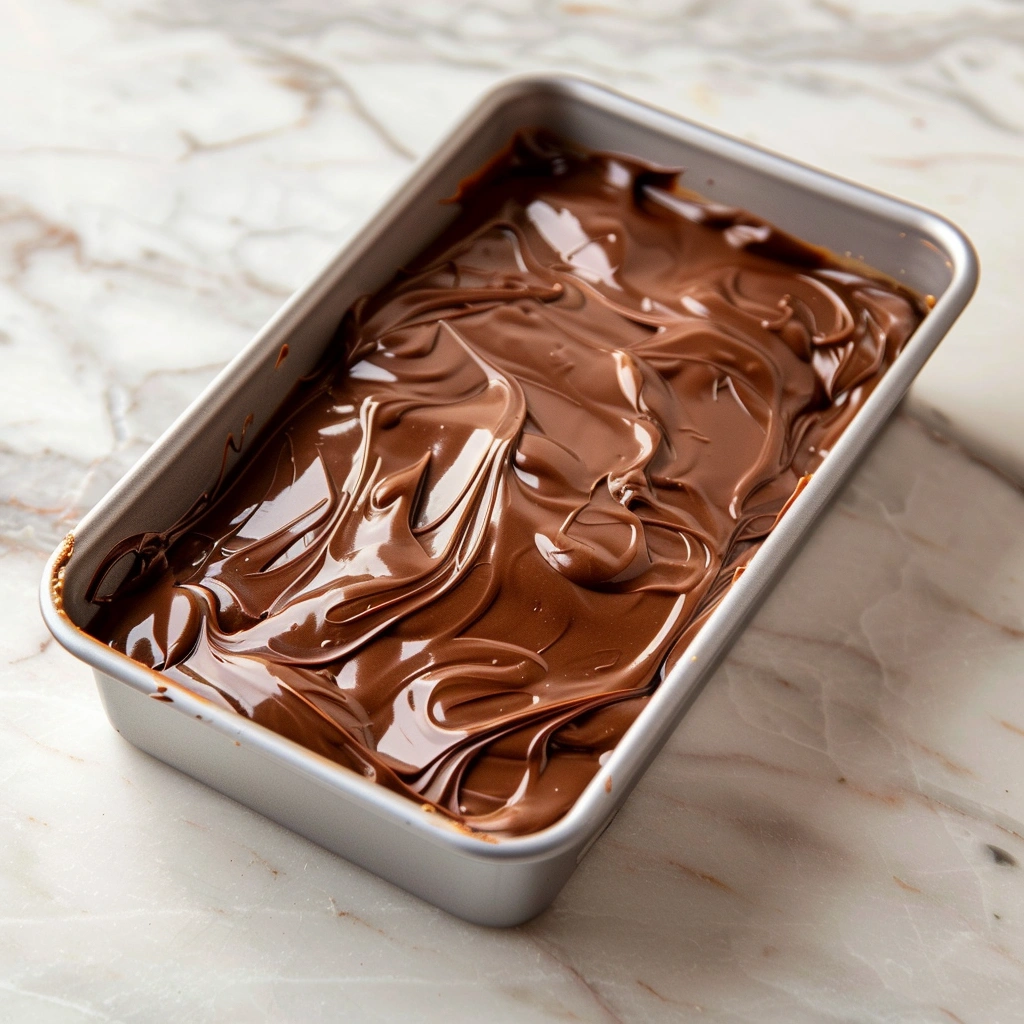
5. Add the Chocolate Layer
Pour the melted chocolate over the peanut butter base and spread it evenly.
6. Chill Until Set
Refrigerate for about 1–2 hours, or until the chocolate is firm.
7. Slice and Serve
Lift the bars out using the parchment paper and cut into squares. Serve and enjoy!
Tips for Perfect Buckeye Bars
Even though this recipe is simple, a few tips can make your bars even better.
Use Quality Peanut Butter
Creamy peanut butter gives the best texture. Natural peanut butter can work, but it may make the bars softer.
Don’t Skip the Chill Time
Chilling helps the layers set properly so your bars slice cleanly.
Cut with a Warm Knife
Run your knife under warm water, dry it, and then slice. This helps prevent cracking in the chocolate layer.
Easy Variations to Try
Once you’ve mastered the basic recipe, you can easily switch things up.
Crunchy Buckeye Bars
Use crunchy peanut butter or add chopped peanuts for extra texture.
Dark Chocolate Version
Swap semi-sweet chocolate chips for dark chocolate if you prefer a less sweet topping.
Gluten-Free Option
Use gluten-free graham cracker crumbs to make this recipe gluten-friendly.
Drizzled Finish
Add a drizzle of melted white chocolate on top for a decorative touch.
How to Store No-Bake Peanut Butter Buckeye Bars
These bars store well, making them perfect for prepping ahead.
- Refrigerator: Store in an airtight container for up to 1 week
- Freezer: Freeze for up to 3 months
- Room temperature: Best served slightly chilled for clean layers
If stacking, place parchment paper between layers to prevent sticking.
When to Serve Buckeye Bars
These bars are perfect for almost any occasion:
- Holiday dessert trays
- Birthday parties
- Potlucks and gatherings
- After-school snacks
- Late-night sweet cravings
They’re easy to transport and always a hit with both kids and adults.
FAQs About No-Bake Peanut Butter Buckeye Bars
Do buckeye bars need to be refrigerated?
Yes, refrigeration helps them stay firm and keeps the chocolate layer from melting.
Can I use natural peanut butter?
You can, but the texture may be softer. Stir it well before using.
Why are my bars too crumbly?
This usually means the mixture needs more moisture. Add a bit more melted butter or peanut butter.
Can I make these ahead of time?
Absolutely. They’re great for making a day or two in advance.
Can I use a different base instead of graham crackers?
Yes, crushed digestive biscuits or vanilla wafers work well too.
Final Thoughts: Make These No-Bake Peanut Butter Buckeye Bars Today
If you want a dessert that’s rich, easy, and guaranteed to impress, no-bake peanut butter buckeye bars are a must-try. They combine everything you love about peanut butter and chocolate into a simple, sliceable treat.
Best of all, you don’t need baking skills to get it right. Just mix, chill, and enjoy.
So grab your ingredients and make a batch today—you’ll be glad you did.
No-Bake Peanut Butter Buckeye Bars
Ingredients
- Peanut Butter Layer
- 1 cup butter melted
- 2 cups graham cracker crumbs
- 2 cups powdered sugar
- 1½ cups peanut butter creamy
- 1 teaspoon vanilla extract
- Chocolate Topping
- 1½ cups chocolate chips
- 2 tablespoons peanut butter or butter
Instructions
- Line a 9x13-inch pan with parchment paper.
- In a large bowl, mix melted butter, graham cracker crumbs, powdered sugar, peanut butter, and vanilla until fully combined.
- Press the mixture evenly into the prepared pan.
- Melt chocolate chips with peanut butter in short intervals, stirring until smooth.
- Pour and spread the chocolate evenly over the base.
- Refrigerate for 1–2 hours until fully set.
- Lift from the pan, slice into squares, and serve.
Notes
- Use creamy peanut butter for best texture.
- Chill thoroughly for clean slicing.
- Use a warm knife to prevent cracking the chocolate layer.
- Store in the fridge up to 1 week or freeze up to 3 months.