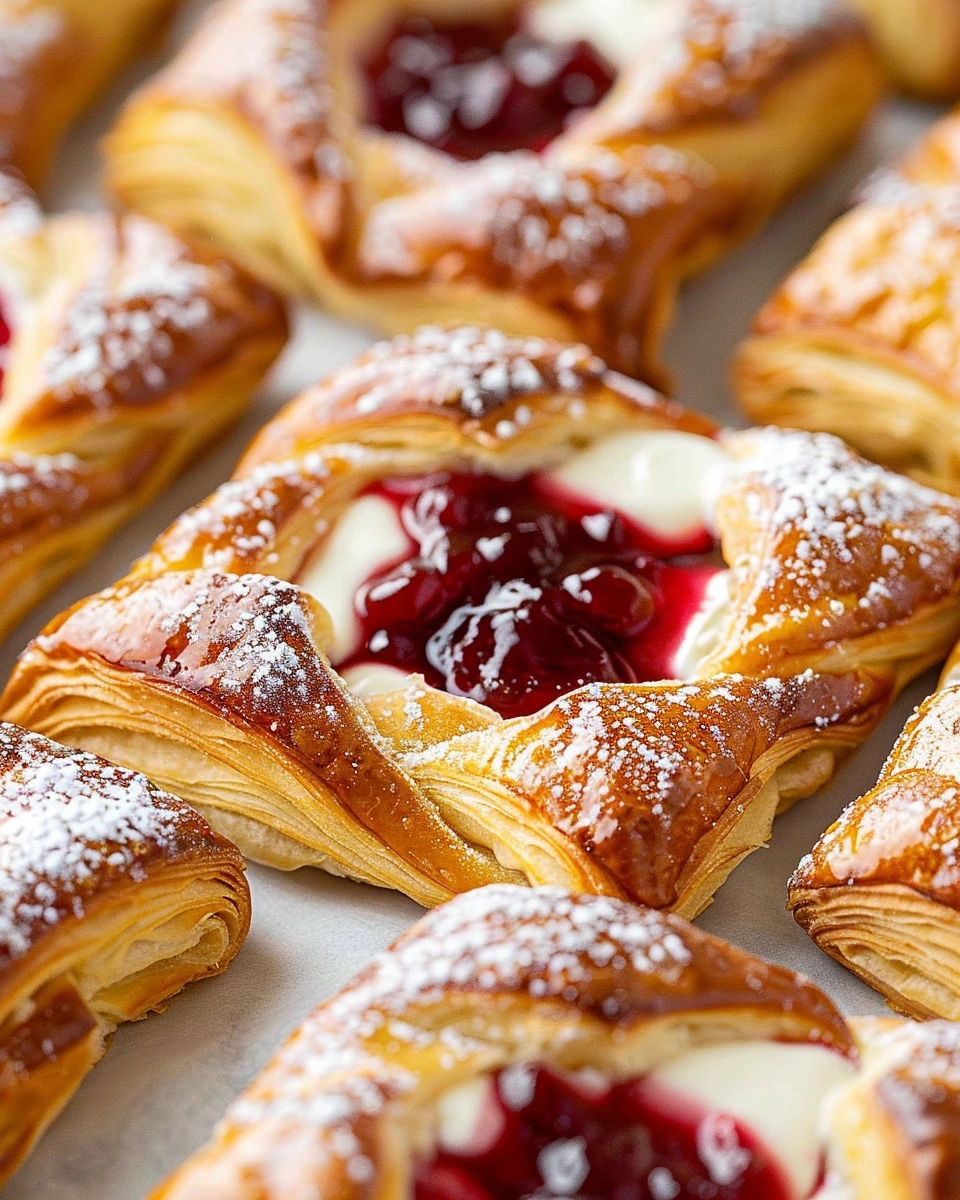
If you’ve ever walked past a bakery and been tempted by those golden, flaky pastries filled with creamy cheese and glossy cherries, you’re not alone. The good news? You don’t need to leave your kitchen to enjoy one. This cherry cream cheese danish recipe gives you that same bakery-quality flavor with a surprisingly simple process.
Whether you’re making breakfast for your family, hosting brunch, or just treating yourself, this pastry delivers the perfect mix of buttery layers, tangy cream cheese, and sweet cherry filling.
Why You’ll Love This Cherry Cream Cheese Danish
There’s something special about the combination of textures and flavors in a cherry cream cheese danish. It’s rich but not too heavy, sweet with just the right hint of tanginess, and incredibly satisfying.
Here’s why it stands out:
- Flaky and buttery layers without complicated techniques
- Perfect balance of sweet and tangy flavors
- Quick shortcut options using store-bought dough
- Impressive presentation with minimal effort
- Great for breakfast, brunch, or dessert
Once you try it homemade, it’s hard to go back to store-bought versions.
Ingredients You’ll Need
You don’t need a long shopping list to make a delicious cherry cream cheese danish.
For the pastry:
- 1 sheet puff pastry (thawed)
For the cream cheese filling:
- 8 oz cream cheese (softened)
- 1/4 cup granulated sugar
- 1 teaspoon vanilla extract
- 1 egg yolk
For the cherry topping:
- 1 cup cherry pie filling (or homemade)
For finishing:
- 1 egg (for egg wash)
- 1/2 cup powdered sugar
- 1–2 tablespoons milk (for glaze)
How to Make Cherry Cream Cheese Danish
You’ll be surprised how easy it is to create a bakery-style pastry at home.
Step 1: Prepare the Puff Pastry
Roll out the thawed puff pastry on a lightly floured surface. Cut it into equal squares (about 4–6 pieces depending on size).
Step 2: Make the Cream Cheese Filling
In a bowl, mix:
- Cream cheese
- Sugar
- Vanilla extract
- Egg yolk
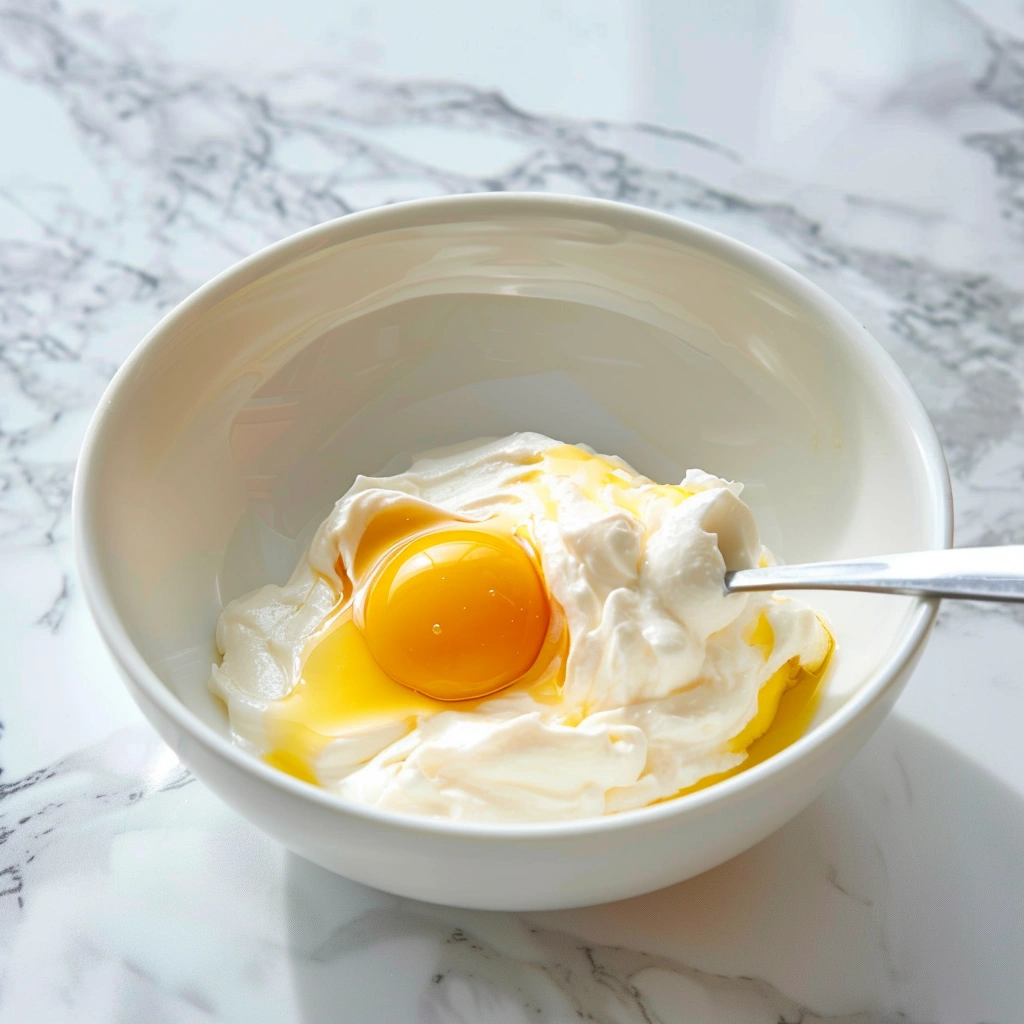
Blend until smooth and creamy.
Step 3: Shape the Danish
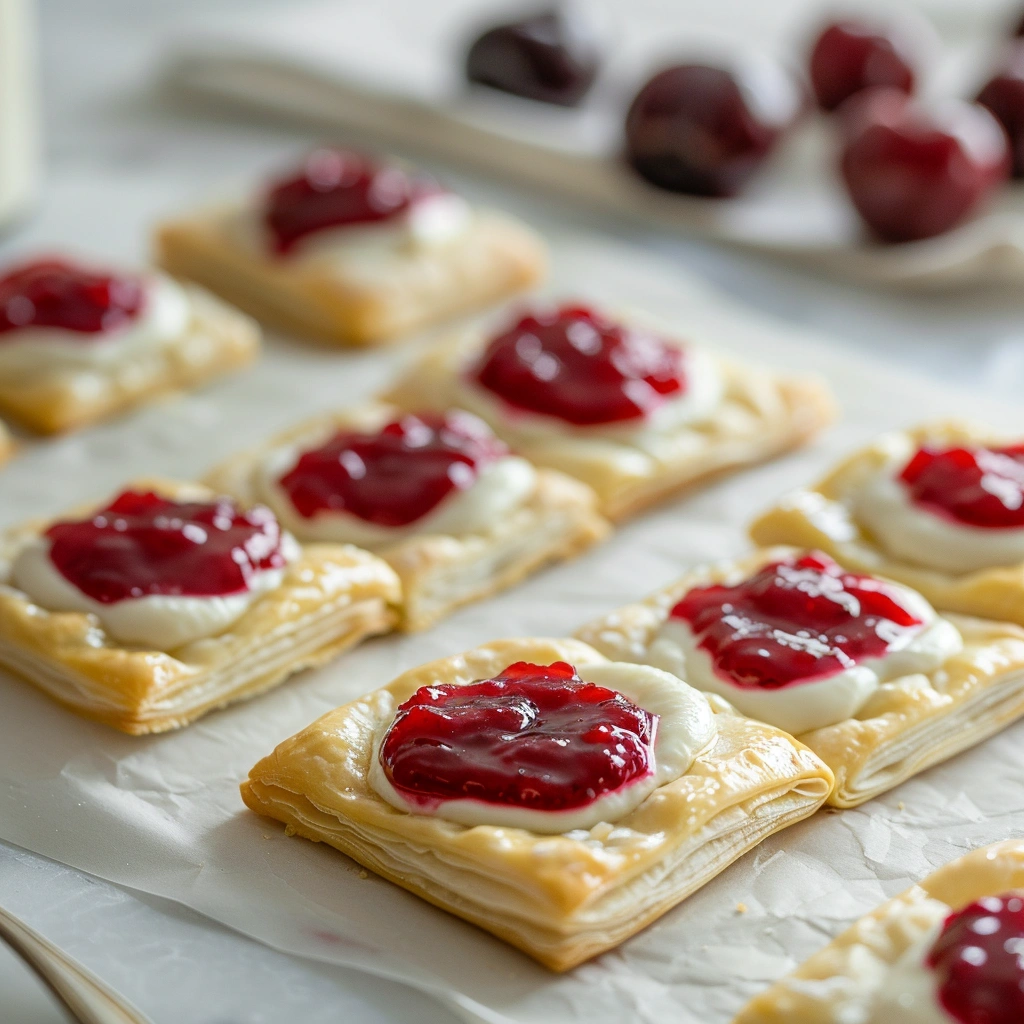
Place the pastry squares on a lined baking sheet. Lightly score a smaller square inside each piece (don’t cut all the way through). This helps create a border.
Step 4: Add the Fillings
- Spoon the cream cheese mixture into the center
- Top with a spoonful of cherry filling
Step 5: Apply Egg Wash
Brush the edges of the pastry with beaten egg. This gives it that golden, glossy finish.
Step 6: Bake to Perfection
Bake at 400°F (200°C) for 15–18 minutes, or until the pastry is puffed and golden brown.
Step 7: Drizzle the Glaze
Mix powdered sugar with milk until smooth, then drizzle over the cooled danishes.
Tips for the Perfect Cherry Cream Cheese Danish
Getting that bakery-quality result is easier when you keep these tips in mind:
Keep the pastry cold
Cold puff pastry creates better layers and a flakier texture.
Don’t overfill
Too much filling can spill over and make the pastry soggy.
Use full-fat cream cheese
It gives a richer, smoother filling.
Bake until deeply golden
Lightly baked pastry won’t have the same crisp texture.
Let them cool slightly
This helps the filling set and improves flavor.
Easy Variations You Can Try
Once you’ve mastered the classic cherry cream cheese danish, you can get creative with flavors.
1. Blueberry Cream Cheese Danish
Swap cherry filling for blueberry for a slightly tangier taste.
2. Strawberry Version
Use strawberry filling for a sweeter, more familiar flavor.
3. Almond Cherry Danish
Add sliced almonds on top for extra crunch and a nutty twist.
4. Lemon Cream Cheese Danish
Mix a little lemon zest into the cream cheese filling for brightness.
5. Mini Danish Bites
Cut smaller squares for bite-sized pastries—perfect for parties.
How to Store and Reheat
To keep your cherry cream cheese danish fresh:
- Refrigerator: Store in an airtight container for up to 3 days
- Freezer: Freeze for up to 1 month
- Reheat: Warm in the oven at 300°F for 5–8 minutes
Avoid microwaving if possible—it can make the pastry soft instead of flaky.
When to Serve Cherry Cream Cheese Danish
This pastry fits almost any occasion:
- Weekend breakfasts
- Brunch gatherings
- Holiday mornings
- Afternoon coffee breaks
- Light desserts
They look impressive on a plate, making them perfect for entertaining guests.
Common Mistakes to Avoid
Here are a few things that can affect your final result:
- Using warm dough → leads to flat, less flaky pastry
- Skipping the egg wash → less golden color
- Overloading filling → messy and soggy danish
- Underbaking → doughy texture inside
Stick to the steps and you’ll get perfect results every time.
FAQ: Cherry Cream Cheese Danish
1. Can I use homemade cherry filling?
Yes! Homemade filling often tastes even better and lets you control the sweetness.
2. Can I make these ahead of time?
You can prepare them ahead and bake fresh, or bake and reheat before serving.
3. What dough works best besides puff pastry?
You can also use crescent roll dough or danish pastry dough.
4. Why is my cream cheese filling runny?
This usually happens if the cream cheese wasn’t fully softened or mixed properly.
5. Can I make this recipe without eggs?
Yes, you can skip the egg yolk in the filling and use milk instead of egg wash.
6. Are cherry cream cheese danishes served warm or cold?
They’re best served slightly warm, but they’re also delicious at room temperature.
Final Thoughts: Bake Your Own Bakery Favorite
Making a cherry cream cheese danish at home is easier than you think—and the results are absolutely worth it. You get that flaky, golden pastry with a rich, creamy center and sweet cherry topping in every bite.
Now it’s your turn. Grab your ingredients, preheat your oven, and enjoy the process. Once you taste your homemade version, you’ll realize just how simple and satisfying it is to recreate a bakery classic right in your own kitchen.
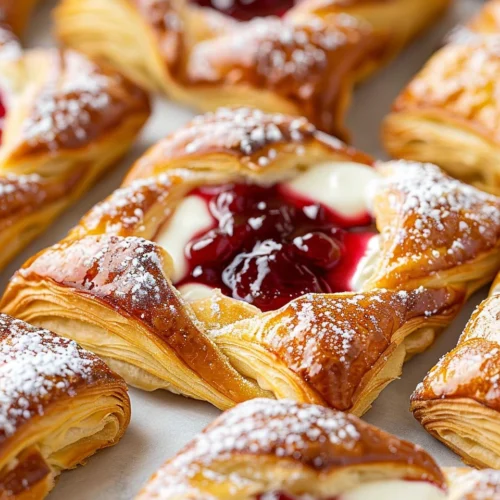
Cherry Cream Cheese Danish
Ingredients
- For the pastry:
- 1 sheet puff pastry thawed
- For the cream cheese filling:
- 8 oz cream cheese softened
- 1/4 cup granulated sugar
- 1 teaspoon vanilla extract
- 1 egg yolk
- For the cherry topping:
- 1 cup cherry pie filling
- For finishing:
- 1 egg for egg wash
- 1/2 cup powdered sugar
- 1 –2 tablespoons milk
Instructions
- Preheat oven to 400°F (200°C).
- Roll out puff pastry on a floured surface and cut into 4–6 equal squares.
- In a bowl, mix cream cheese, sugar, vanilla extract, and egg yolk until smooth.
- Place pastry squares on a lined baking sheet and lightly score a smaller square inside each.
- Add cream cheese filling to the center of each square.
- Top with a spoonful of cherry filling.
- Brush pastry edges with beaten egg.
- Bake for 15–18 minutes until golden brown and puffed.
- Mix powdered sugar with milk to make glaze and drizzle over cooled danishes.
Notes
- Keep puff pastry cold for best flakiness.
- Avoid overfilling to prevent soggy pastry.
- Use full-fat cream cheese for richer texture.
- Bake until deeply golden for a crisp finish.
- Let cool slightly before glazing and serving.