Banana Pudding Bars: A Creamy Delight for Every Occasion
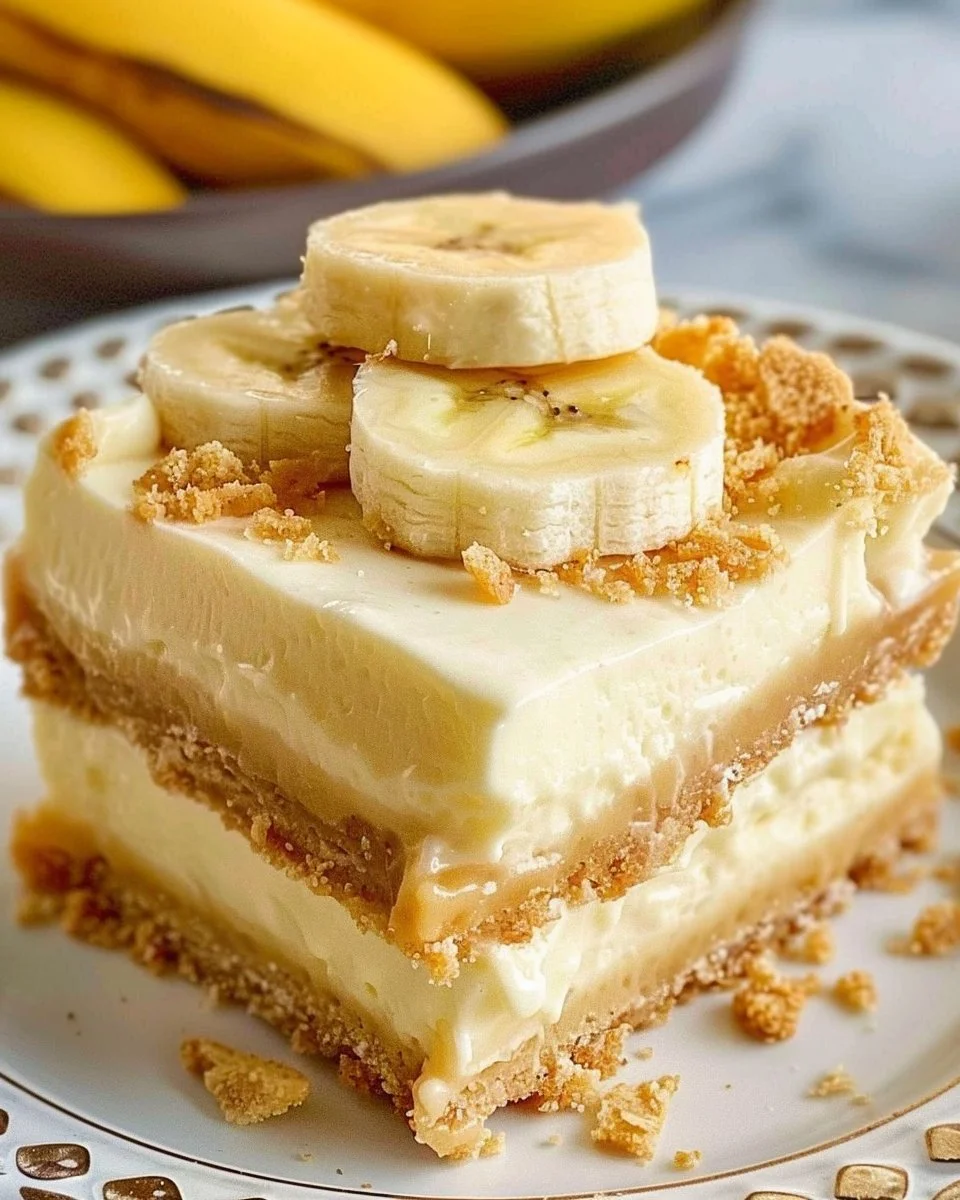
When you think of indulgent desserts, there’s a special place in many hearts for banana pudding. But have you ever imagined it transformed into easy Banana Pudding Bars? This delightful treat combines the classic flavors of creamy banana pudding and crunchy graham crackers into a bar form that’s perfect for parties, picnics, or an after-dinner treat. Not only are these bars irresistibly delicious, but they also evoke nostalgia, reminding you of warm family gatherings and carefree days.
Let’s dive into what makes these bars so special, how you can make them, and why they should be your go-to dessert for any occasion.
Why Banana Pudding Bars Matter
Banana pudding is a beloved dessert that holds sentimental value for many. Whether it reminds you of Grandma’s kitchen or those joyous summer cookouts, its creamy and comforting essence never fails to satisfy. However, the traditional dessert can be a bit cumbersome to prepare and serve. Enter Banana Pudding Bars, which encapsulate the same flavors but come with a fraction of the effort!
These bars are not only easier to serve, but they also allow you to wow your guests with minimal fuss. Imagine bringing a platter of these beautifully layered bars to a gathering—the smiles they’ll inspire!
The Key Ingredients for Perfect Banana Pudding Bars
Creating the perfect Banana Pudding Bars requires just a few simple ingredients. Here’s what you’ll need to gather:
- 2 ripe bananas, sliced
- 1 package vanilla pudding mix
- 2 cups milk
- 1 cup whipped cream or heavy cream, whipped
- 1 package of graham crackers or Nilla wafers
- Challenge Butter for greasing
- Optional: crushed nuts or chocolate shavings for topping
Step-by-Step Guide to Crafting Your Bars
Now that we’ve got our ingredients, let’s get into it! Follow these simple steps for creating these mouth-watering dessert bars.
Step 1: Prepare Your Base
- Preheat the Oven: Start by preheating your oven to 350°F (175°C) and greasing a baking dish (typically 9×13 inches) with Challenge Butter.
- Crust Layer: Crush the graham crackers or Nilla wafers into fine crumbs. You can do this by placing them in a zip-top bag and crushing with a rolling pin or using a food processor.
- Press the Crust: Combine the crumbs with melted butter, mix well, then press the mixture evenly into the bottom of the prepared baking dish.
Step 2: Make the Pudding Layer
- Mix the Pudding: In a bowl, whisk together the vanilla pudding mix and milk until thickened, following package instructions.
- Fold in the Whipped Cream: Gently fold the whipped cream into the pudding mixture until fully combined for that light, airy texture.
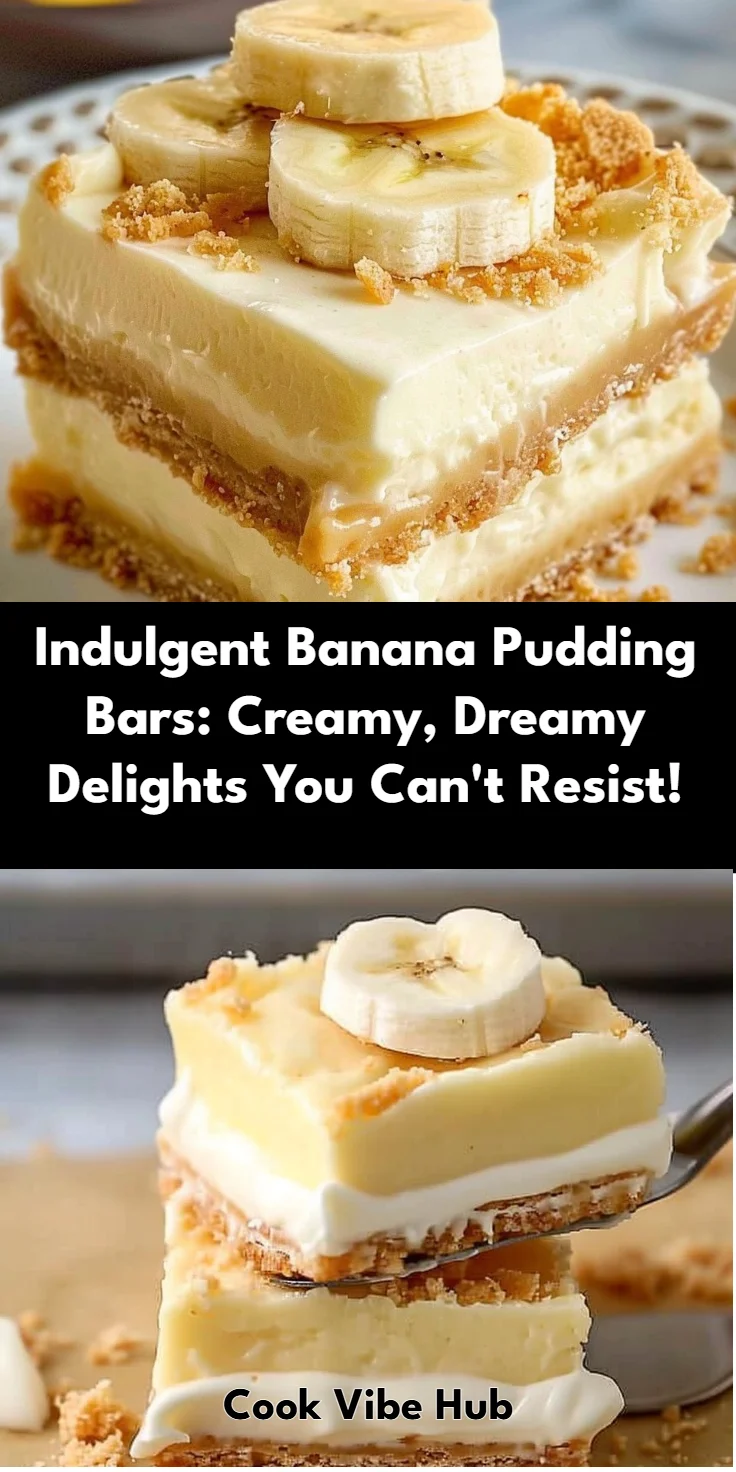
Step 3: Assemble the Layers
- First Layer: Pour half of the pudding mixture over your crust, spreading it evenly.
- Add Bananas: Layer the sliced bananas on top of the pudding.
- Second Layer: Pour the remaining pudding mixture over the bananas, smoothing it out.
Step 4: Chill and Serve
- Chill: Cover the dish with plastic wrap and refrigerate for at least 4 hours or overnight to let it set.
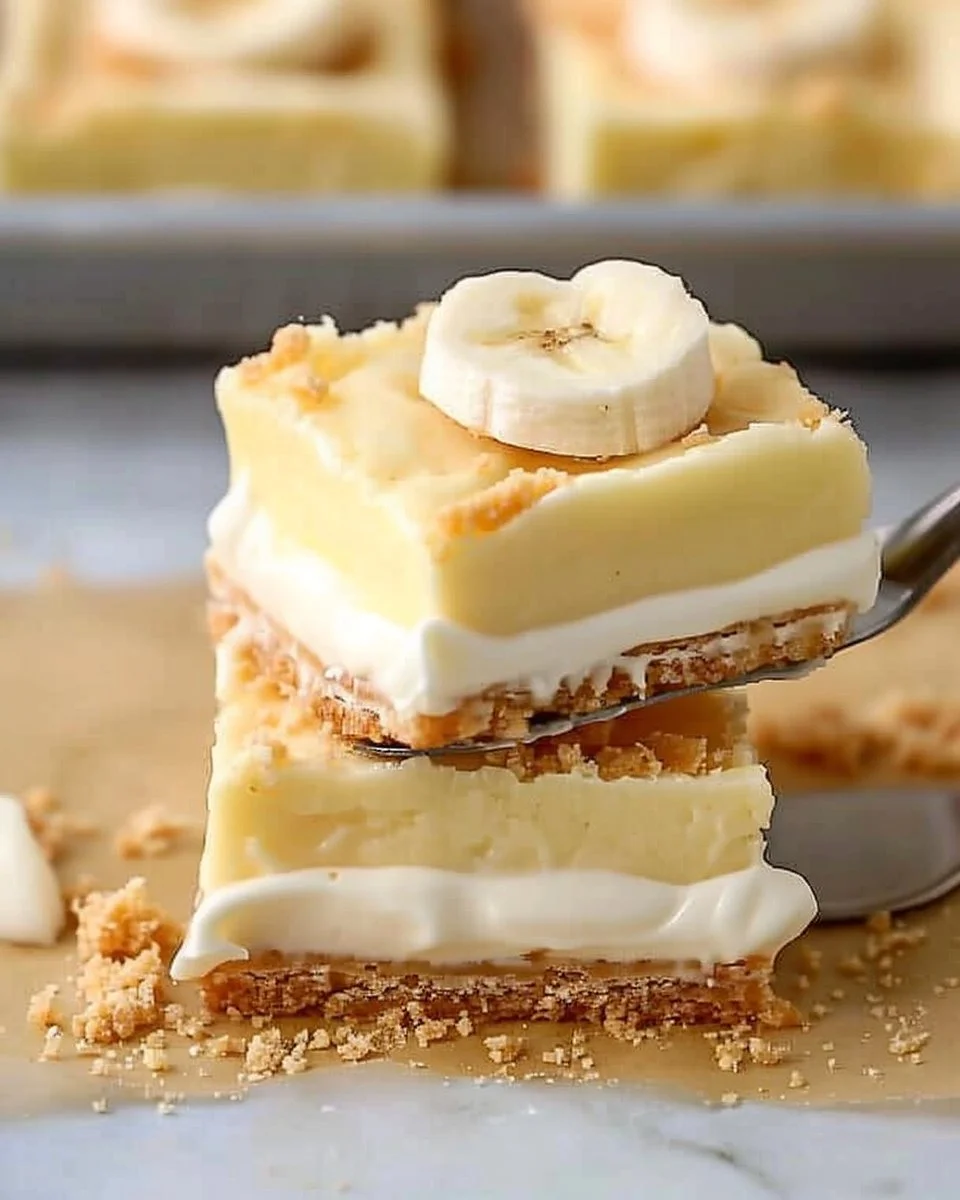
- Slice and Serve: When ready to serve, cut into squares, and add your toppings like crushed nuts or chocolate shavings, if desired.
Pro Tips for the Best Banana Pudding Bars
To elevate your Banana Pudding Bars, here are some professional tips to ensure they turn out flawlessly:
- Banana Selection: Use ripe but firm bananas for the best flavor and texture, avoiding overly soft ones that may turn mushy in the bars.
- Chill Time: Allow your bars to chill longer than four hours for optimal firmness. Overnight is ideal!
- Serving Suggestions: Pair your bars with a dollop of fresh whipped cream or a drizzle of caramel sauce for an extra touch of sweetness.
- Layering: Feel free to add layers of crushed cookies or a layer of chocolate pudding for a twist on the classic flavor!
Alternatives and Variations
What if you want to mix it up? Here are some creative variations to try:
- Chocolate Banana Pudding Bars: Substitute half of the vanilla pudding with chocolate pudding for a richer taste.
- Vegan Version: Use coconut cream in place of whipped cream and a plant-based pudding mix along with vegan graham crackers.
- Nutty Banana Bars: Add a layer of almond or peanut butter between the crust and pudding for a nutty flavor profile.
Common Mistakes to Avoid
Even the best chefs make mistakes! Here’s what to watch out for to ensure your bars turn out perfect:
- Overmixing Pudding: Be gentle when folding in whipped cream. Overmixing can deflate the mixture, resulting in a denser final dessert.
- Slicing Too Soon: Cutting the bars before they’ve fully set can cause them to fall apart; patience is key!
- Using Too Warm Ingredients: Make sure all your ingredients are at the right temperature. Using warm pudding or cream can affect the texture.
Storing Your Banana Pudding Bars
You’ll want to enjoy these bars over several days but make sure you store them properly:
- Refrigeration: Keep the bars in an airtight container in the refrigerator for up to 4-5 days.
- Freezing: If you want to make these bars in advance, you can freeze them for up to 2 months. Just make sure to wrap them tightly in plastic wrap and aluminum foil to prevent freezer burn.
FAQ About Banana Pudding Bars
1. Can I use instant pudding for Banana Pudding Bars?
Yes, instant pudding is a quick option! Just mix it with milk as per the package directions.
2. How do I keep my Banana Pudding Bars from getting soggy?
Ensure the bananas are layered on the pudding rather than directly on the crust to maintain a balance of moisture.
3. What can I substitute for graham crackers in Banana Pudding Bars?
You can use crushed Oreos or shortbread cookies for a different flavor profile.
4. How long do Banana Pudding Bars last in the fridge?
They can last up to 4-5 days if stored correctly in an airtight container.
5. Can I make Banana Pudding Bars gluten-free?
Absolutely! Use gluten-free graham crackers or a similar cookie alternative.
Conclusion
Banana Pudding Bars are more than just a dessert; they are a celebration of flavors that bring warmth and joy. Easy to assemble and even easier to devour, they make an excellent choice for any gathering or a simple family night at home. With this guide, you’re all set to create these delectable treats that are sure to impress your loved ones. So, gather your ingredients, roll up your sleeves, and get ready to enjoy a slice of happiness!
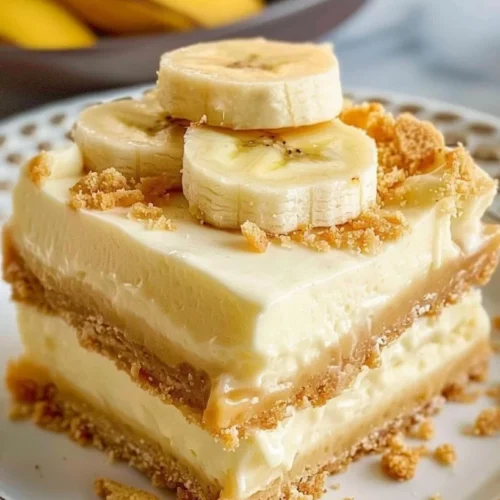
Banana Pudding Bars
Ingredients
For the crust
- 1 package graham crackers or Nilla wafers Crushed into fine crumbs
- 1 tablespoon Challenge Butter For greasing the baking dish and mixing with crumbs
For the pudding layer
- 1 package vanilla pudding mix Follow package instructions for preparation
- 2 cups milk To mix with pudding
- 1 cup whipped cream or heavy cream Whipped for light texture
- 2 ripe bananas Sliced for layering
Optional toppings
- to taste crushed nuts For added texture
- to taste chocolate shavings For garnish
Instructions
Preparation
- Preheat your oven to 350°F (175°C) and grease a baking dish (typically 9x13 inches) with Challenge Butter.
- Crush the graham crackers or Nilla wafers into fine crumbs using a zip-top bag and a rolling pin or a food processor.
- Combine the crumbs with melted butter, mix well, then press the mixture evenly into the bottom of the prepared baking dish.
Making the pudding layer
- In a bowl, whisk together the vanilla pudding mix and milk until thickened, following the package instructions.
- Gently fold the whipped cream into the pudding mixture until fully combined for a light, airy texture.
Assembling the layers
- Pour half of the pudding mixture over your crust, spreading it evenly.
- Layer the sliced bananas on top of the pudding.
- Pour the remaining pudding mixture over the bananas, smoothing it out.
Chill and serve
- Cover the dish with plastic wrap and refrigerate for at least 4 hours or overnight to let it set.
- When ready to serve, cut into squares, and add your optional toppings like crushed nuts or chocolate shavings, if desired.