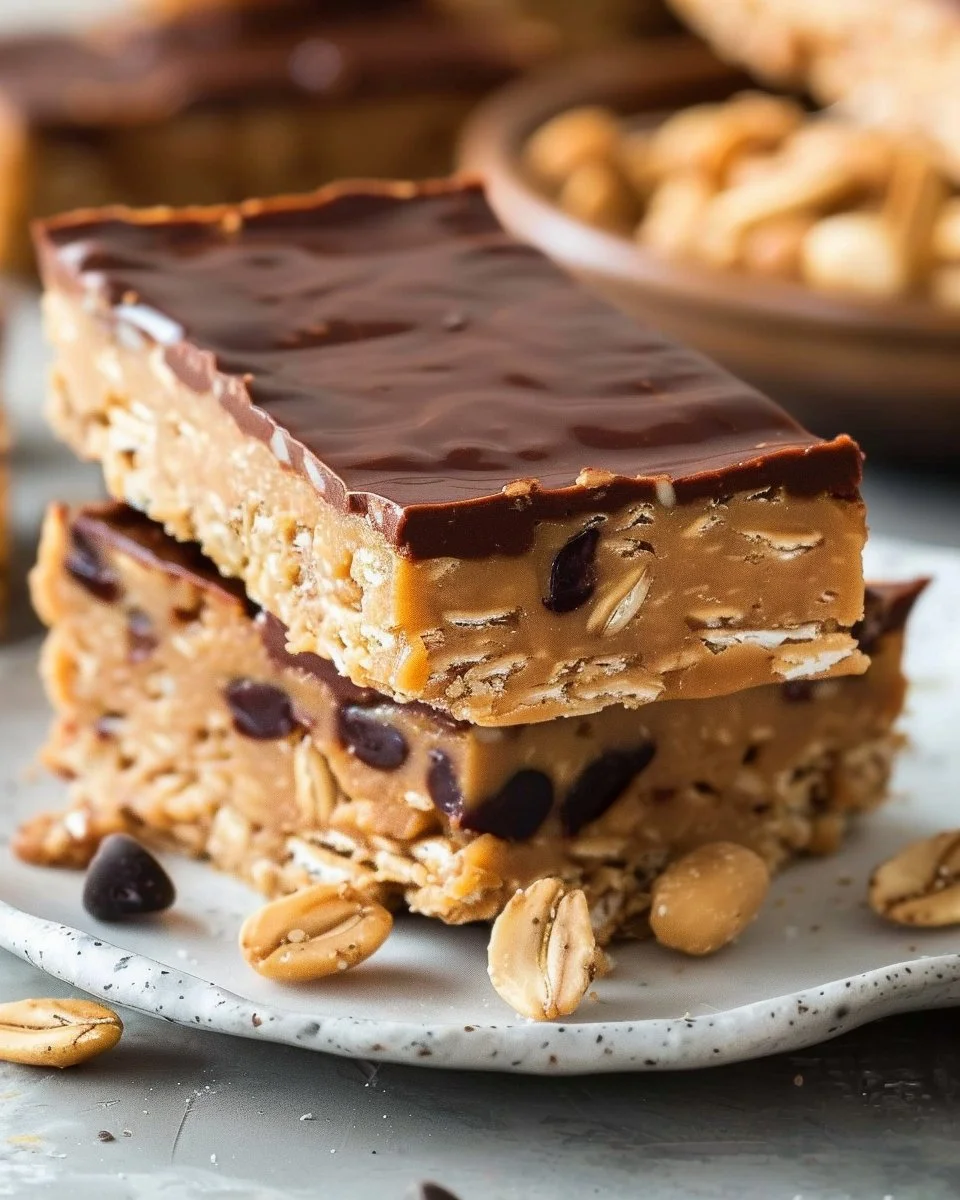
The Best Easy No Bake Protein Bar
In a fast-paced world where you’re often on the go, finding nutritious snacks that don’t require a lot of time to prepare can feel like a challenge. This is especially true if you’re trying to maintain a healthy lifestyle or squeeze in some extra protein. What if I told you that the solution lies in a simple homemade recipe? Enter the best easy no bake protein bar! These bars not only pack a powerful protein punch but are also incredibly easy to whip up, making them a perfect choice for busy individuals like you.
Let’s dive into why you should consider making these delightful bars part of your routine and how you can customize them to fit your taste and dietary preferences.
Why No Bake Protein Bars?
No bake protein bars are a game changer for anyone looking for a healthy snack. Unlike traditional protein bars that often contain a laundry list of ingredients, many of which you can’t pronounce, homemade options allow you to know exactly what you’re eating. Here are some compelling reasons to give these energy-packed bars a try:
-
Quick and Easy: As their name suggests, they require no baking, meaning you can have a nutritious snack ready in minutes.
-
Tailored to Your Tastes: You can mix and match ingredients based on your preferences—add-ins like dried fruit, nuts, and chocolate chips are completely up to you.
-
Nutritious Boost: Packed with protein and healthy fats, these bars can keep you feeling full longer, providing sustainable energy for your busy day.
-
Cost-Effective: Making your own bars saves money compared to buying pre-packaged options that often come with hidden sugars and preservatives.
Key Benefits of Protein Bars
Protein bars are not just convenient; they come with an array of benefits that can fit into various dietary needs and lifestyles:
- Muscle Recovery: Ideal for post-workout recovery, the protein helps rebuild muscle tissue.
- Weight Management: A well-balanced snack can curb those pesky cravings and help you manage your weight.
- Energy Boost: Perfect for those mid-afternoon slumps, these bars offer a quick energy boost without the crash that often accompanies sugary snacks.
What You Need to Make No Bake Protein Bars
Creating your own no bake protein bars is simple and requires just a handful of ingredients. Here’s what you’ll need:
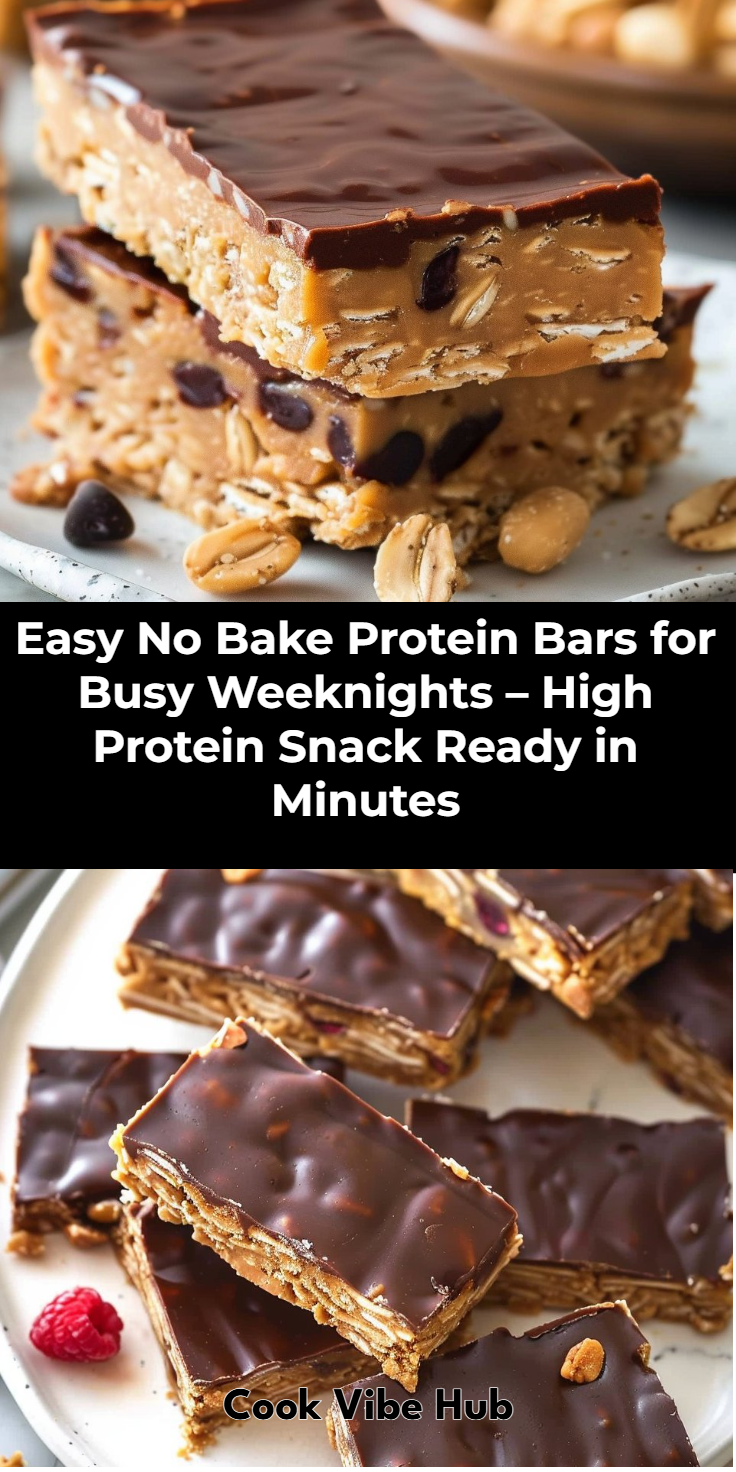
- 1 cup rolled oats
- 1/2 cup nut butter (e.g., almond or peanut)
- 1/4 cup maple syrup
- 1/2 cup protein powder (vegan if desired)
- 1/4 cup chocolate chips (optional)
- 1/4 cup chopped nuts or seeds (optional)
Step-by-Step Guide to Creating Your Protein Bars
Now that you have your ingredients ready, let’s move on to the enjoyable part—making your protein bars!
-
Combine Ingredients: In a large mixing bowl, combine the rolled oats, nut butter, maple syrup, and protein powder. Stir well until a uniform mixture forms.
-
Add Extras: If desired, fold in chocolate chips and any chopped nuts or seeds. These additions provide added flavor and texture.
-
Press into Pan: Spoon the mixture into a lined baking dish or a square pan. Use a spatula to spread it evenly and press it down firmly.
-
Chill: Place the pan in the refrigerator for at least an hour. This helps the bars firm up so they can be cut easily.
-
Cut and Store: Once chilled, lift the mixture out of the pan using the edges of the parchment paper, and cut it into bars or squares.
-
Enjoy!: You can grab one for a quick snack or share them with family and friends!
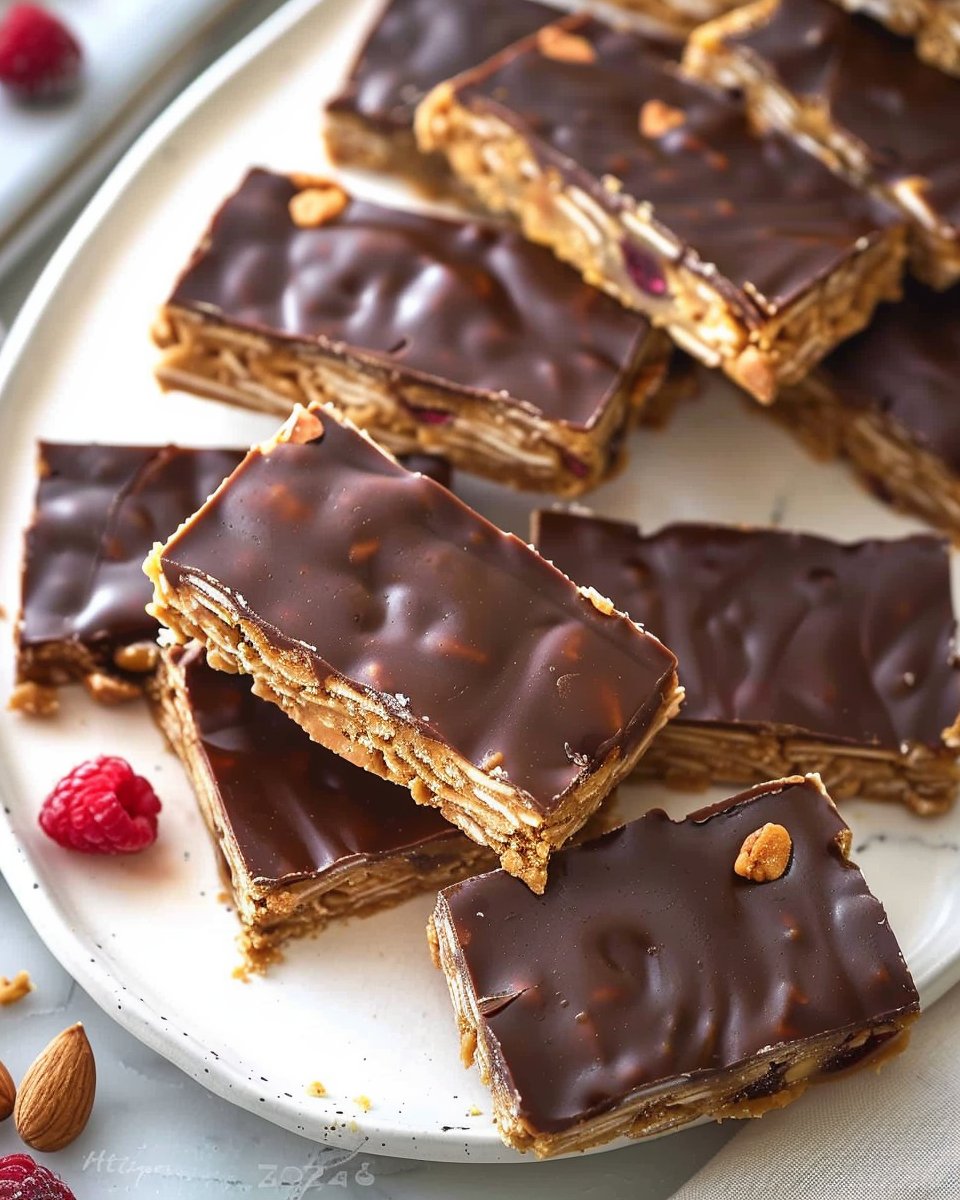
Expert Tips for Perfect Bars
- Experiment with Flavors: Don’t hesitate to swap the nut butter for sun butter or use a flavored protein powder to change things up.
- Store Properly: Keep leftover bars in an airtight container; they can typically last up to two weeks in the fridge.
- Customize Sweetness: If you prefer less sweetness, you can reduce the amount of maple syrup or opt for unsweetened nut butter.
Common Mistakes to Avoid
Before diving in, here are a few pitfalls to steer clear of:
- Not Pressing Firmly: Failing to pack the mixture tightly may result in crumbly bars—make sure they are compact.
- Using Old Ingredients: Always check your oats and nut butter for freshness. Old ingredients can compromise flavor and texture.
- Skipping the Chill: While it’s tempting to dive right in, allowing the bars to chill is key for the right consistency.
Delicious Serving Suggestions
Your homemade protein bars don’t just have to be eaten as-is. Here are some serving ideas to enhance your snacking experience:
- Pair with Yogurt: Crumble a bar atop Greek yogurt for a satisfying breakfast.
- Blend into Smoothies: Toss a chunk into your smoothie for added texture and protein.
- Dessert Option: Drizzle with melted dark chocolate for a sweet treat that feels indulgent.
Keeping Your Protein Bars Fresh
One of the best parts about making protein bars at home is knowing how to store them properly. Keeping your bars fresh will ensure that they last and taste great longer. Store them in an airtight container in the fridge, and they can stay good for about two weeks. You can also freeze them for up to three months; just be sure to wrap them individually in plastic wrap to maintain freshness.
FAQs About No Bake Protein Bars
Are no bake protein bars healthy?
Yes! When made with wholesome ingredients, no bake protein bars can provide a healthy nutrient boost packed with protein, healthy fats, and fiber.
How do I customize my no bake protein bars?
You can customize them by using different flavored nut butters, adding dried fruits, or changing up the protein powder to suit your flavor preferences.
What is the best way to store my homemade protein bars?
Store them in an airtight container in the refrigerator to keep them fresh for up to two weeks, or freeze them for longer storage.
Conclusion: A Tasty Solution for On-the-Go Snacking
Making the best easy no bake protein bar at home not only simplifies your snacking routine but also empowers you with control over your nutrition. With just a few simple ingredients and a little time, you can create a delicious snack that supports your health goals. Whether you enjoy them post-workout, as a mid-afternoon pick-me-up, or even as a dessert, these bars are versatile enough to fit seamlessly into your life. So, gather your ingredients, and get ready to enjoy the benefits of your homemade snacks!
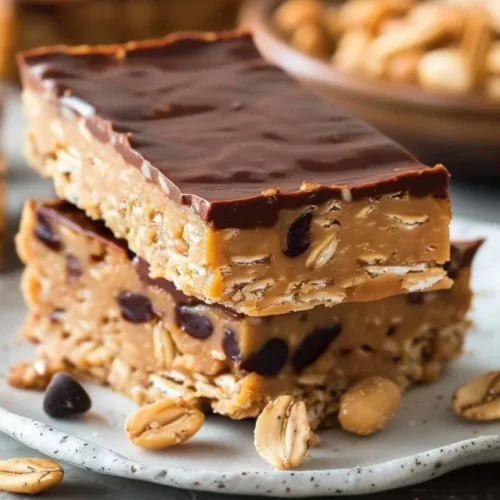
No Bake Protein Bar
Ingredients
Main Ingredients
- 1 cup rolled oats
- 1/2 cup nut butter (e.g., almond or peanut)
- 1/4 cup maple syrup Can reduce for less sweetness
- 1/2 cup protein powder (vegan if desired)
Optional Add-ins
- 1/4 cup chocolate chips Optional
- 1/4 cup chopped nuts or seeds Optional
Instructions
Preparation
- In a large mixing bowl, combine the rolled oats, nut butter, maple syrup, and protein powder. Stir well until a uniform mixture forms.
- If desired, fold in chocolate chips and any chopped nuts or seeds.
- Spoon the mixture into a lined baking dish or a square pan. Use a spatula to spread it evenly and press it down firmly.
- Place the pan in the refrigerator for at least an hour to help the bars firm up.
- Once chilled, lift the mixture out of the pan using the edges of the parchment paper and cut it into bars or squares.
- Enjoy as a quick snack or share with family and friends!