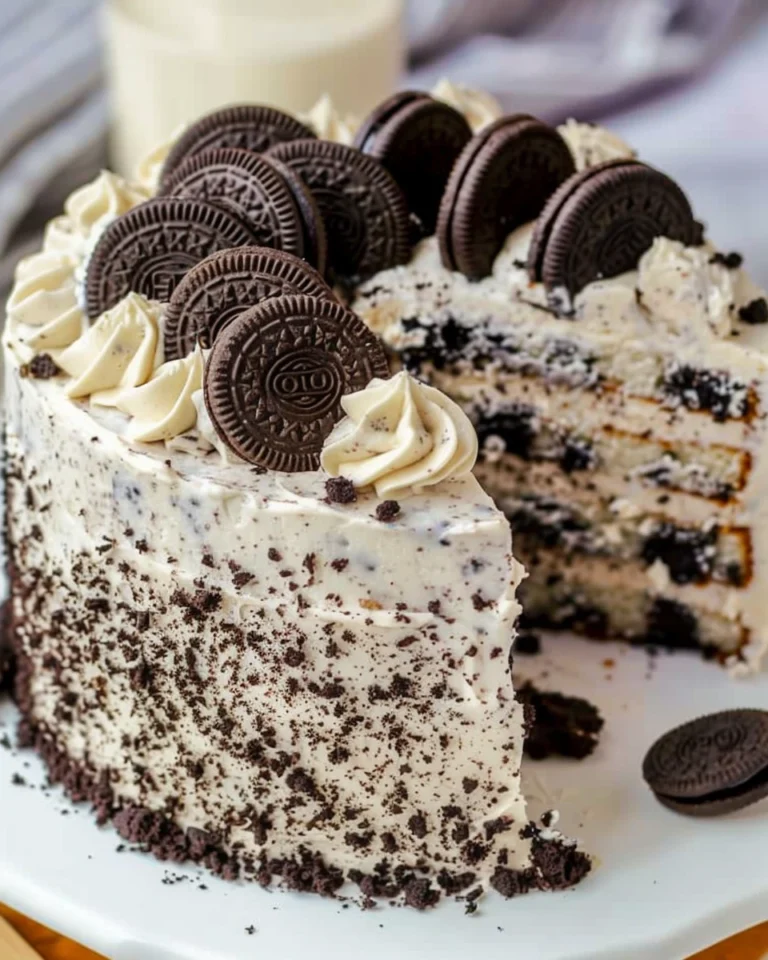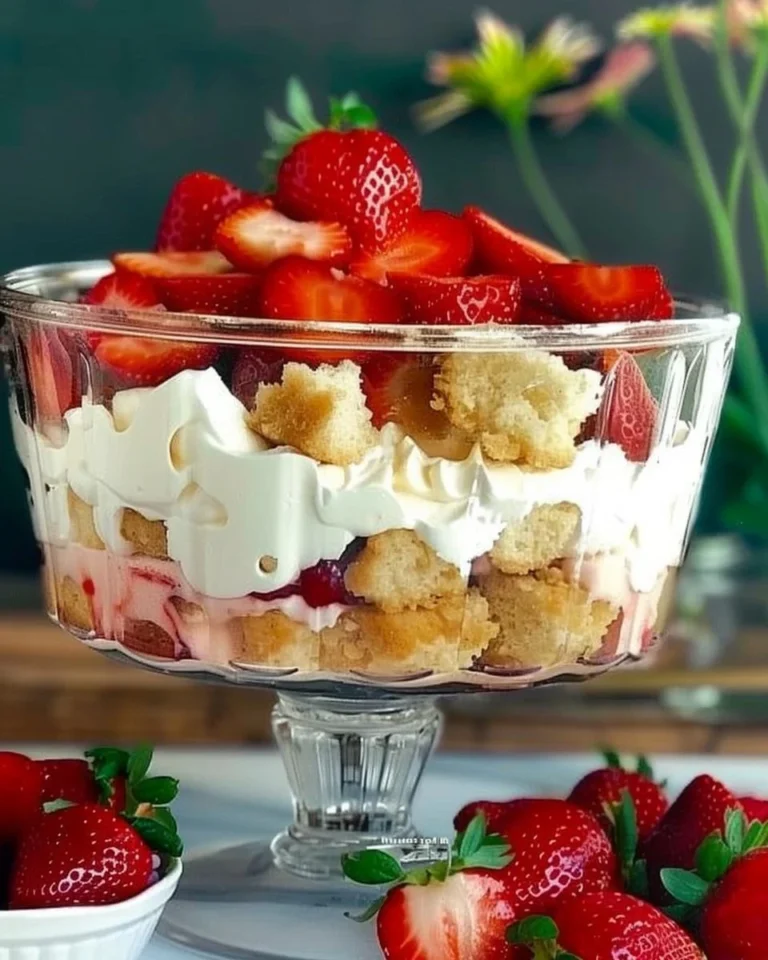
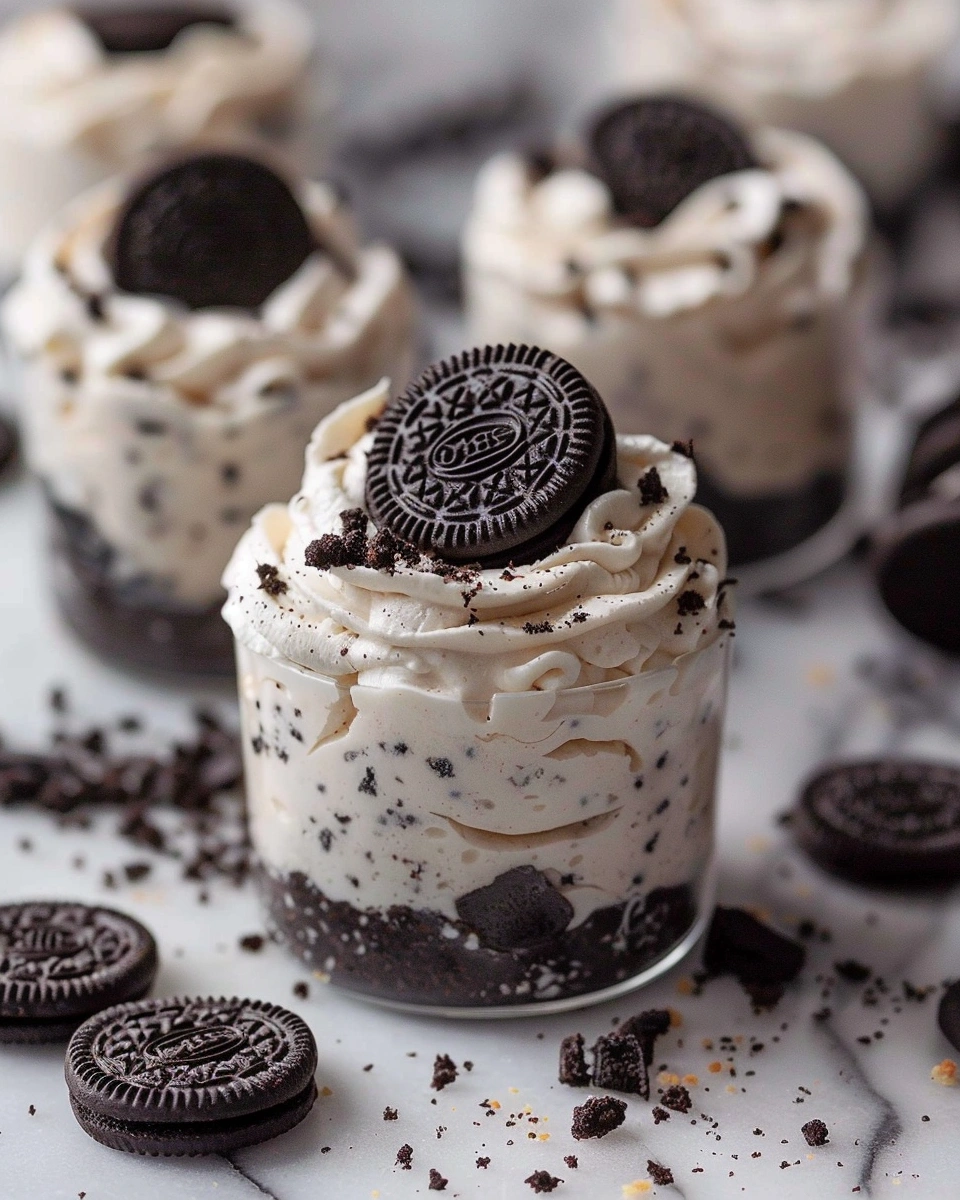
If you’re looking for a quick, crowd-pleasing dessert that looks impressive but takes minimal effort, no-bake Oreo cheesecake cups are exactly what you need. They’re creamy, chocolatey, and perfectly portioned—making them ideal for parties, gatherings, or just a fun treat at home.
The best part? No oven, no complicated steps, and no stress. You’ll get all the rich flavor of cheesecake combined with everyone’s favorite cookies in a simple, layered dessert.
Let’s dive into how you can make these irresistible no-bake Oreo cheesecake cups step by step.
Why You’ll Love No-Bake Oreo Cheesecake Cups
These little desserts check all the right boxes:
- No baking required
- Individual servings (no slicing needed)
- Rich, creamy, and chocolatey flavor
- Perfect for make-ahead desserts
- Kid-friendly and party-ready
If you want something easy but still eye-catching, this recipe delivers every time.
What Are Oreo Cheesecake Cups?
No-bake Oreo cheesecake cups are a layered dessert made with:
- Crushed Oreo cookies as the base
- A smooth, creamy cheesecake filling
- Extra Oreo pieces for texture and flavor
They’re served in cups or jars, which makes them convenient and fun to eat.
Ingredients You’ll Need
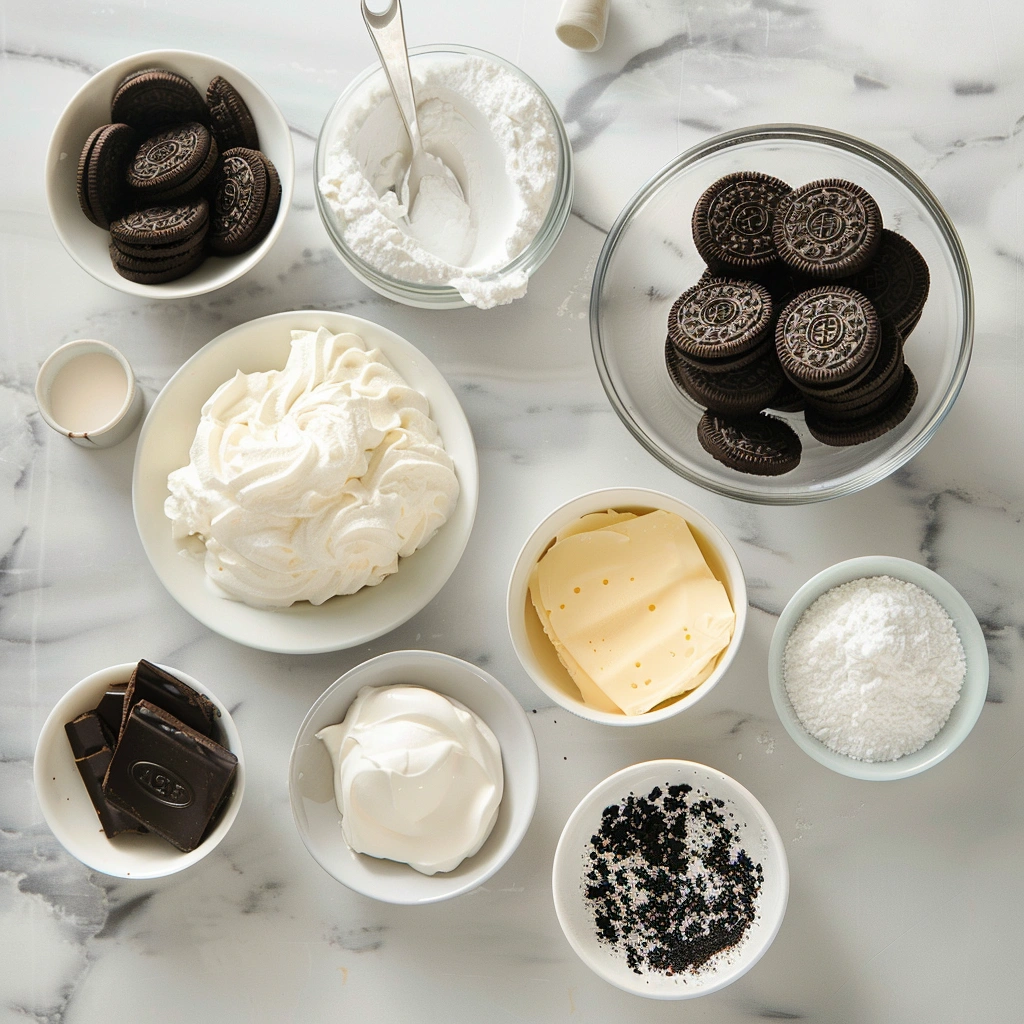
You only need a few simple ingredients to make these no-bake Oreo cheesecake cups.
For the Base
- 2 cups crushed Oreo cookies
- 4 tablespoons melted butter
For the Cheesecake Filling
- 16 oz cream cheese (softened)
- ¾ cup powdered sugar
- 1 teaspoon vanilla extract
- 1½ cups heavy whipping cream
- 10–12 Oreo cookies (crushed or chopped)
Optional Toppings
- Whipped cream
- Extra Oreo crumbs
- Chocolate drizzle
How to Make No-Bake Oreo Cheesecake Cups
This recipe is beginner-friendly and comes together quickly.
1. Prepare the Oreo Base
Crush the Oreo cookies into fine crumbs and mix with melted butter. Spoon a layer into the bottom of each cup and press it down lightly.
2. Make the Cheesecake Filling
In a bowl, beat the cream cheese until smooth. Add powdered sugar and vanilla, and mix until creamy.
In another bowl, whip the heavy cream until stiff peaks form. Gently fold it into the cream cheese mixture.
3. Add the Oreo Pieces
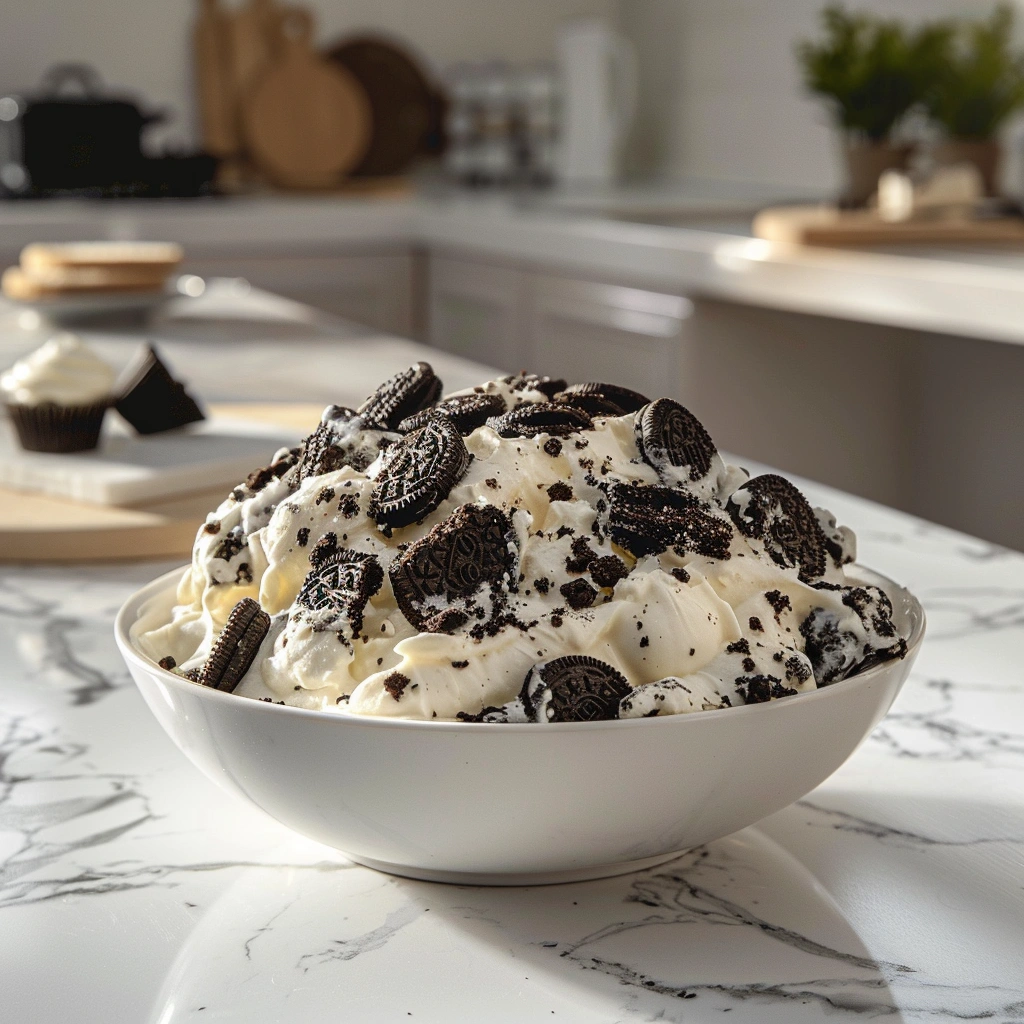
Fold in the crushed or chopped Oreo cookies for that signature cookies-and-cream texture.
4. Assemble the Cups
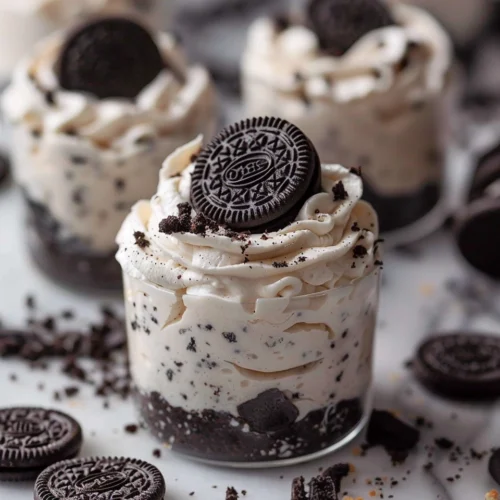
Layer the cheesecake filling over the Oreo base. You can add multiple layers if you like for a more decorative look.
5. Chill
Refrigerate for at least 2–3 hours, or until the filling is set.
6. Decorate and Serve
Top with whipped cream, Oreo crumbs, or chocolate drizzle before serving.
Tips for Perfect Oreo Cheesecake Cups
A few simple tips can take your dessert to the next level.
Use Full-Fat Cream Cheese
This ensures a richer flavor and better texture.
Don’t Overmix
Fold the whipped cream gently to keep the filling light and airy.
Chill Properly
Giving the cups enough time to set is key to achieving the perfect consistency.
Use Clear Cups
If you’re serving guests, clear cups show off the beautiful layers.
Easy Variations to Try
Once you’ve mastered the basic version, try these fun twists.
Mini Party Cups
Use small plastic cups or shot glasses for bite-sized desserts.
Chocolate Lovers Version
Add chocolate chips or drizzle melted chocolate between layers.
Peanut Butter Oreo Cups
Mix a little peanut butter into the filling for a rich twist.
Mint Oreo Version
Use mint-flavored Oreos for a refreshing variation.
How to Store No-Bake Oreo Cheesecake Cups
These desserts are great for prepping ahead.
- Refrigerator: Store covered for up to 4 days
- Freezer: Freeze for up to 1 month
- Serving tip: Let them sit out for a few minutes before eating if frozen
When to Serve Oreo Cheesecake Cups
These cups are perfect for almost any occasion:
- Birthday parties
- Family gatherings
- Potlucks
- Holiday desserts
- Everyday sweet cravings
They’re easy to transport and always a hit.
FAQs About No-Bake Oreo Cheesecake Cups
Can I make these ahead of time?
Yes! They’re actually better when made a few hours or a day in advance.
Can I use store-bought whipped topping?
Yes, you can substitute it for whipped cream if you want a quicker option.
Why is my filling too soft?
It may need more chilling time or the whipped cream wasn’t whipped enough.
Can I use different cookies?
Absolutely. Try chocolate chip cookies or graham crackers for a different flavor.
Do I need a mixer?
A mixer helps, but you can do it by hand with a whisk—it just takes more effort.
Final Thoughts: Try No-Bake Oreo Cheesecake Cups Today
If you want a dessert that’s easy, delicious, and guaranteed to impress, no-bake Oreo cheesecake cups are a must-try. They combine creamy cheesecake with crunchy cookies in a fun, individual format that everyone loves.
You don’t need baking skills or special equipment—just a few ingredients and a little time to chill.
So grab your Oreos and start layering. Once you try these, they’ll quickly become one of your go-to desserts.
No-Bake Oreo Cheesecake Cups
Ingredients
- Base
- 2 cups crushed Oreo cookies
- 4 tablespoons melted butter
- Filling
- 16 oz cream cheese softened
- ¾ cup powdered sugar
- 1 teaspoon vanilla extract
- 1½ cups heavy whipping cream
- 10 –12 Oreo cookies crushed or chopped
- Optional Toppings
- Whipped cream
- Oreo crumbs
- Chocolate drizzle
Instructions
- Crush Oreo cookies and mix with melted butter.
- Spoon the mixture into cups and press lightly to form the base.
- Beat cream cheese until smooth, then mix in powdered sugar and vanilla.
- Whip heavy cream until stiff peaks form in a separate bowl.
- Gently fold whipped cream into the cream cheese mixture.
- Fold in crushed Oreo cookies.
- Spoon or pipe the filling over the base in each cup.
- Refrigerate for 2–3 hours until set.
- Add toppings before serving.
Notes
- Use full-fat cream cheese for best texture.
- Chill thoroughly for a firm, creamy consistency.
- Fold gently to keep the filling light and airy.
- Store in the fridge up to 4 days or freeze up to 1 month.